Auto classification
This new feature will be available soon.
Auto classification is a SmartyGrants automation tool that allows grantmakers to categorise past and present grant applications according to CLASSIE (Classification of Social Sector Initiatives and Entities), a taxonomy developed by Our Community that is used in several Our Community and external enterprises, including the Australian Charities and Not-for-Profits Commission (ACNC)'s Charity Register.
Classifying grant applications is useful in standardising and reporting data in line with industry standards. It enables you to gain insight into the impact your grant programs are making - where the money is flowing, and who is benefiting - and compare your organisation to others in the same sector.
With an accuracy of 85(±5)%, SmartyGrants can identify the beneficiaries and subjects of grantees’ projects and determine the focus of those projects by running an algorithm on the descriptive answers provided by the grantees on their applications. It finds the matches from a pool of over 200 beneficiary and 900 subject classifications.
It is worth noting that the accuracy of the output from the automation is subject to how the classifications are interpreted in your organisation, and dependent on the quality of the answers to questions such as the project description provided on the applications. We recommend that you regularly review and sense-check the outputs and fine-tune the auto classification parameters to improve the accuracy and relevance of the automated classifications of your grantees.
Configuring auto classification
Auto classification is an optional tool for grantmakers that can be configured in the account settings and then activated where necessary for particular rounds or historical applications.
Prior to using auto classification, please review the associated settings page to ensure it is configured and customised to your preferences.
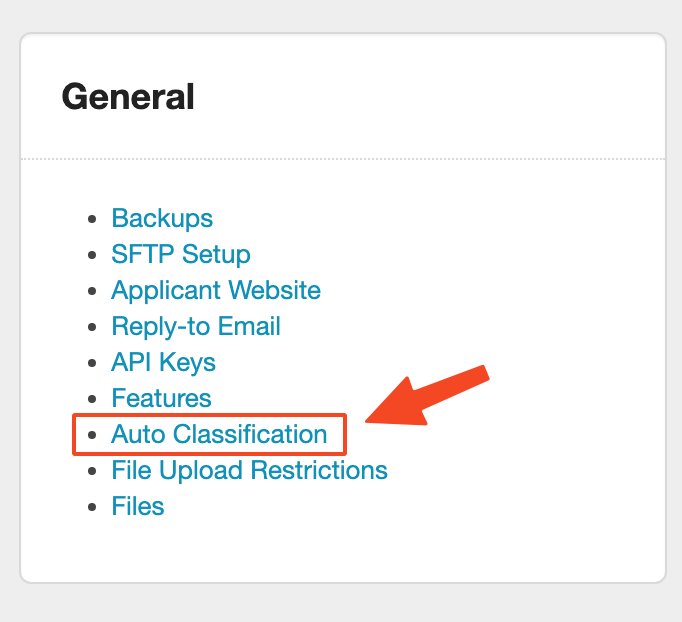
To access the associated settings page, select the settings icon at the top of SmartyGrants. Then select Auto Classification:
This will bring you to the Edit Auto Classification settings page:
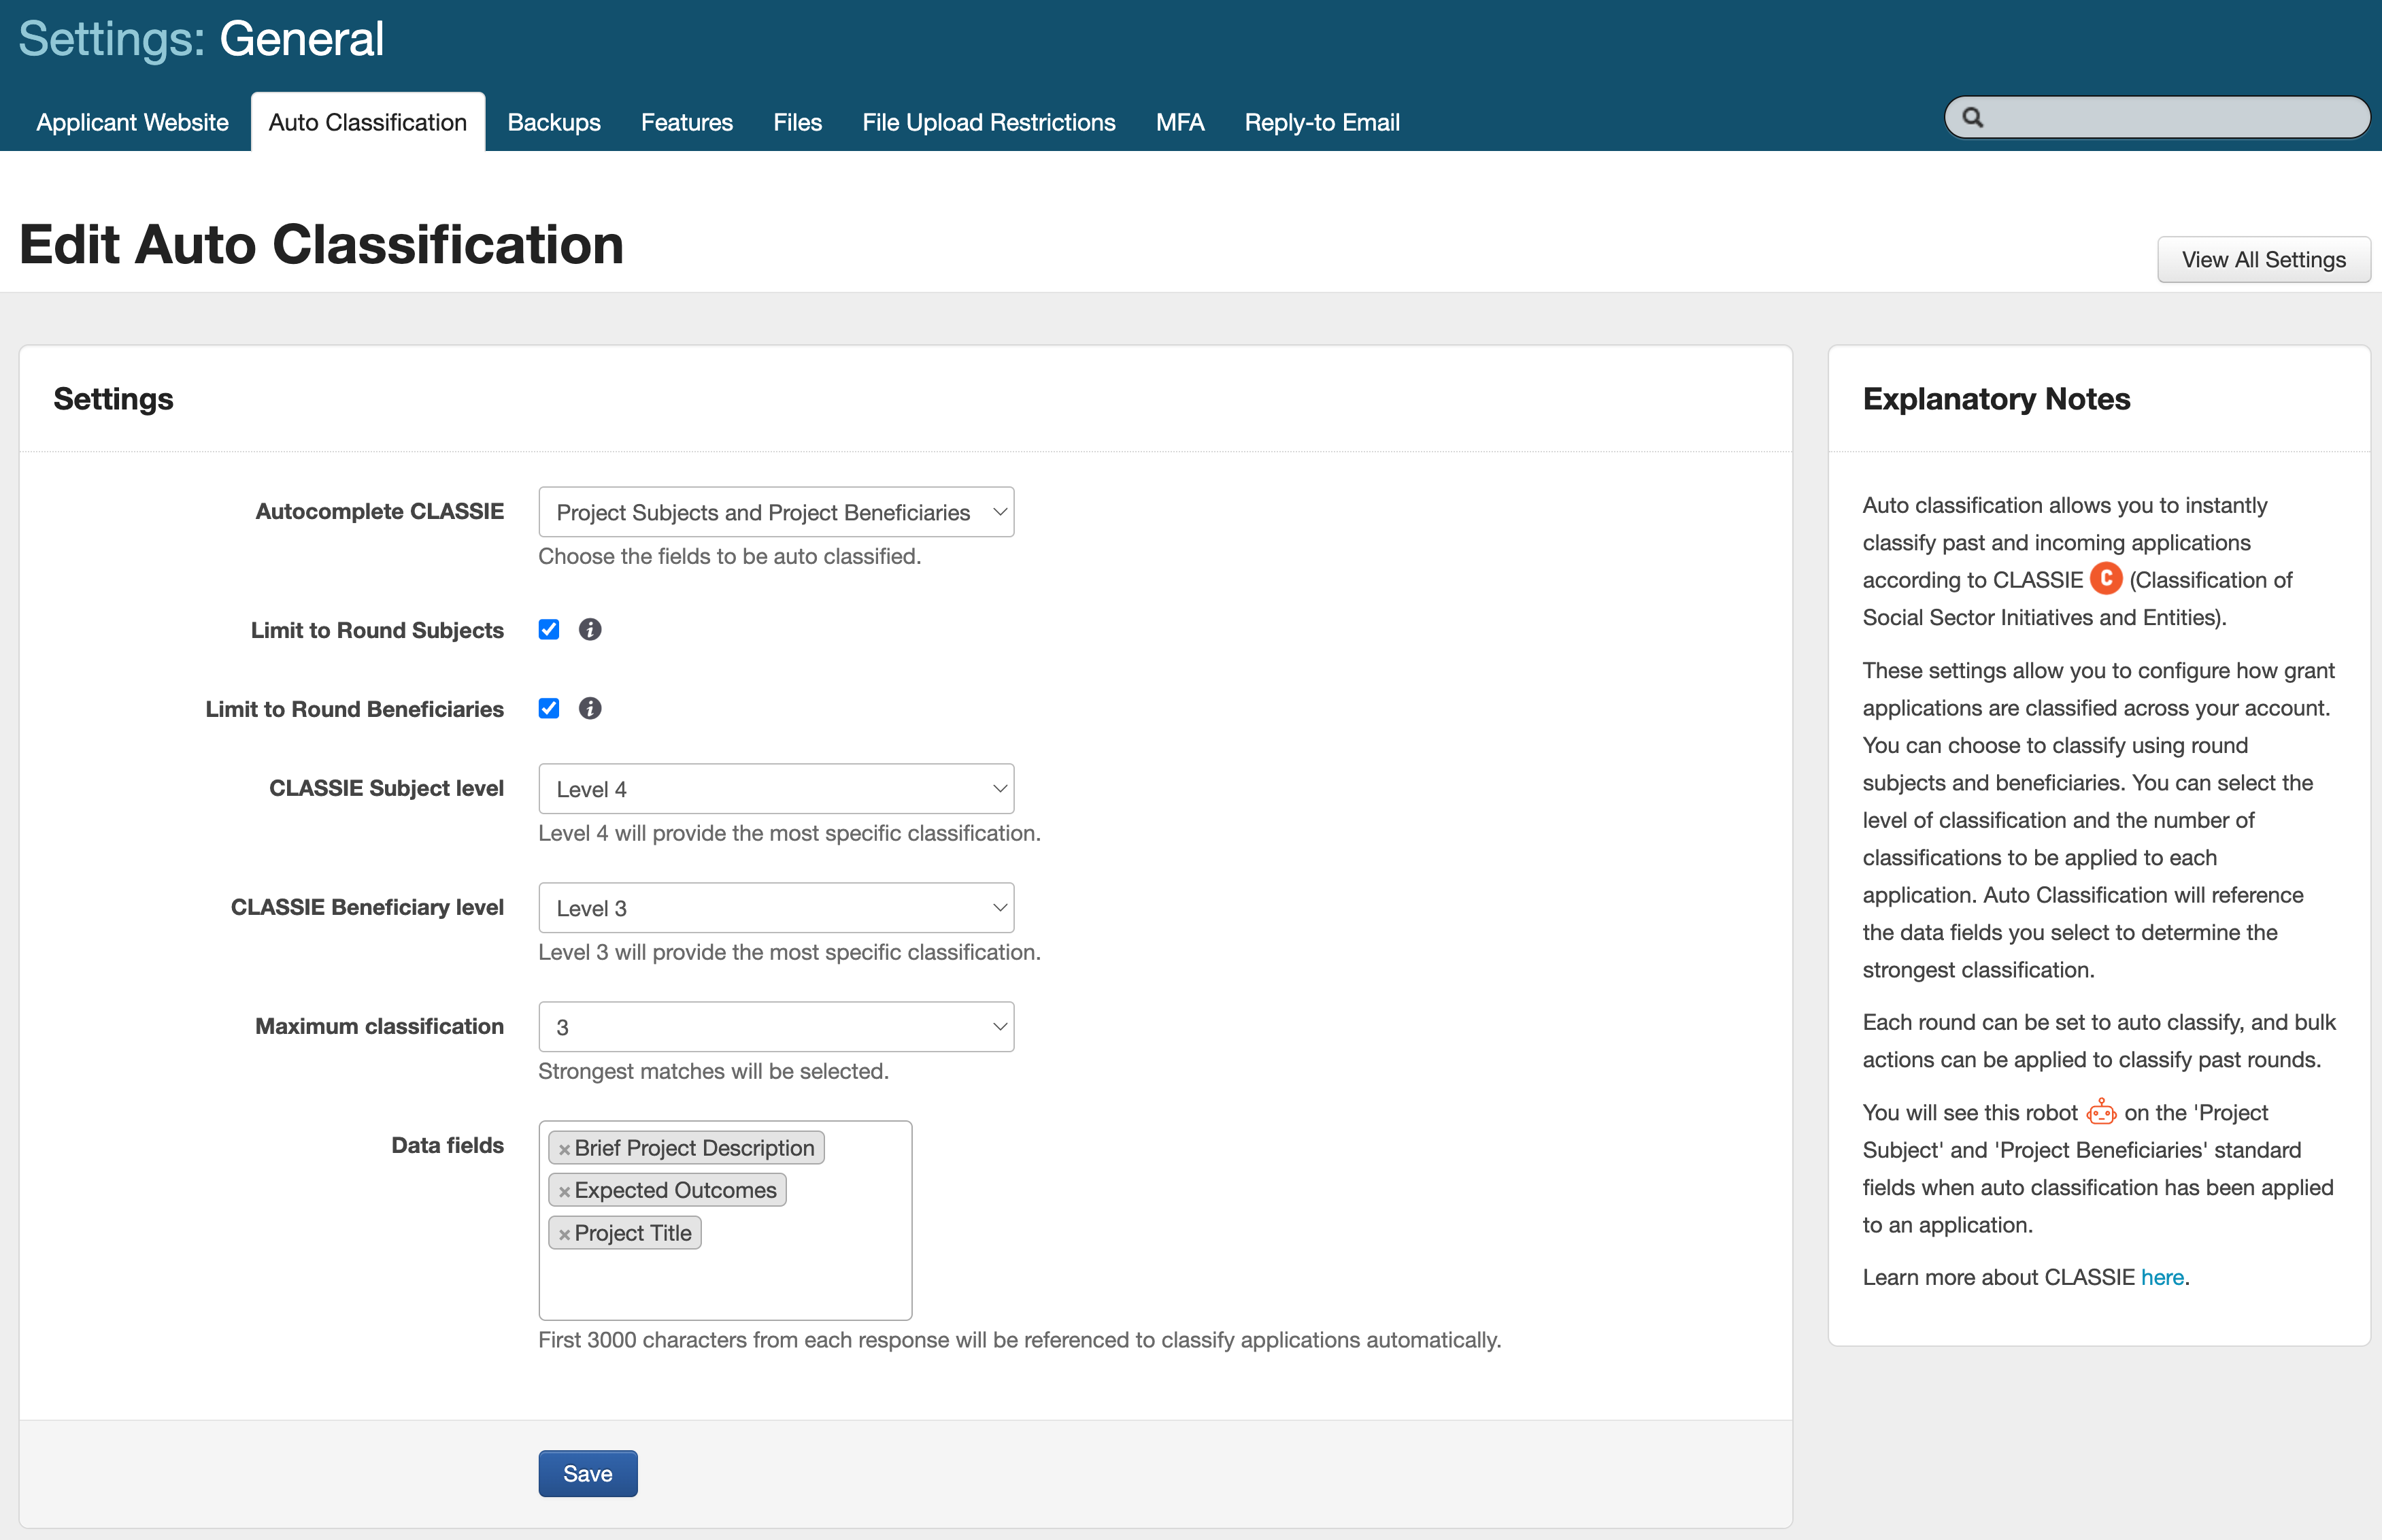
Autocomplete CLASSIE

The two CLASSIE standard fields available to populate are CLASSIE Subject and CLASSIE Beneficiaries. Select the dropdown beside Autocomplete CLASSIE to specify if you want auto classification to complete only one of these fields, or both.
Limit to round settings

If you have used CLASSIE fields prior to the release of Auto Classification, you may be aware that the response options to these questions can be narrowed via round settings.
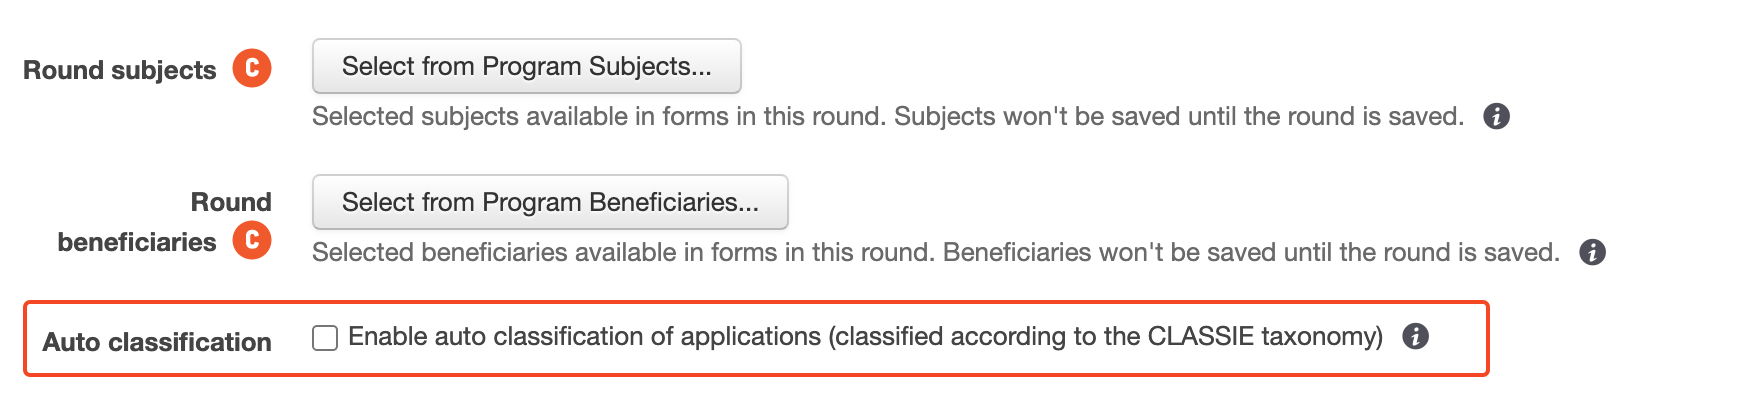
This is useful if, for example, you are running a youth grant round and beneficiary selections related to adults are not relevant. In such a scenario, you have the ability on the setup of each round to remove certain categories from the list for quicker selection of the relevant labels. These CLASSIE round settings are pictured below:

The round tick box options on the auto classification settings page refer to the specific round settings described above.
Leaving the box unticked will set up auto classification to consider the entire CLASSIE dictionary as output options. This means it will disregard any narrowed CLASSIE round settings lists.
Ticking the box will restrict the algorithm's output options to whatever has been specified (or narrowed down to) at the round level, where this is applicable. Taking the youth grant example above, if you have a round that is set to remove adult populations from the beneficiary list options, enabling this setting will ensure that there is no chance for an adult beneficiary to be auto-selected because it will only be considering the narrowed list for analysis.
Subject and beneficiary level
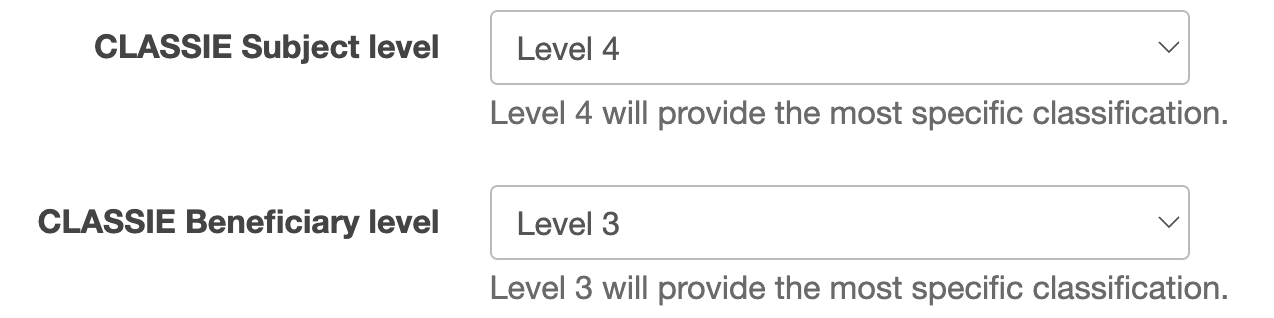
Label levels are an important CLASSIE concept and define how granular or detailed the results of the auto classification will be. Consider the following example taken from the CLASSIE dictionary for subjects:
Level 1 - Environment
Level 2 - Environment > Natural Resource Preservation
Level 3 - Environment > Natural Resource Preservation > Energy Resources
Level 4 - Environment > Natural Resource Preservation > Energy Resources > Renewable Energy
Selecting a maximum label level of 1 will require the algorithm to output the highest level (and therefore most broad) classification option. In comparison, selecting a maximum level of 4 will give the opportunity to output a much more specific label based on the application’s contents.
Consider and select the option that would best suit your process.
To download the full list of CLASSIE subject and/or beneficiary labels, click the following link(s).
Maximum classification

It may be appropriate to have more than one classification associated with each application’s subject(s) or beneficiaries. As with manually populating CLASSIE standard fields, SmartyGrants allows for up to 5 labels to be associated with each application.
Choosing 1 in this section will output the top classification result only. Choosing 2 will output the top 2 results, and so on. Consider the maximum number that will best suit your process.
In most cases, it is not ideal to set the maximum label number to 1. Having three classifications is the most common choice. For example, “Dance classes for women suffering from a chronic disease” matches: “Dance”, “Chronically ill people”, and “Women”. Narrowing this to a single result only may not accurately capture the application or project.
Data fields

The CLASSIEfier algorithm works by analysing text entered in forms for keywords. The Data fields setting defines which default standard fields will be referenced for the analysis. To customise this selection, click into the box and add or remove relevant fields. At this time, only default standard fields of short or long answer types can be chosen as text inputs for auto-classification. Custom standard fields are not available for selection. You can view a table of default standard fields here.
Note: Ensure to select standard fields for this setting that are in use in your application forms, so that there is data populated there. Selecting fields that are not in use across your account will result in no text being available for the algorithm to analyse.
If you need to convert existing questions in your forms to one of the default standard fields so that they can be used for auto-classification, please see this help hub page.
Once you have your Auto Classification settings configured to your needs, you can now choose to activate the tool on either incoming applications, or historical applications.
Auto classifying incoming applications
Auto Classification can be turned on for incoming grant applications in a grant round via the round’s settings page. See the steps below to enable the tool on a grant round:
Create a new round or navigate to an existing round settings page (by clicking on a round name and finding the blue ‘edit’ button near the top right of the page).
Whilst viewing the round settings page, note the highlighted setting to switch Auto Classification on for incoming applications:
Tick the box and save to auto-classify future applications submitted to the round.
Note: if applications were already present in the round prior to switching Auto Classification on, they will not be automatically and retroactively auto-classified. To auto-classify historical applications, please see the section below.
Auto classifying historical applications via bulk action
To apply the CLASSIEfier tool (as configured in your account settings) and auto-populate CLASSIE fields for historical applications, you will need to perform a bulk action:
Select a program in your account.
Navigate to the applications tab.
Use the application filter to narrow down to a list of applications that you would like to auto-classify.
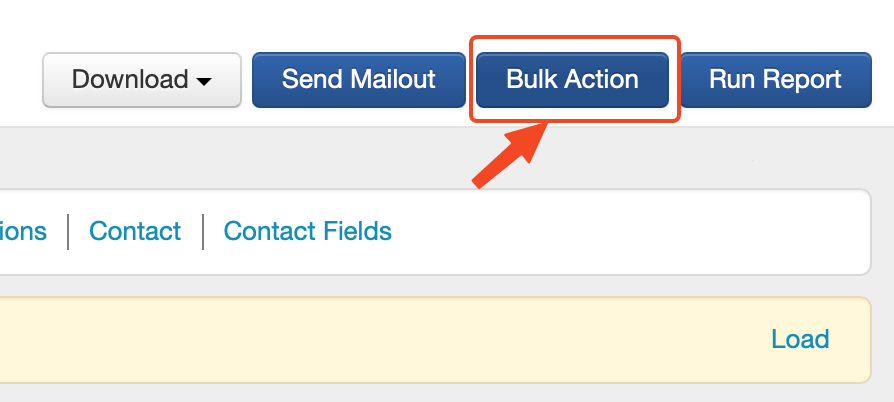
Select the Bulk Action button:
Edit your filtered list of applications if required and select Next:
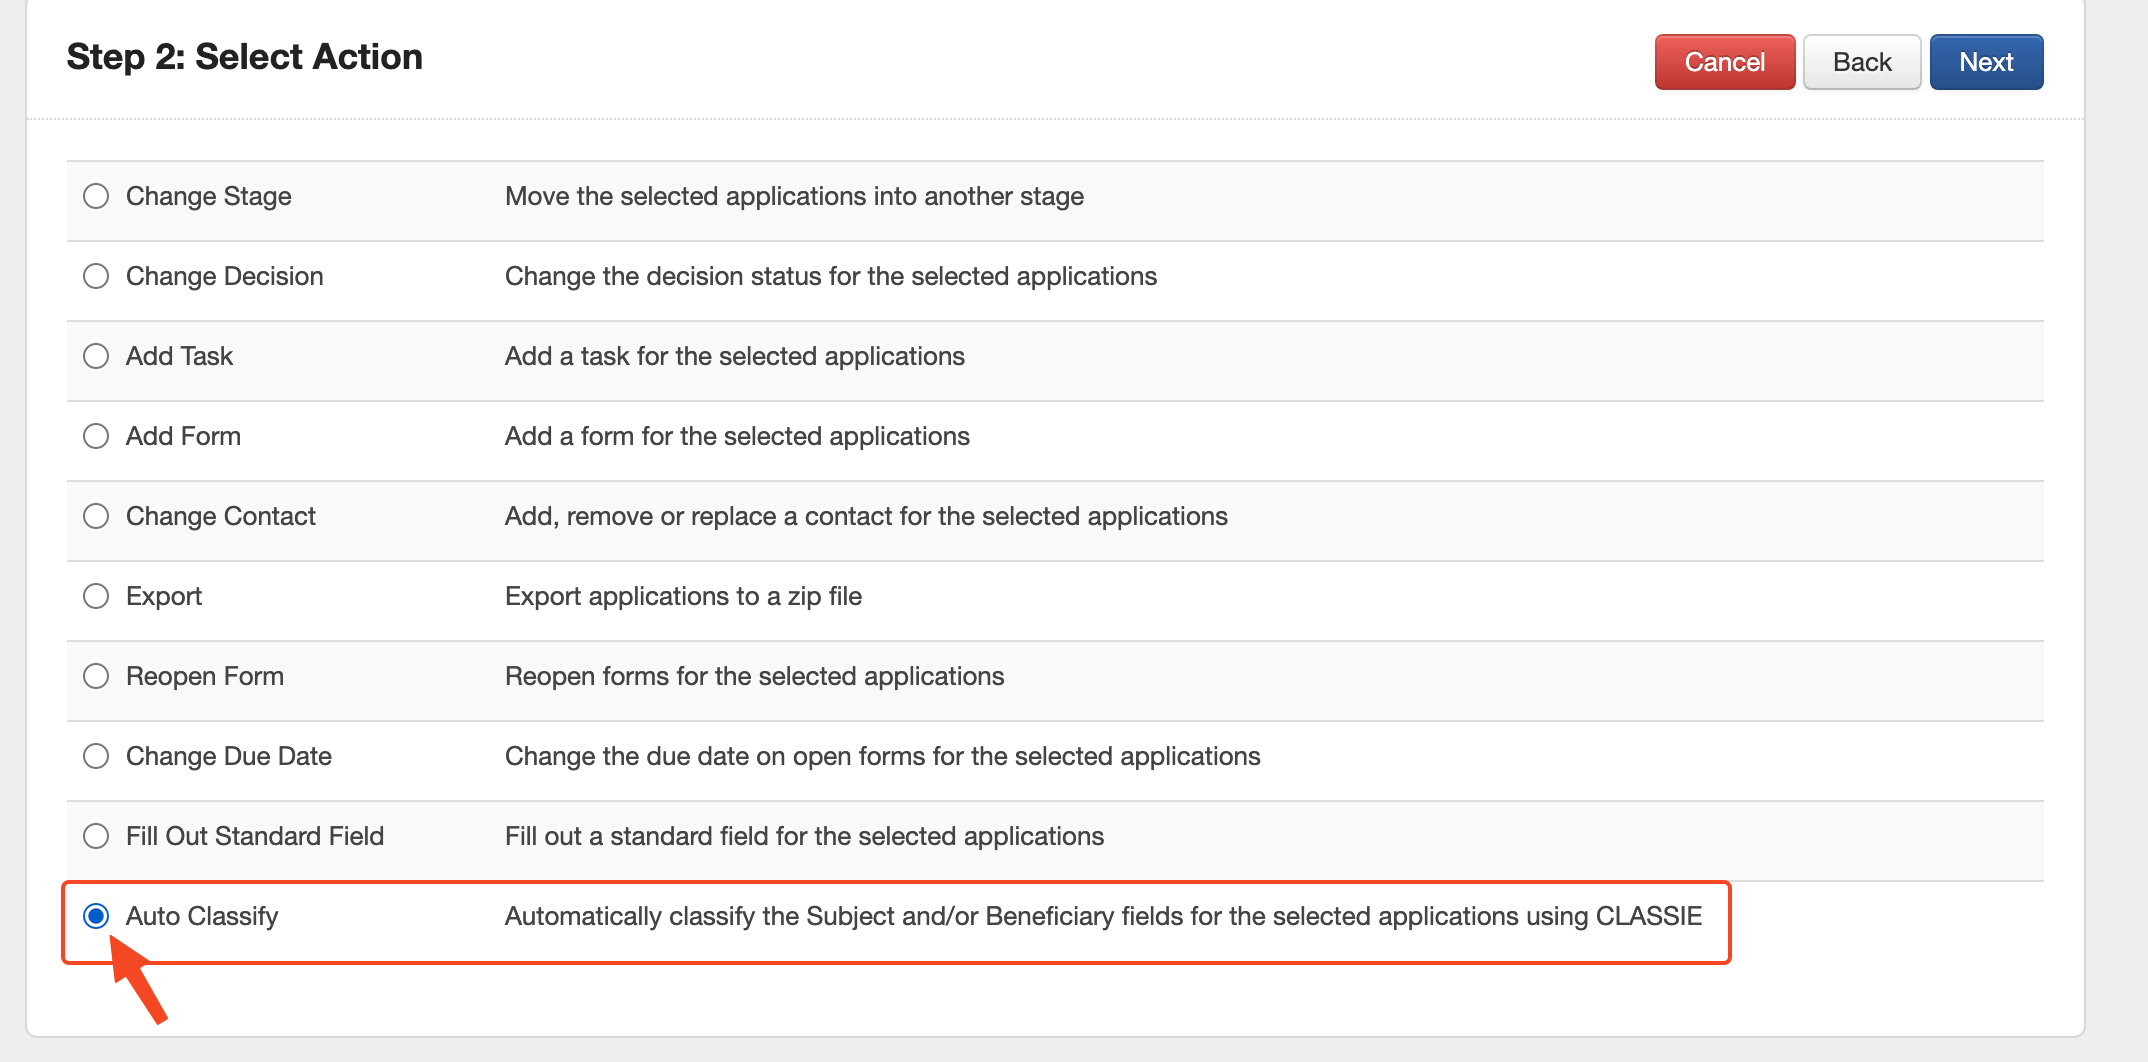
Select the Auto Classify action, then select Next:
Carefully consider and select one of the following auto-classify options (described below)
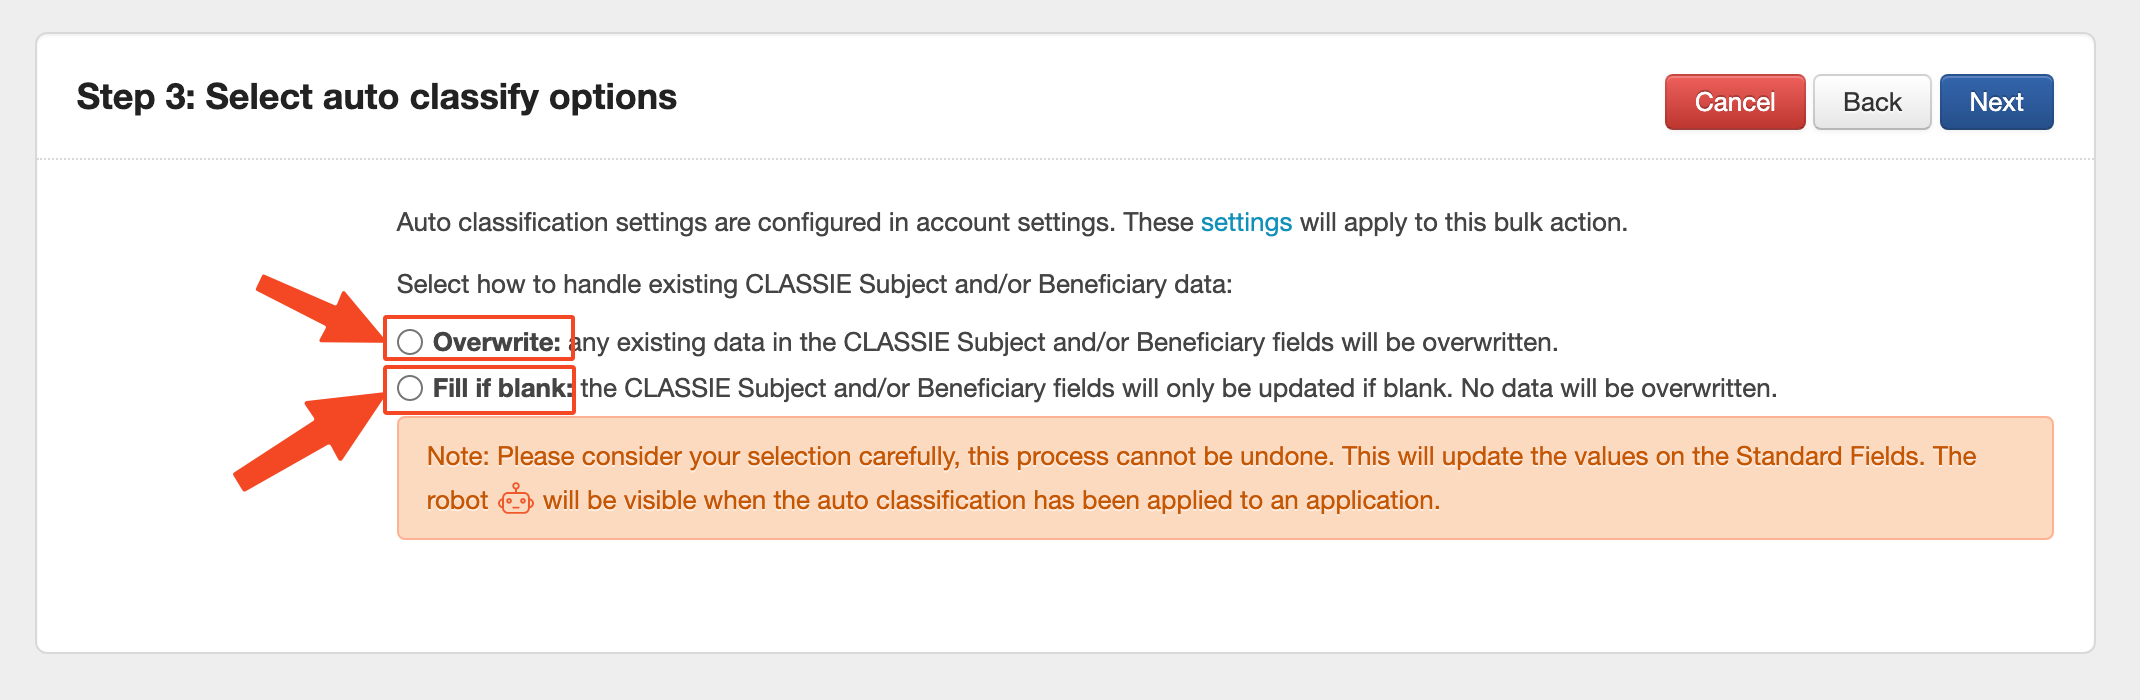
Option 1: Overwrite
If this option is selected, any existing data in the CLASSIE Subject and/or Beneficiary fields will be overwritten. For example, there may be previous labels in the field that were manually selected. Or, there may be existing data that was filled by the Auto Classification tool, but you have now since re-configured the tool in your settings which may result in a different output.
Choose this setting if you wish to overwrite any potential existing data in the CLASSIE standard fields with the new Auto Classification result.
Option 2: Fill if blank
If this option is selected, the CLASSIE Subject and/or Beneficiary fields will only be updated with the Auto Classification result if they are blank. Therefore, fields with existing data will remain the same and will not be overwritten.
Note: Please consider these options carefully before proceeding with the bulk action as it cannot be undone.
Select ‘Next’ again to review the implications of the Bulk Action and click ‘Submit’ if you would like to proceed.
Viewing auto classification results
Once the Auto Classification tool has been applied to one or more applications, you can view the output by:
Navigating to an application that has been auto-classified
Clicking on the ‘Standard Fields’ tab of the application
Locating the Project Subject and/or Project Beneficiaries fields (these are the CLASSIE standard fields)

If the orange robot icon is present, the field has been auto-populated using by the CLASSIEfier algorithm. If instead you see the original CLASSIE icon ![]() , this indicates the field has been manually entered or edited.
, this indicates the field has been manually entered or edited.
As specified in your Auto Classification settings, multiple classifications may be listed per each CLASSIE question. In the above example image, two project subjects have been identified: Arts and culture, and Community recreation (under the level 1 heading, Sport and recreation).
Alternatively, to view a summary of CLASSIE labels for several applications at once, you can consider reporting.
As with all standard fields, you have the option to edit the Auto Classification output and change it to a manual selection. Simply click on the blue edit button at the top of the standard fields tab and edit as necessary.
Return your auto-populated CLASSIE fields to blank
If there are previously entered selections in CLASSIE Subject or Beneficiary fields and these are overwritten through Auto Classification, there is no ‘undo’ in the sense that you can restore the fields to the previous selections.
However, you can use the Fill out Standard Field Bulk Action to return the Subject and Beneficiary fields to blank or some other selection. Instructions for this can be found here. To reset them to blank, simply leave the selection field empty.
Reporting on CLASSIE fields
One way that CLASSIE fields are represented within SmartyGrants is via the reporting dashboard (accessible via the reporting icon on the top navigation bar of your SmartyGrants account). The dashboard includes a live graphical summary of which subject areas and beneficiary groups are benefiting most from your funds. Read more about the CLASSIE dashboard here.
For more detailed reporting and analysis, a custom report can be generated in the usual manner.
Below, you will find a number of pre-made Excel reporting templates that can be uploaded to your account if you wish to use them. Simply click the file to download the template. Then, to test it, create a new report template in your account based on an existing layout file and upload the file. Then run the report on one or more applications in your account that contain responses to project subject and/or project beneficiaries as applicable.
Applications by Subject
Applications by Beneficiary
Total Funding by Subject
Total Funding by Beneficiary
Funding Split by Subject
Funding Split by Beneficiary
Conclusion
For other considerations to take into account when using Auto Classification, please consider reading this article.
We are committed to continuing to enhance this tool to best fit your grant review needs. Please contact SmartyGrants Support if you have any feedback about the Auto Classification feature.