Creating Forms
Important:
It is not necessary to create a new application form for each Round. However, it is recommend that a new form is created for each round when possible. The system allows you to copy existing forms and then edit the newly copied form as required for the new Round. If a form that has already been used is edited, this could create issues with the data already collected.

Looking for something more interactive?
Access SmartySkills
Create New Form
Click into the relevant Program you wish to Create a Form in. Click on the Forms tab. The forms screen will give you a listing of all of your existing forms and the option to create a new form. Click on the blue +Create/Copy Form button on the top right of screen.
SmartyGrants allows you to create your own online Forms for a range of purposes, there are four types:

Application
Are usually the primary form that your applicants lodge online. You create your own application forms based on the information you need from your applicants.
External forms can also be used for collecting additional information post-submission, such as banking details, progress updates and so on.
For detailed information on how Applicants use your online Application Forms, see Help for Applicants.
Acquittal
Acquittal Forms allow you to accept online acquittals. Like Application Forms, Acquittal Forms are publicly accessible through your SmartyGrants website. These forms are typically only available to applicants that already have an application stored within SmartyGrants.
For detailed information on allowing Applicants to submit Acquittal Forms, see Acquittal Forms.
Assessment
Assessment forms are not available to applicants. They allow you to run your assessment process online. Each grant assessor, whether internal or external, can fill out their own copy of an Assessment Form. The Forms can later be used to steer discussion within assessment meetings, or as the basis for assessment Reports.
Administration
Can be used for recording additional information internally. For example, if a grant recipient calls to inform you of a variation to their intended grant expenditure, you may record this information in an Administration Form.
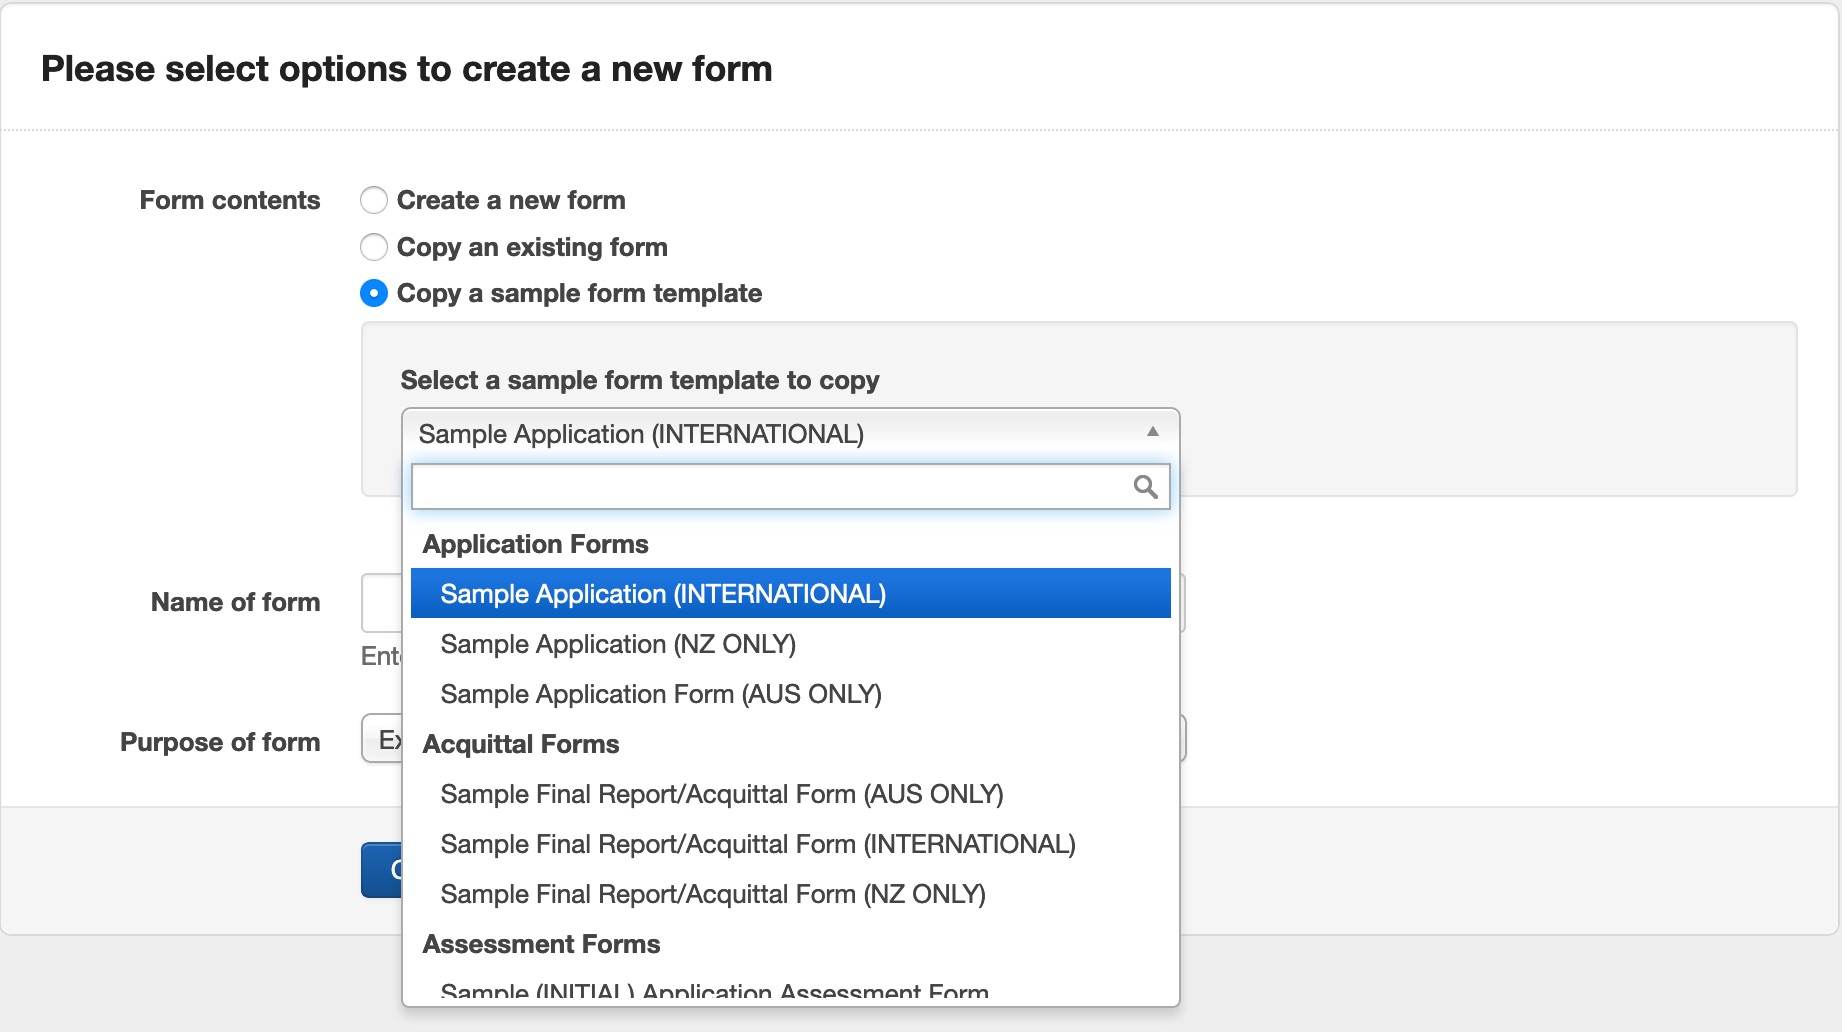
3. You then have the option to select: 'copy an existing form' that may have previously been created either from within your program or another program within the account; 'create a new form' creates a blank form for you to build on or 'copy a sample form template'.
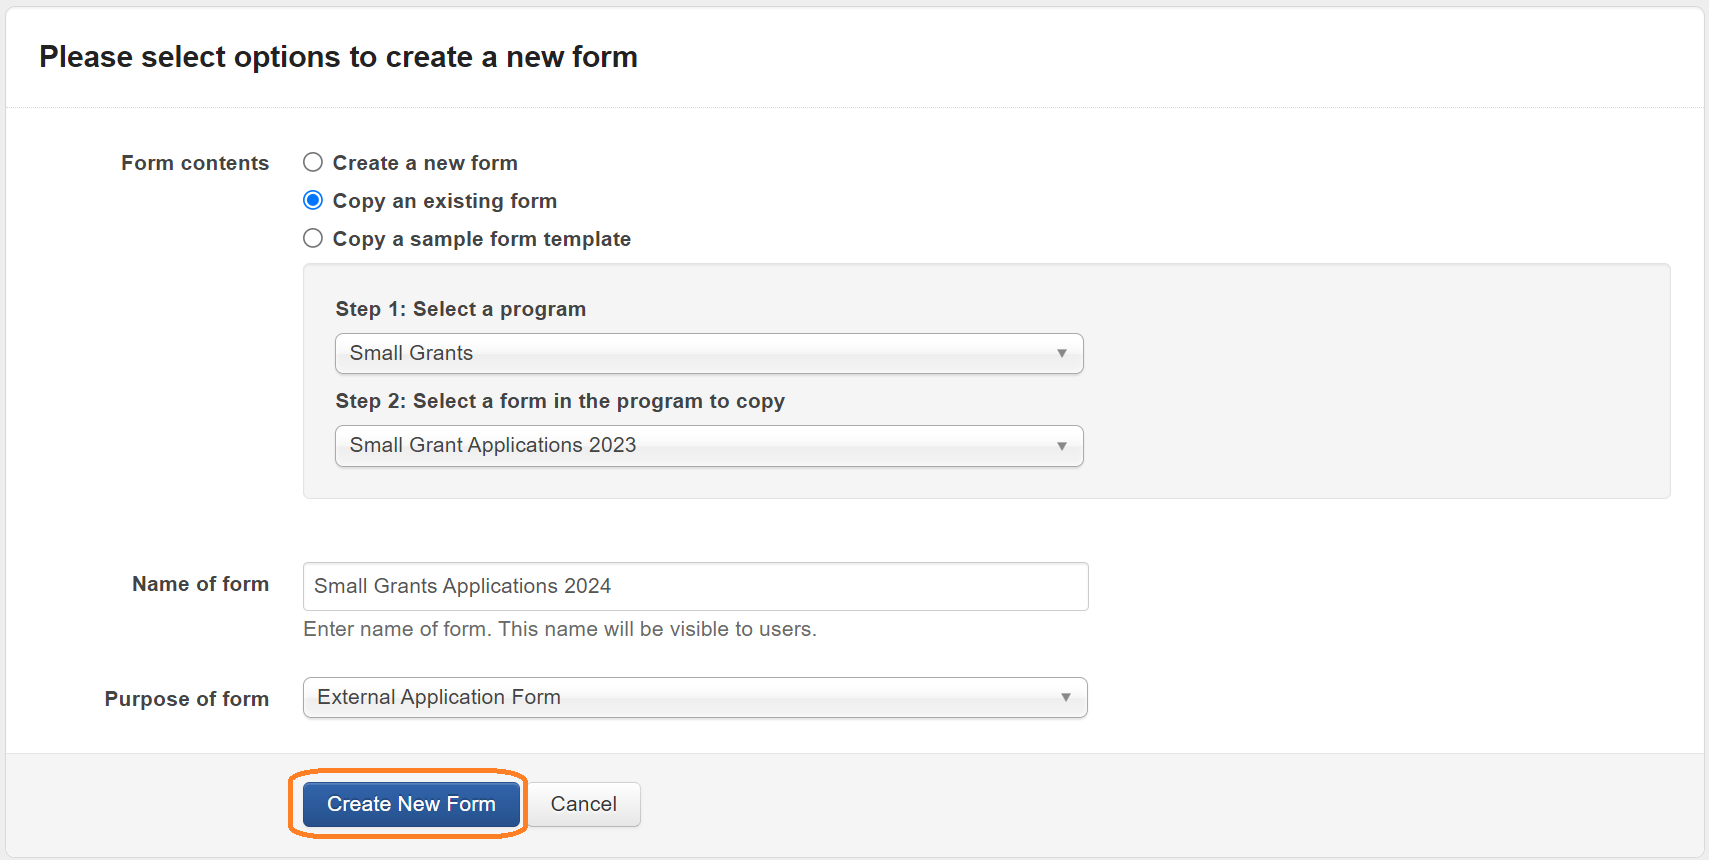
Name your form. Type this into the 'Name of form' field. *This name will be visible to users.
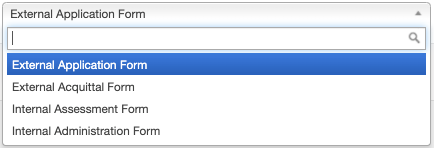
Select the purpose of your form from the drop down box
Copy an existing form
If you choose the option to 'copy an existing form', you are given the option to choose which program you wish to copy the form from and which specific form you wish to copy.

Click on the 'Create New Form' button
This will then open up the form editor where can begin to build your form.
Important: Saving your Form
When working on a Form for an extended period of time, remember to regularly save your Form by clicking the Save button near the top right of screen.
Form Editor Page
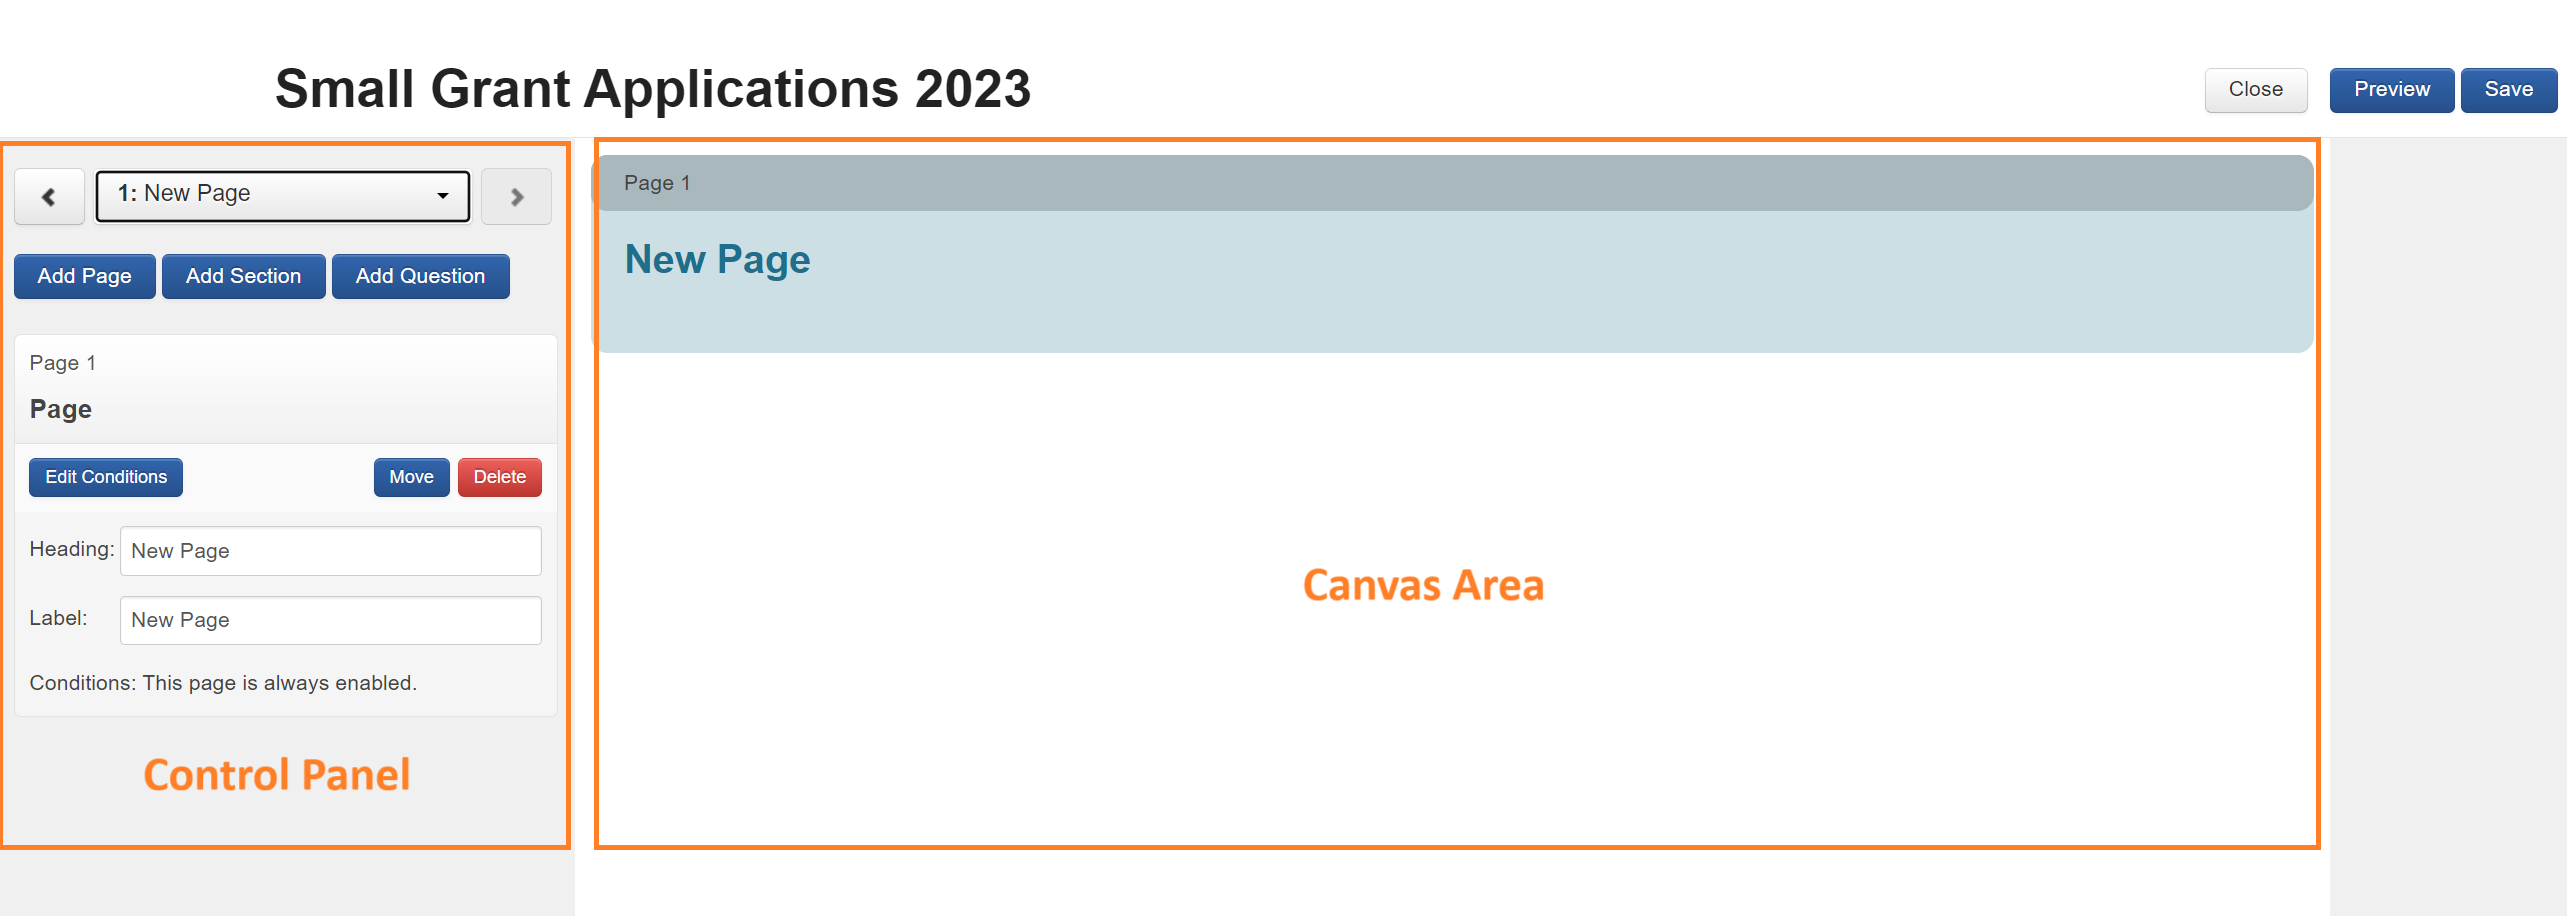
After you have created a form from scratch, you have a blank canvas to work with.
There are 4 main elements to form building and several question types you can insert into a form. It is important to take some time to properly understand the purpose of each element. Your forms will be most useful if you have used these elements for the appropriate purposes. See Form Elements and Question Types to familiarise yourself.
The area on the right of the create form screen is where the form will take shape (Form Canvas Area).
The area on the left hand side of screen is where all of your settings for each of your Pages, Sections & Questions sit (Form Control Panel).
Add Elements/Questions:
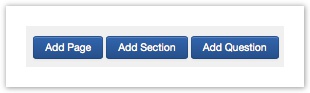
To add any elements or Questions click on either Add Page, Add Section or Add Question.
You will see that either of these automatically appear on the right hand side of screen.
To change any settings for that particular element/question, click on the element/question in the canvas area. You will see that when you click through your form onto different elements/questions, the options on the left hand panel will change, depending on what you have selected.
For detailed information on these Elements/Questions & Settings see Form Elements and Question Types
Form Settings
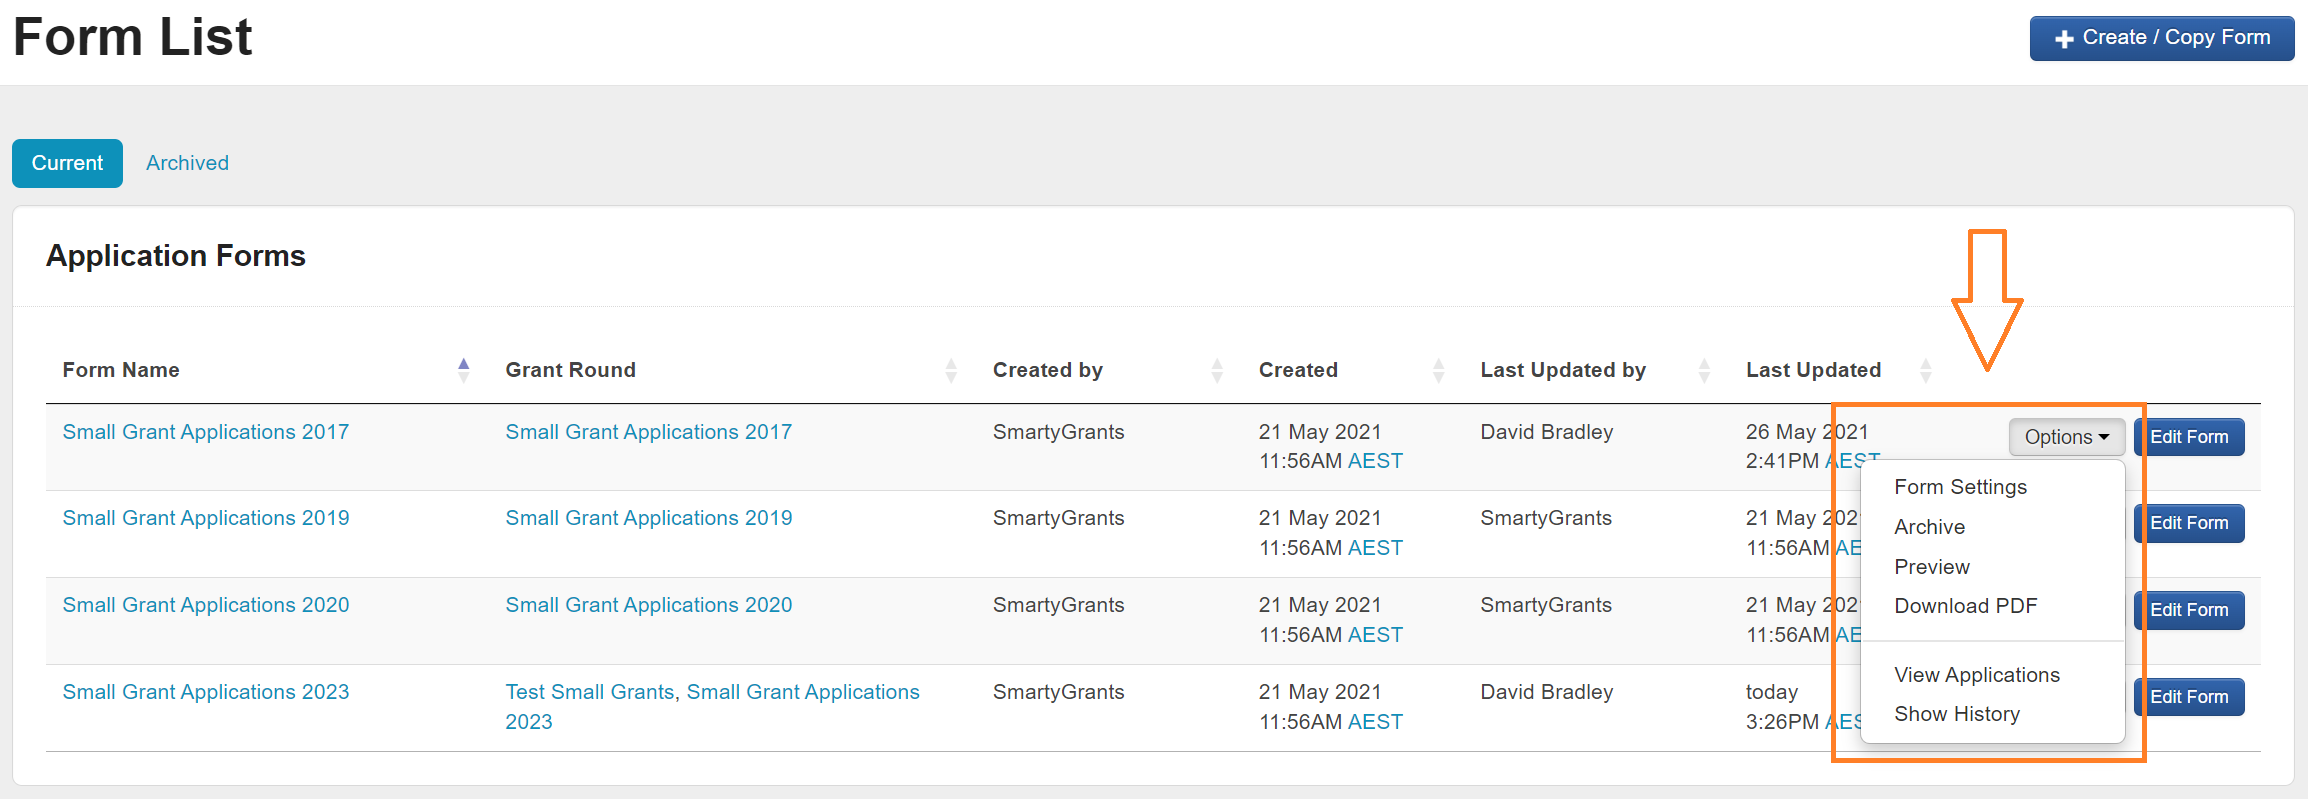
You can find a listing of all forms that have been created on the Forms tab.
Here you can edit the form, preview the form, view applications and find your Form Settings.
In form settings you can:
Change the name of the Form.
Change the purpose of the Form.
Enable or Disable *Asterisks next to required/mandatory question fields in your form.
Change the default Conditional Logic settings.
Download a PDF of the form.
Customise your confirmation of submission e-mail: for details see the Form Building Elements video.
Previewing your Form
To preview your Form as it will appear to the public, click 'Preview'.

Remember: The Form Editor displays your Forms slightly differently to the way they are displayed to the public.