Grid Layouot of sections

Looking for something more interactive?
Access SmartySkills
When adding a new section to a form in SmartyGrants, you have the option to make that section a 'Grid' Layout.
A Grid Layout allows you to create a grid and customise the questions that you build into the grid.
You have the ability to define how many rows your applicants may enter or give them the ability to add as many rows as needed.
Grids are not only helpful for customising your own budgets but can be useful for collecting other types of information from your applicants.
Please Note: it is important to note the default output layout in a report when collecting information in a grid. See customise grid layouts in Reporting for more information.
Default Budget Grids - Single Question
This article explains the single question default budget grids as well as using grid sections in general. Note that there are also default standard section budget grids that can be added to forms. Please see How do I add standard sections to forms? for more information.
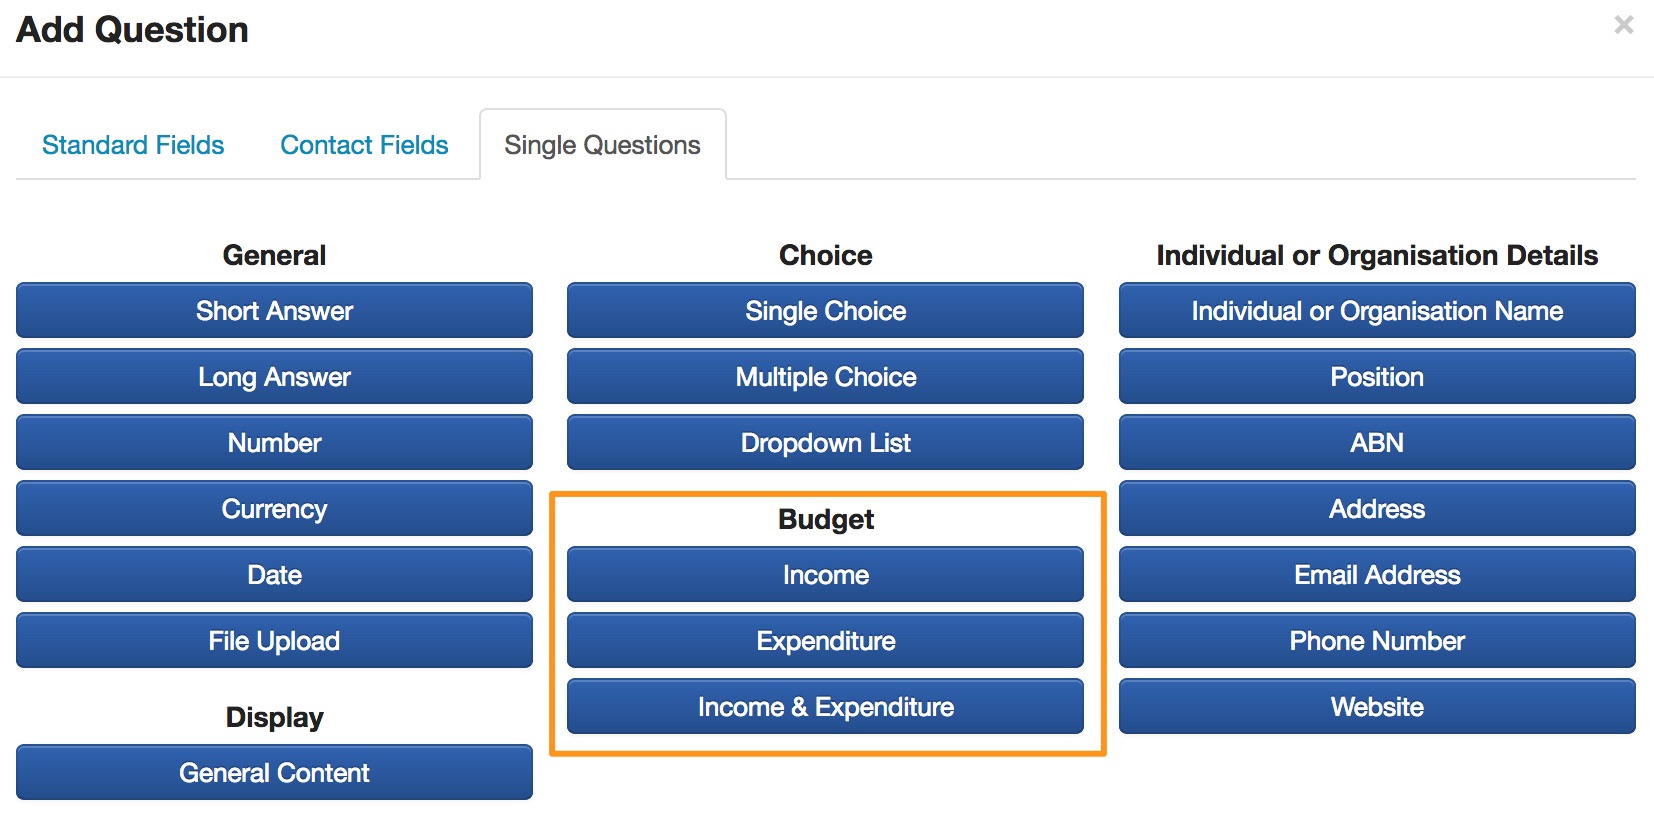
There are three default single questions budget grids in the system. The default budget grid sections are:
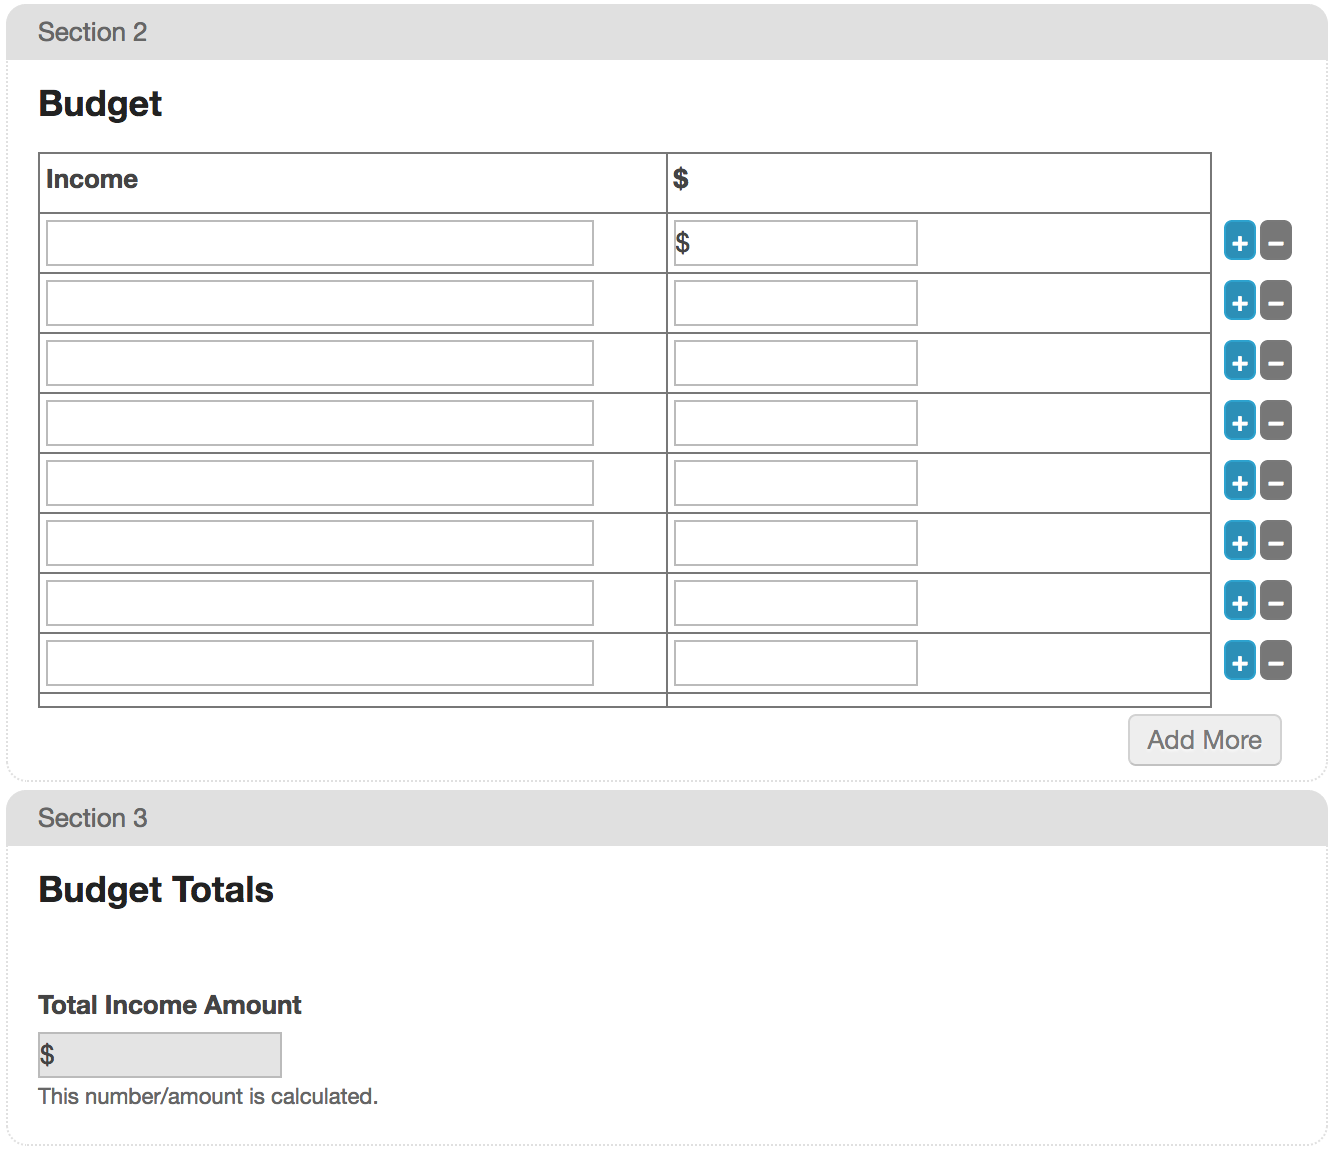
Income
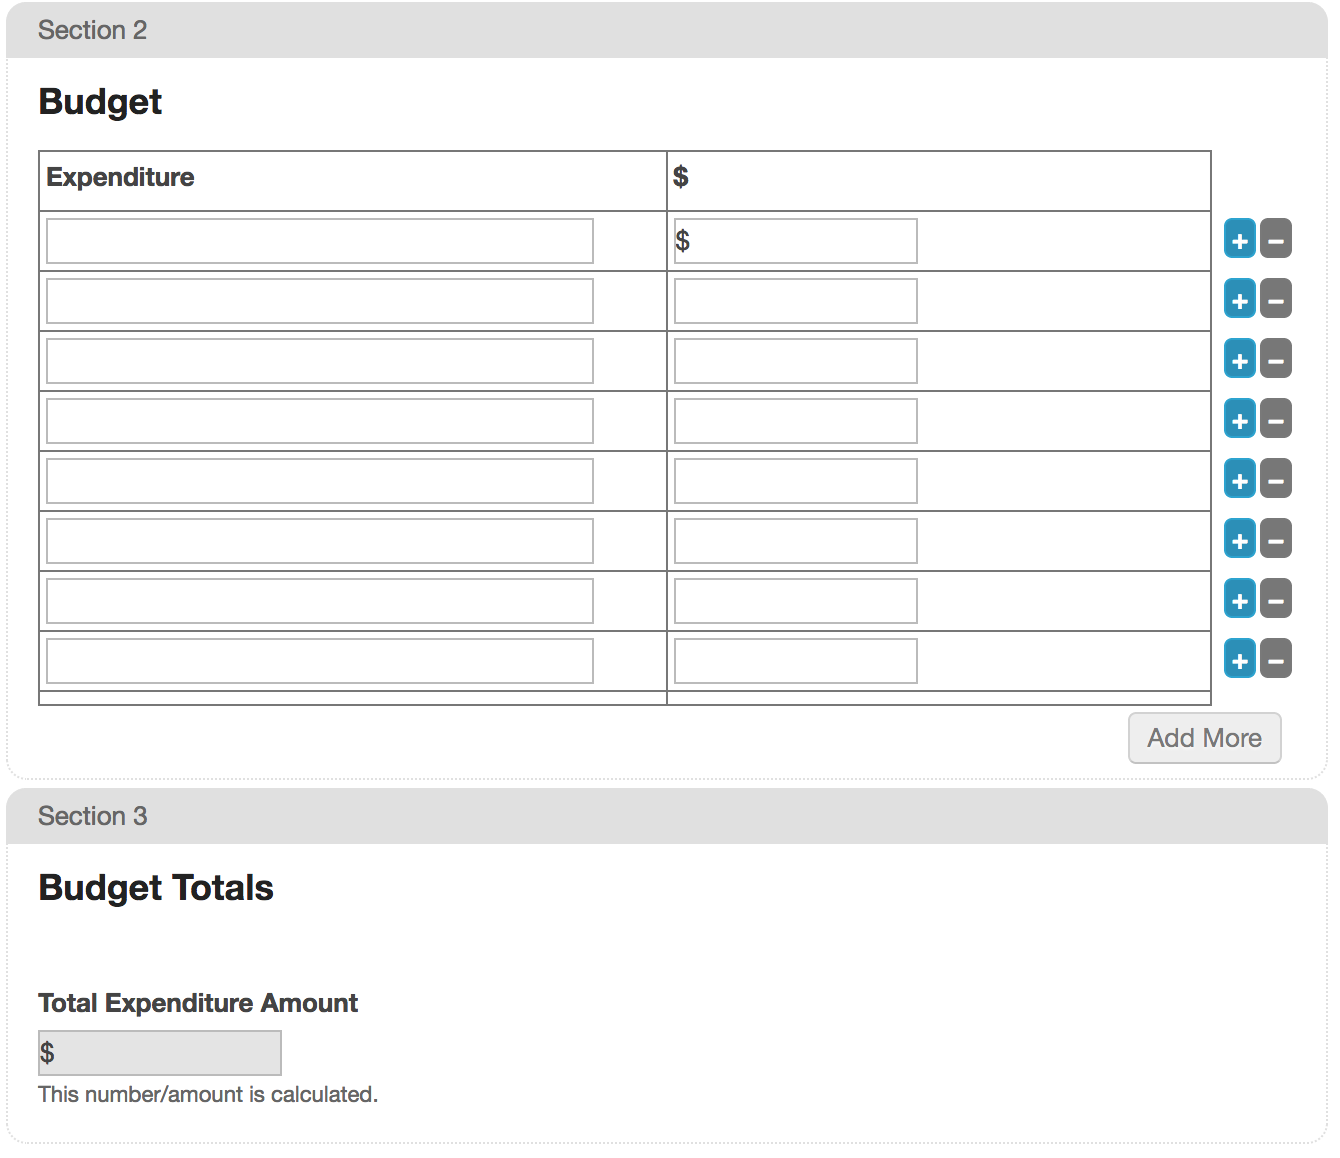
Expenditure
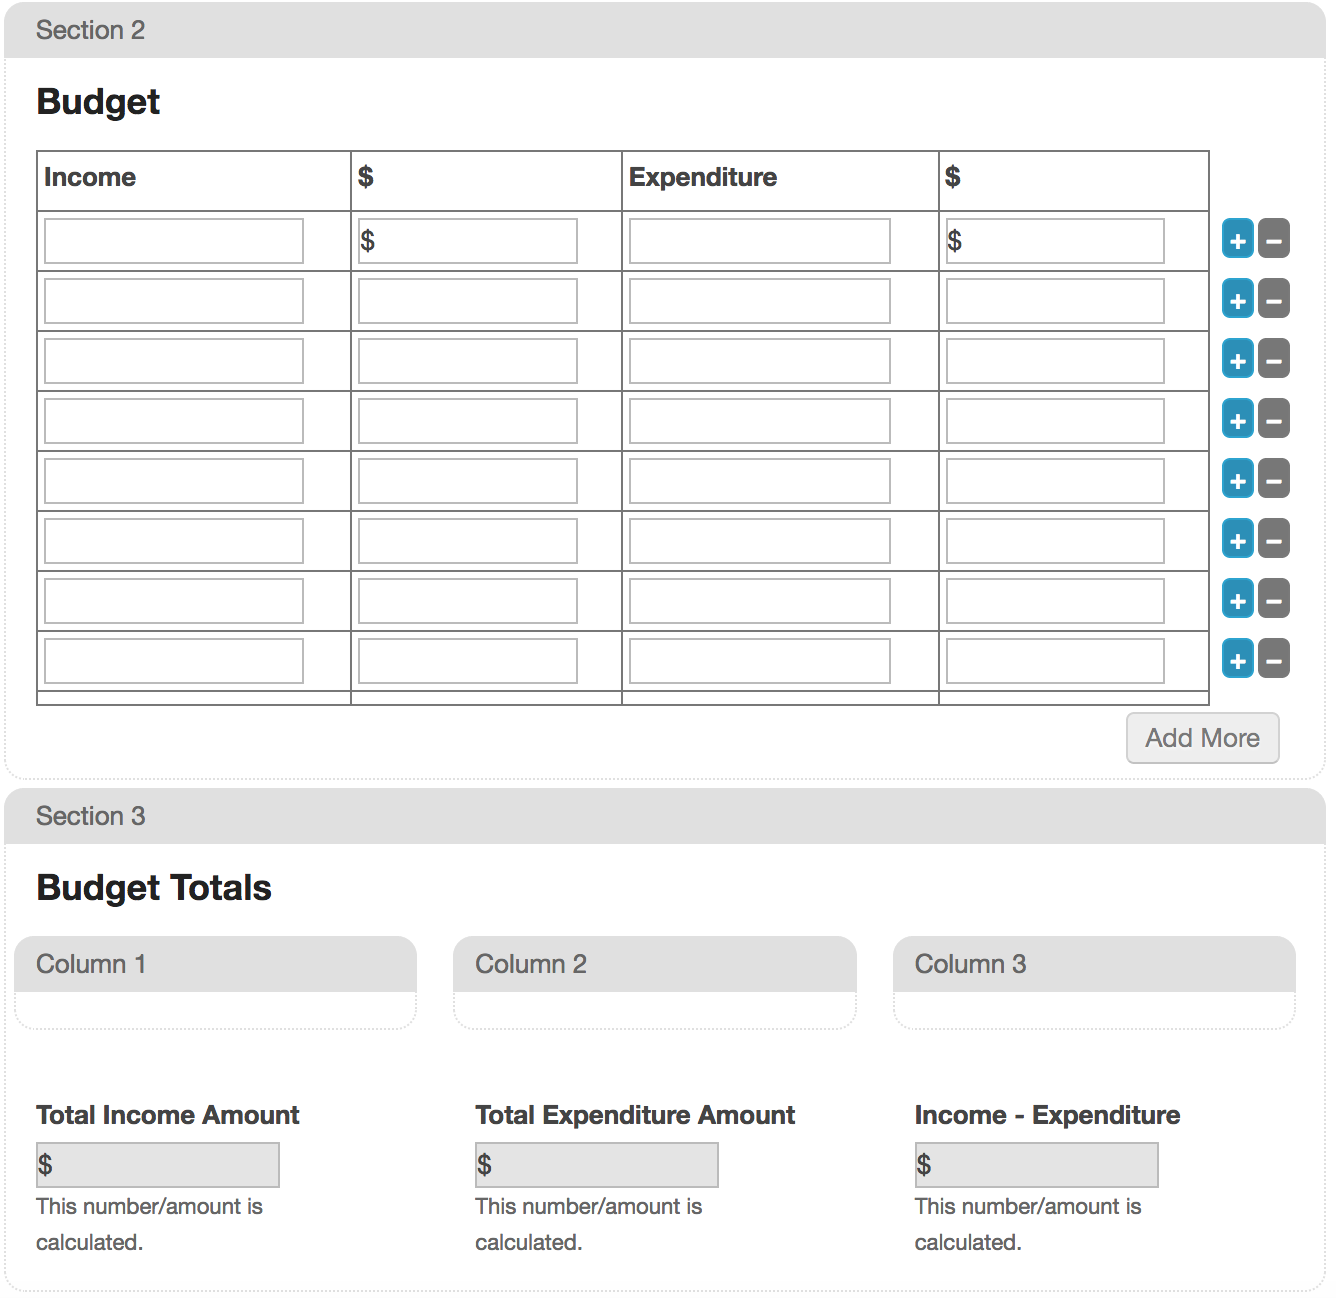
Income & Expenditure (selecting this option adds both the income and expenditure budget grid sections).

Once added to a form, these sections can be edited as required.
Income
Expenditure
Income and Expenditure
Insert Default Budget
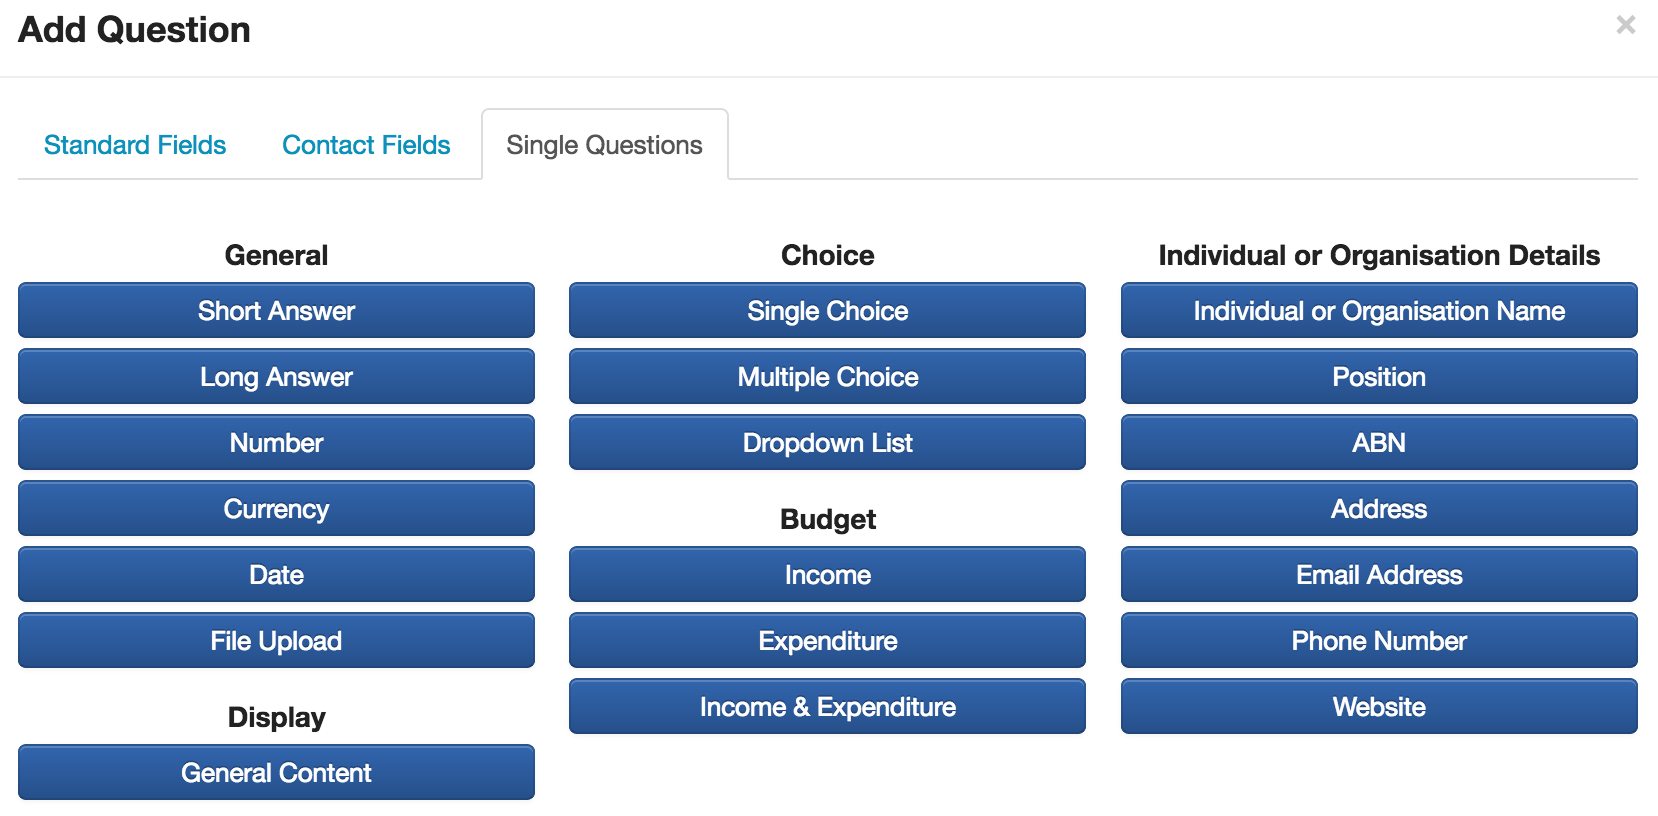
To add a default grid layout section of these grids to your form, select Add Question
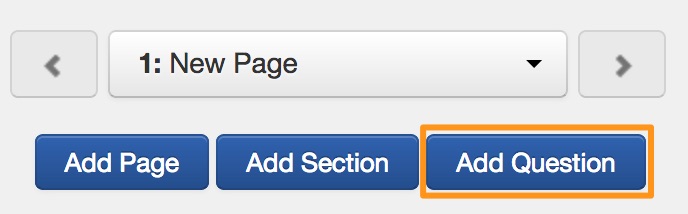
Select Income, Expenditure or Income & Expenditure.
You will see the budget is then added to your form.
Budget Totals
You will see that in addition to the budget grid, a Budget Totals section is also added underneath the grid. This will total the relevant currency questions (column) in the grid. These fields are pre-loaded calculated fields. The full grid and total fields can be customised, for example, edit the question text or add validations.
Tip: some grantmakers like to add a validation to the 'Income-Expenditure' field to set the minimum and maximum amount to zero. This field automatically calculate the Income minus the expenditure. Setting the validation to zero ensures the applicant must make both income and expenditure balance.
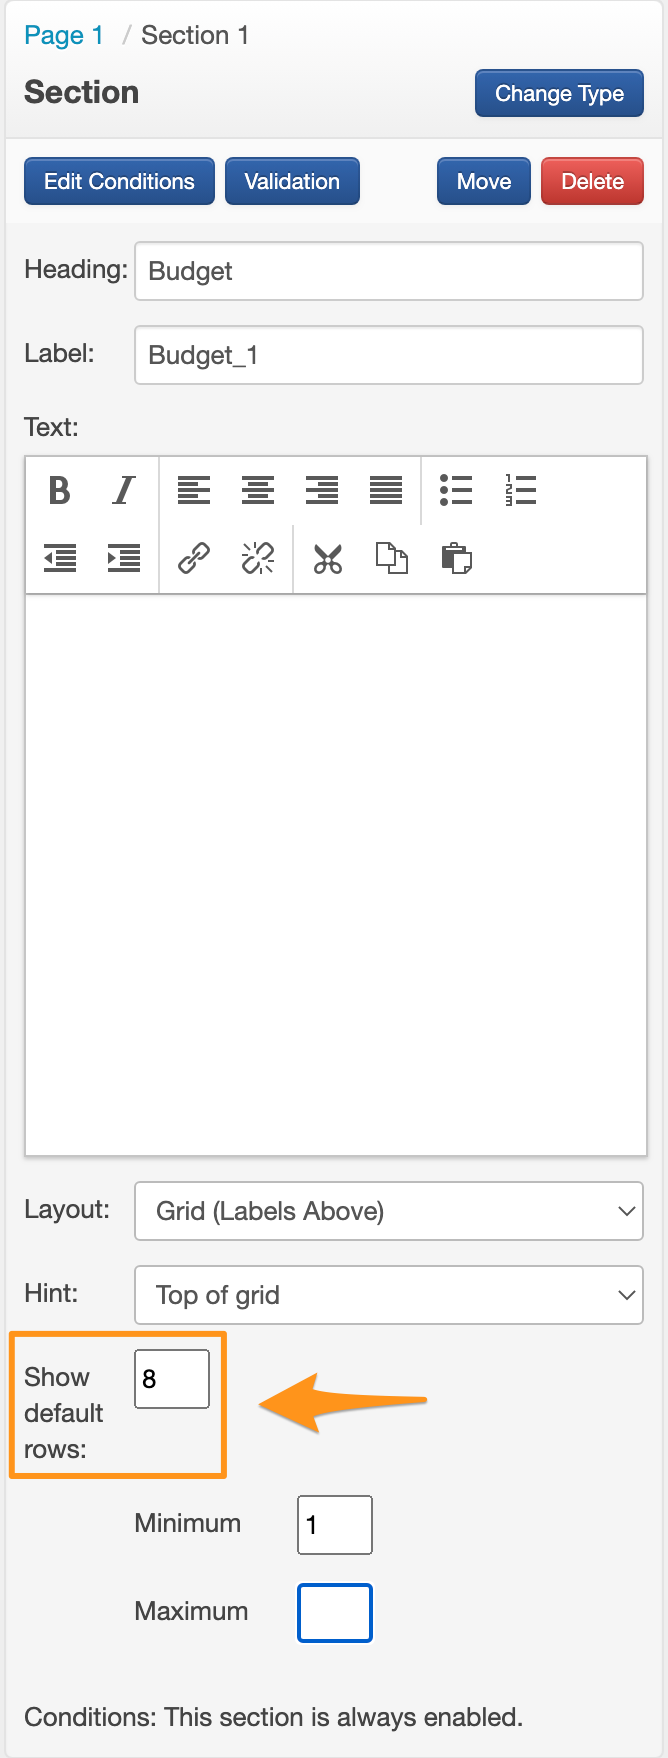
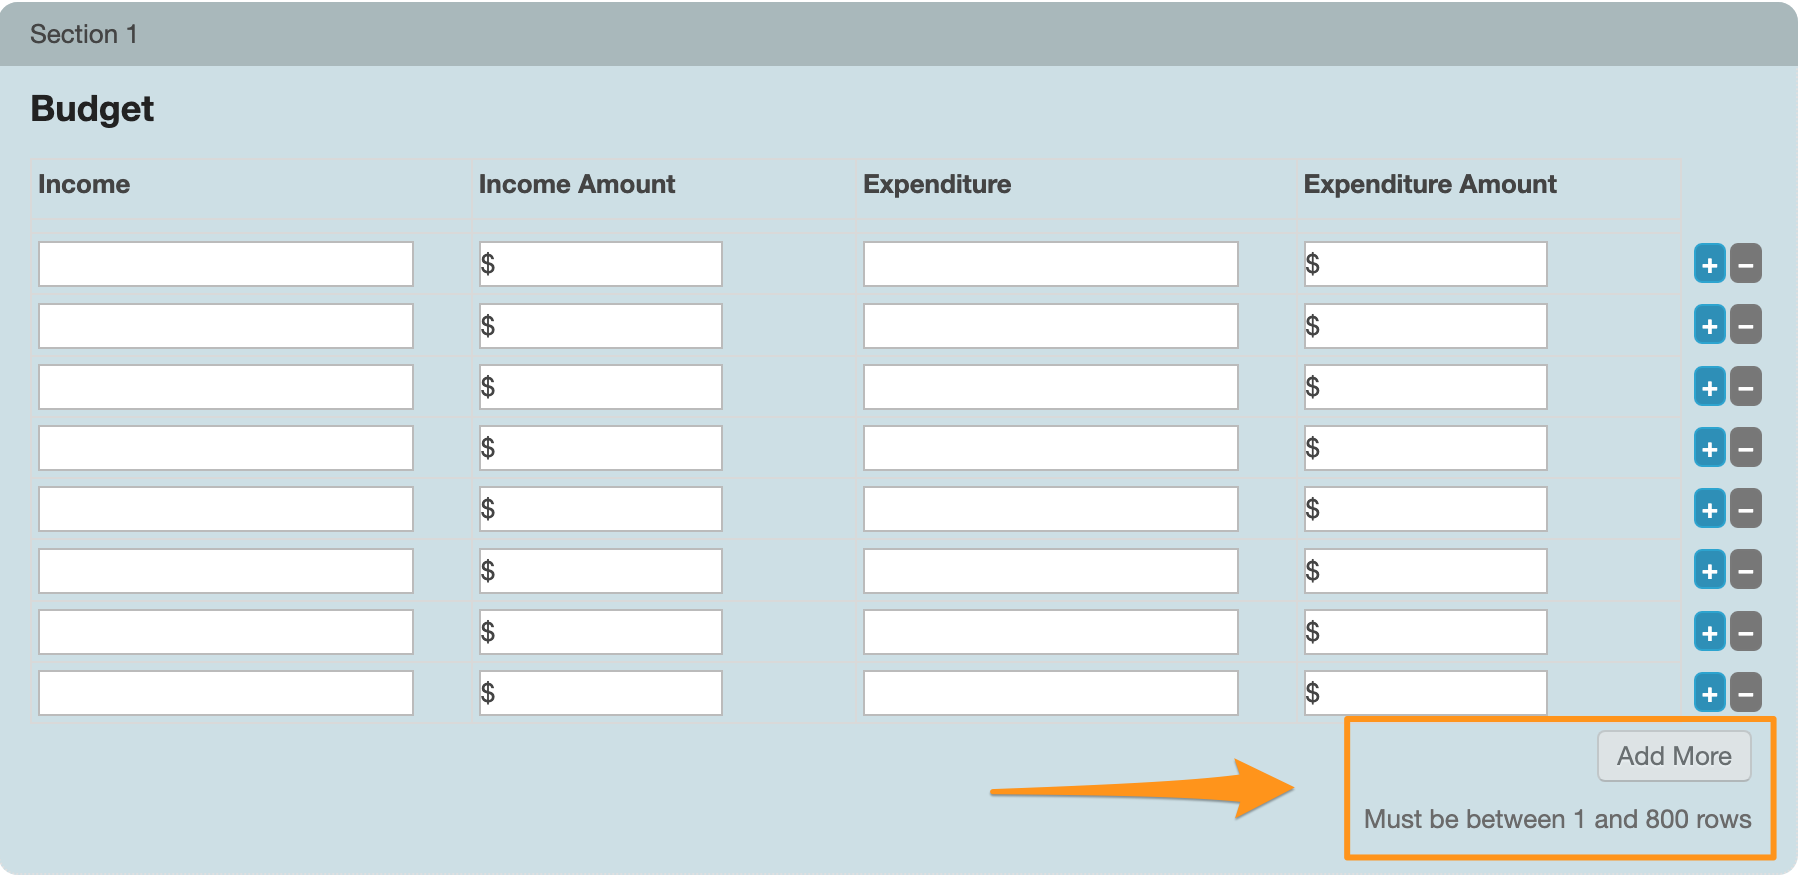
To specify how many rows you would like the grid section to display by default, select the section.
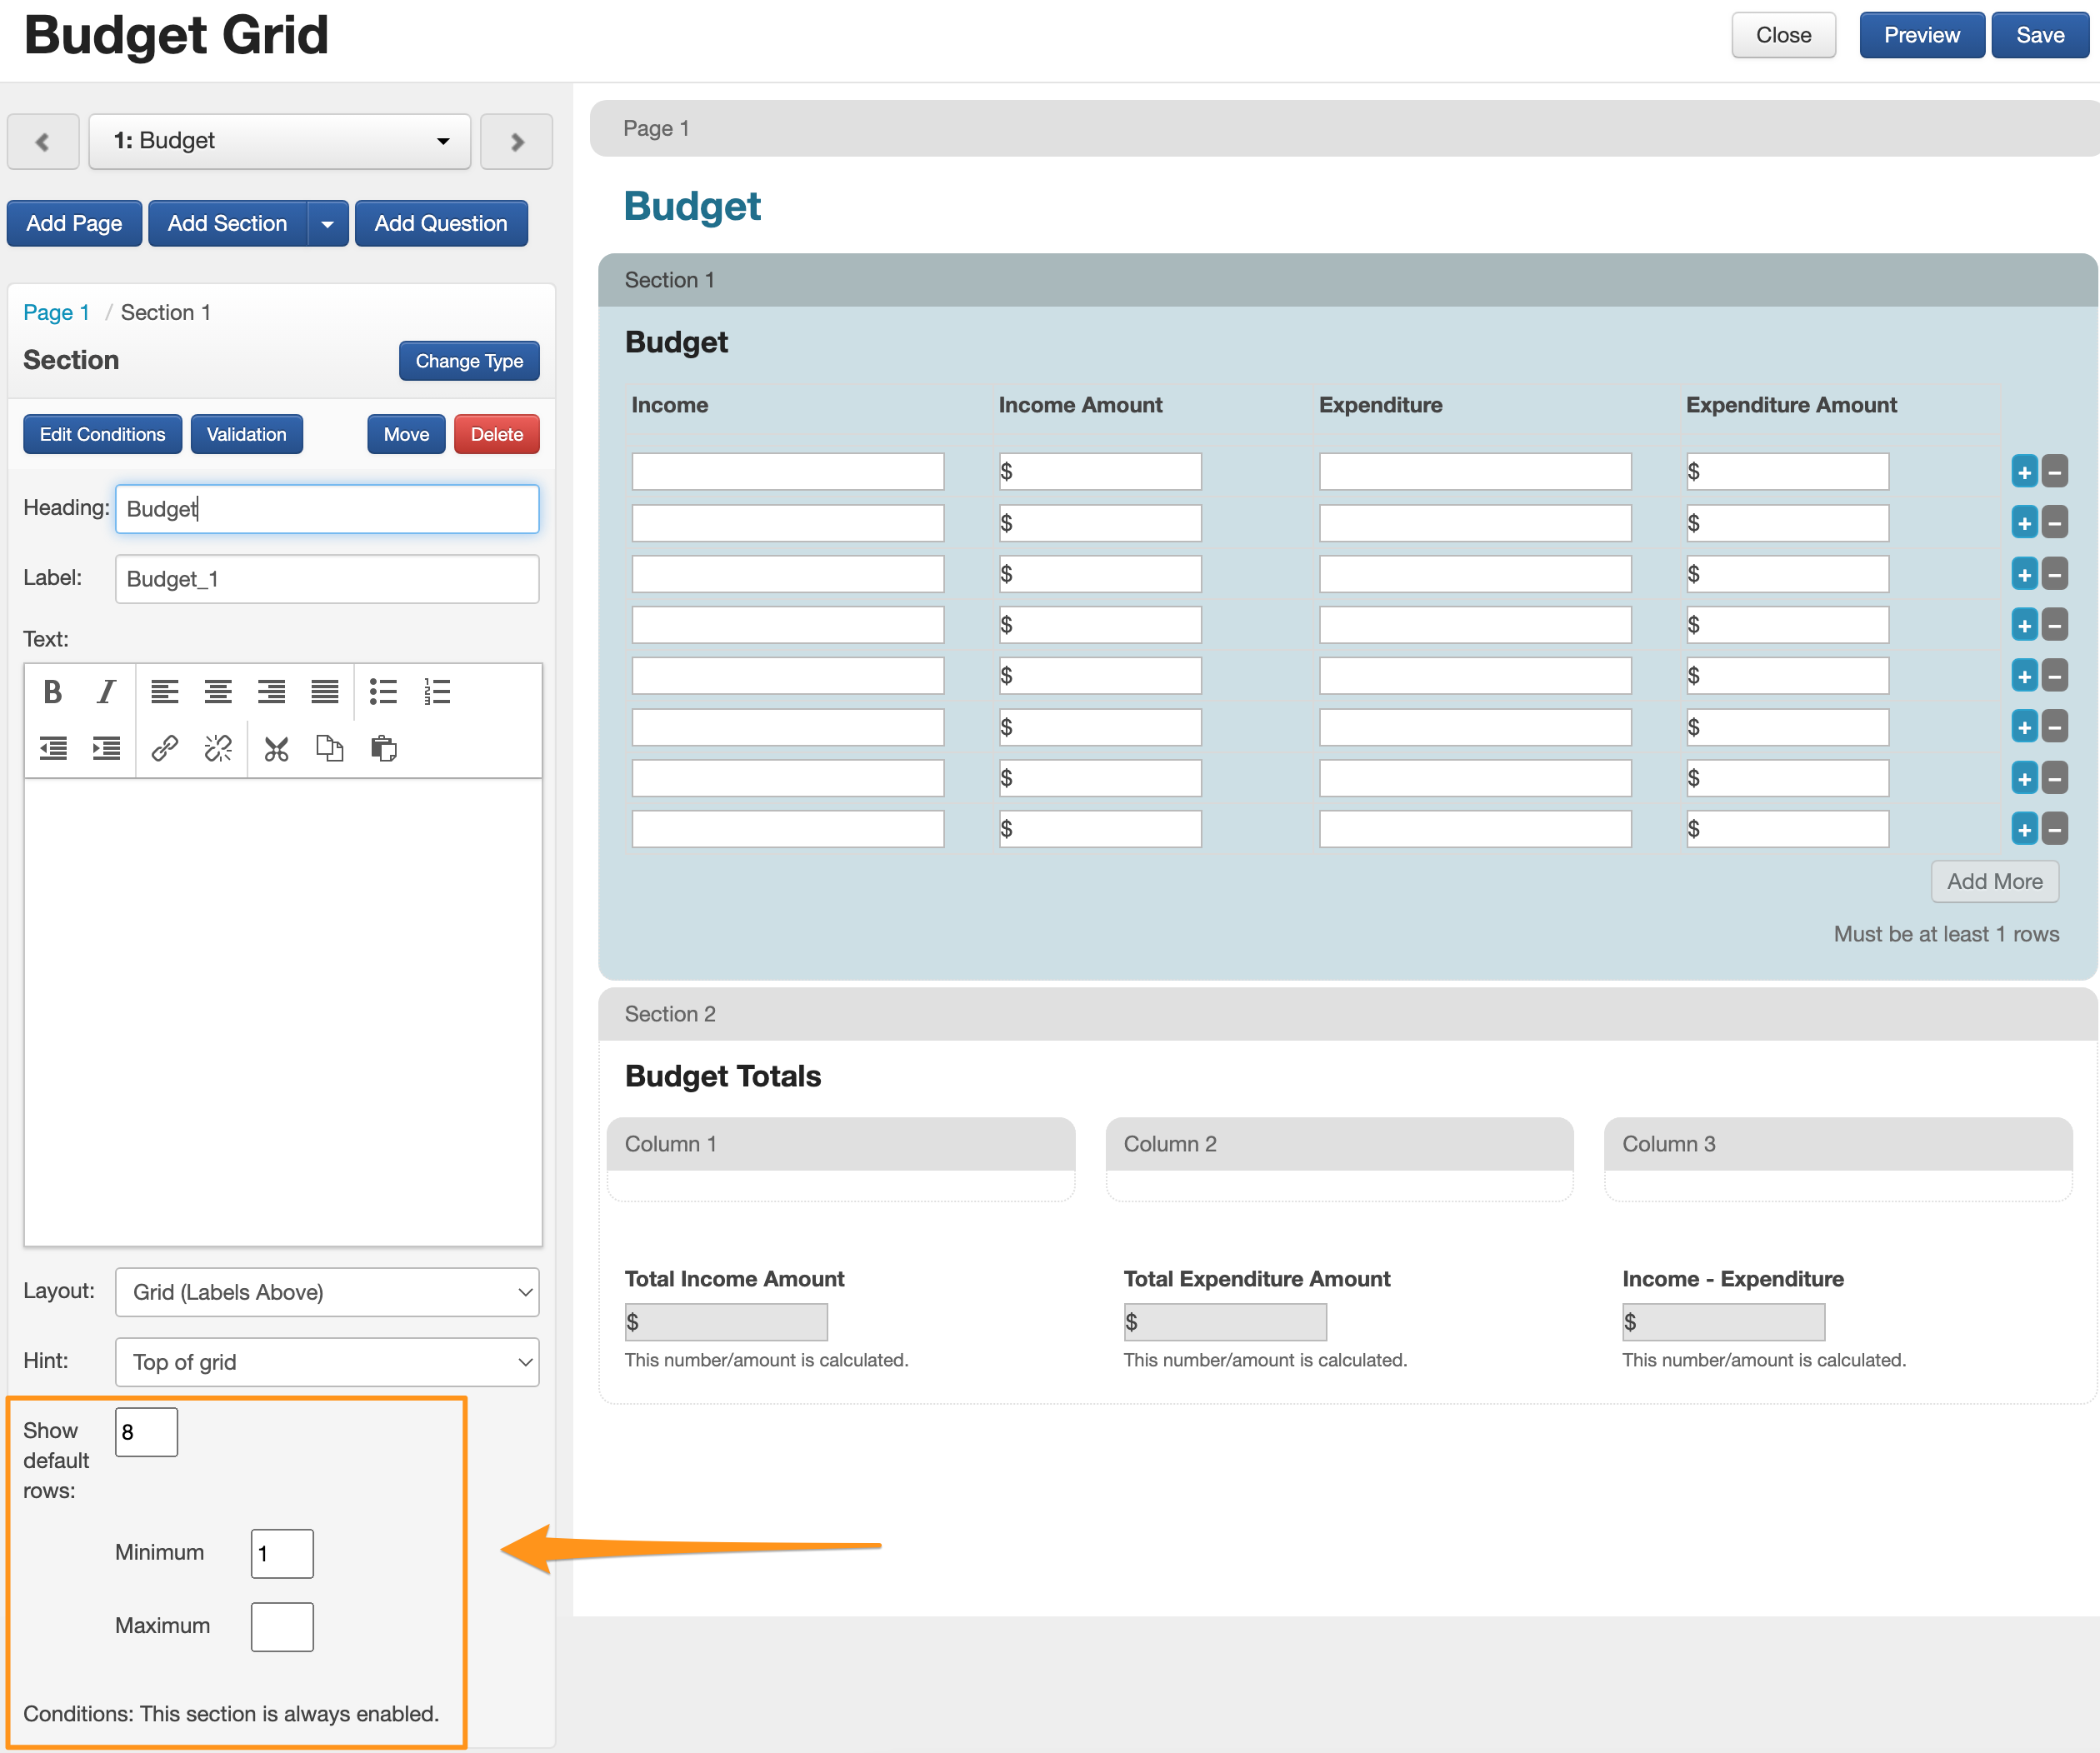
Select Show default rows: and enter the default number of rows to be shown. The default Income, Expenditure and Income grid layout sections will display 8 rows..
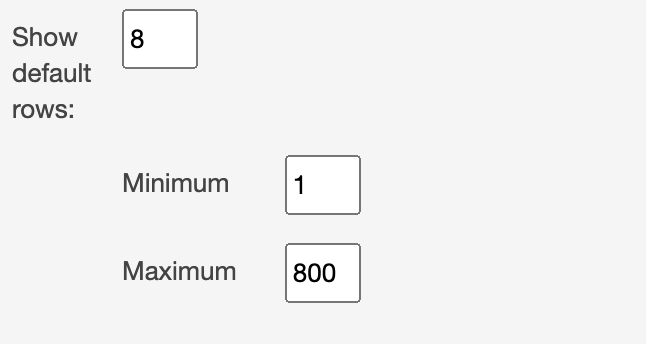
If you wish to only allow a specific amount of rows, ensure that the 'Maximum' field is set to the required amount.
If this 'Maximum' is not set (i.e. left blank), or set to a higher number than the 'Show default rows' field, the person filling out the form will be able to add as many rows as they want.
Pre-Determine Question Responses
You may give a hint, or 'pre-determine', the responses to certain questions.
For example, you may want to prompt applicants to give you specific expenditure items such as Salaries, Equipment, Rent or Insurance.
To do so, select the field you would like to poulate a response into and type the required text.
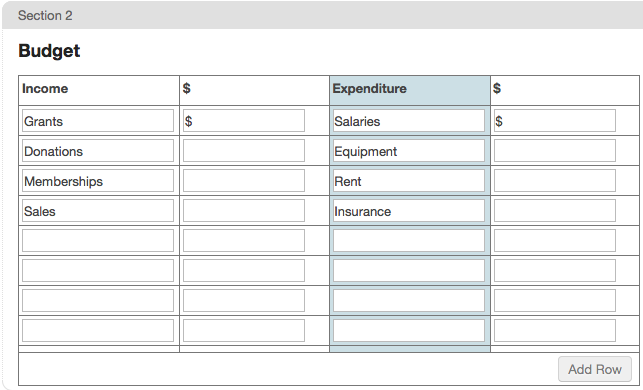
Important: Entering responses in a field in the form editor does not lock there responses. It will populate the entered response into the form in fill out mode, but these will be editable by the person filling out the form.
Customise Grid
Grids can be created and customised to feature a variety of question types. This can be useful for collecting other types of information from your applicants or customising budget grids that are more complex than the set default budget grids.
Within a new section of your form, click on the layout drop down arrow in the left hand form panel. This will bring up 4 different options, select Grid (Labels Above) option.
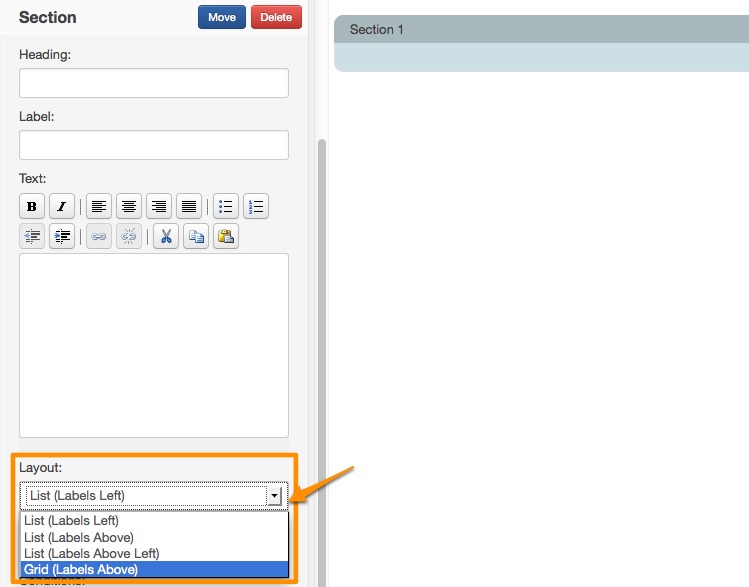
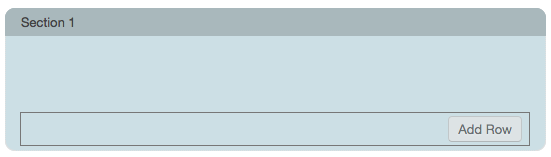
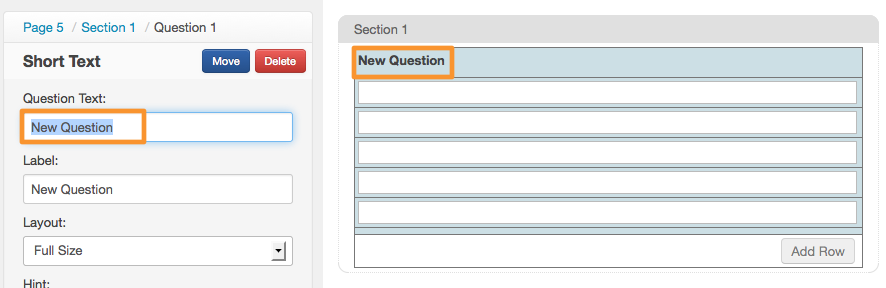
You will see that a blank grid row is added. Now you need to build your questions into the grid.
3. Click on the Add Question button and select which type of question you wish to include.
In this example, a short answer question has been added. Label your question in the left hand panel.
Repeat these steps as necessary, with the addition of each question also adding a new column to the grid.
In this example the second question added was a currency question and the question text is entitled 'Revenue Amount'.

Here is another example of a grid - this one looking quite different from a budget grid:
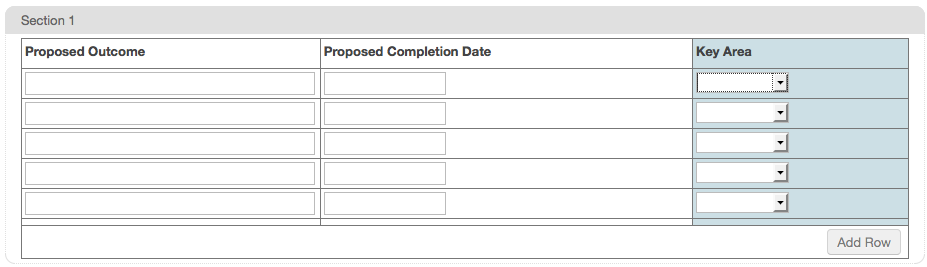
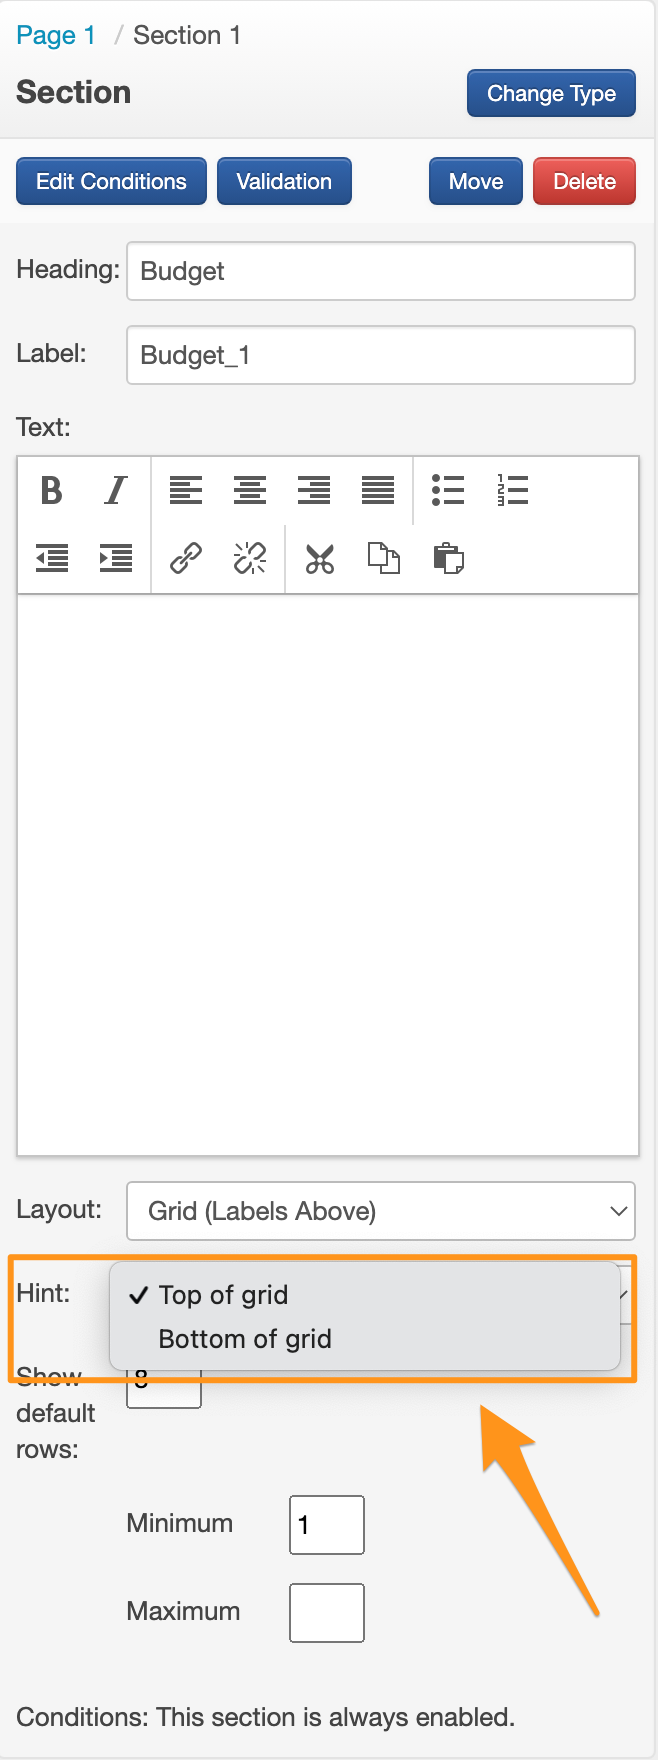
You are also able to provide hints for each question within a grid and select whether the hint will be displayed at the top or the bottom of the grid
First, add the required questions to the grid section and add hints as required
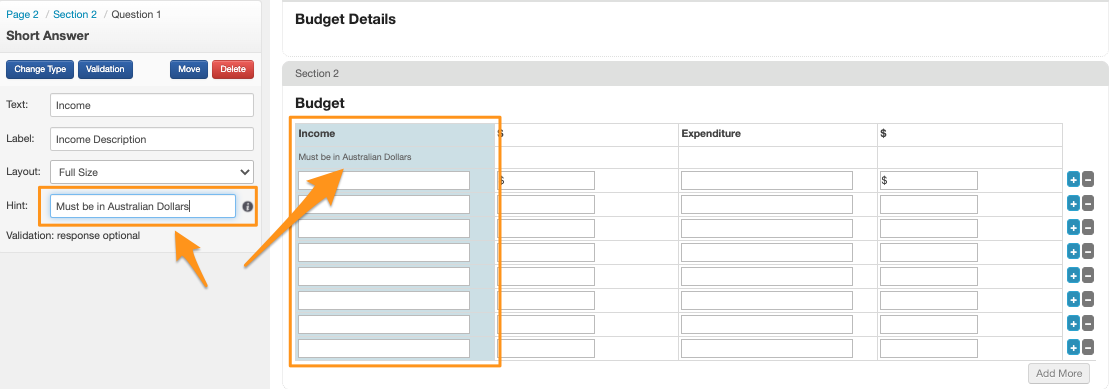
In the contol panel with the section highlighted, choose the hint to be either 'Top of Grid' or 'Bottom of Grid'
Grid Report Layouts
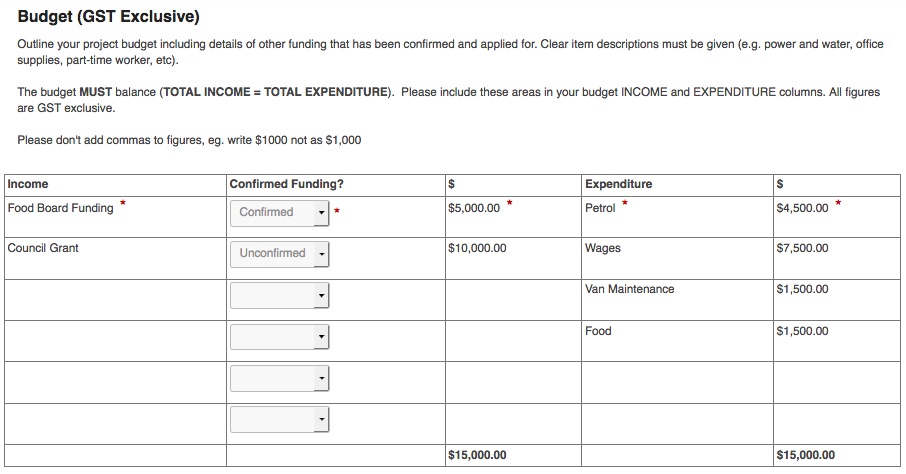
It is important to note that there are limitations on the layout appearance of grids in reporting, particularly in Microsoft Excel, Microsoft Word however, allows you to customise your grid in more detail. Below is an example of how a budget grid has been created and filled in by the applicant on a form and then how it is displayed in an excel report.
Example of a filled in budget grid on an application:
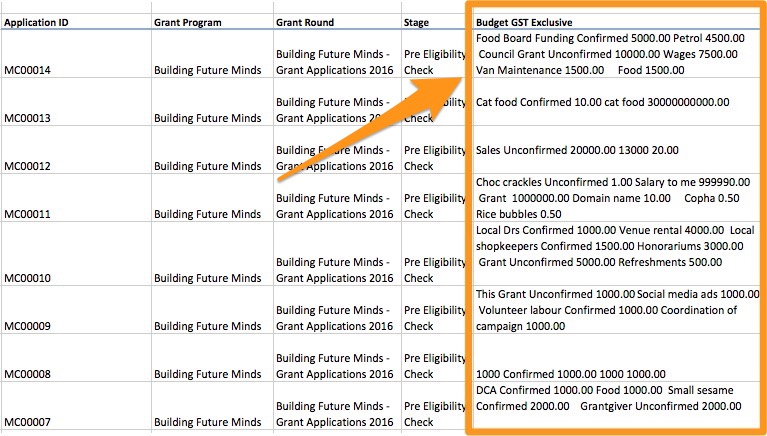
Example of how the above budget grid is displayed on an excel report:
Note that the information from each budget line now appears all in the same excel cell.
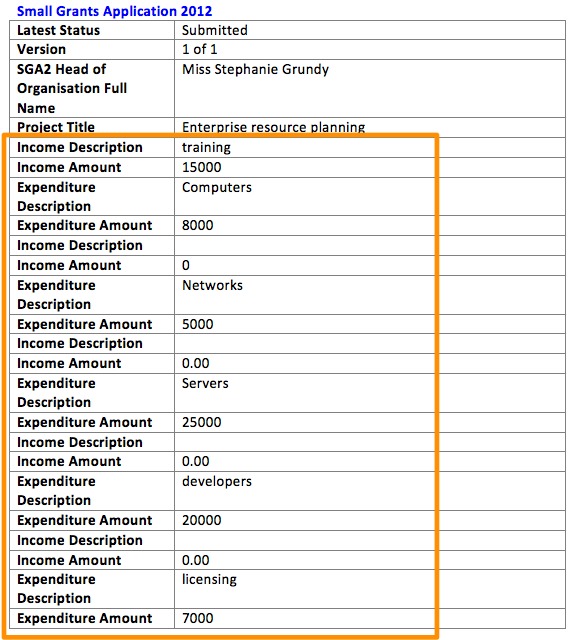
The following is an example of how a grid will initially display when running a report word template:
*Note the row items appear one after the other in a table format. This template, however, can be customised. See the second example for one that has been customised.
Customised grid example:

Learn more about customing a grid template or reporting.