Bulk Action Options
The Bulk Actions described on this page relate to the application filter screen and managing applications. For information on using Bulk Actions to manage tasks, see our tasks page.
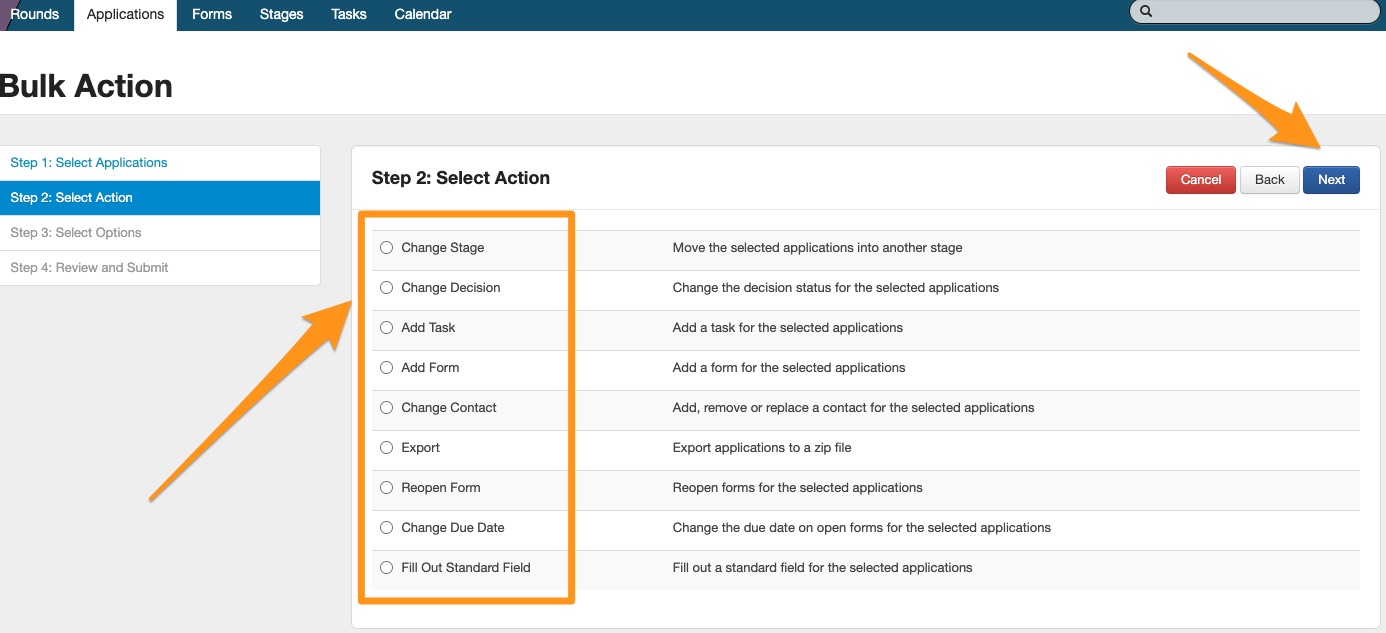
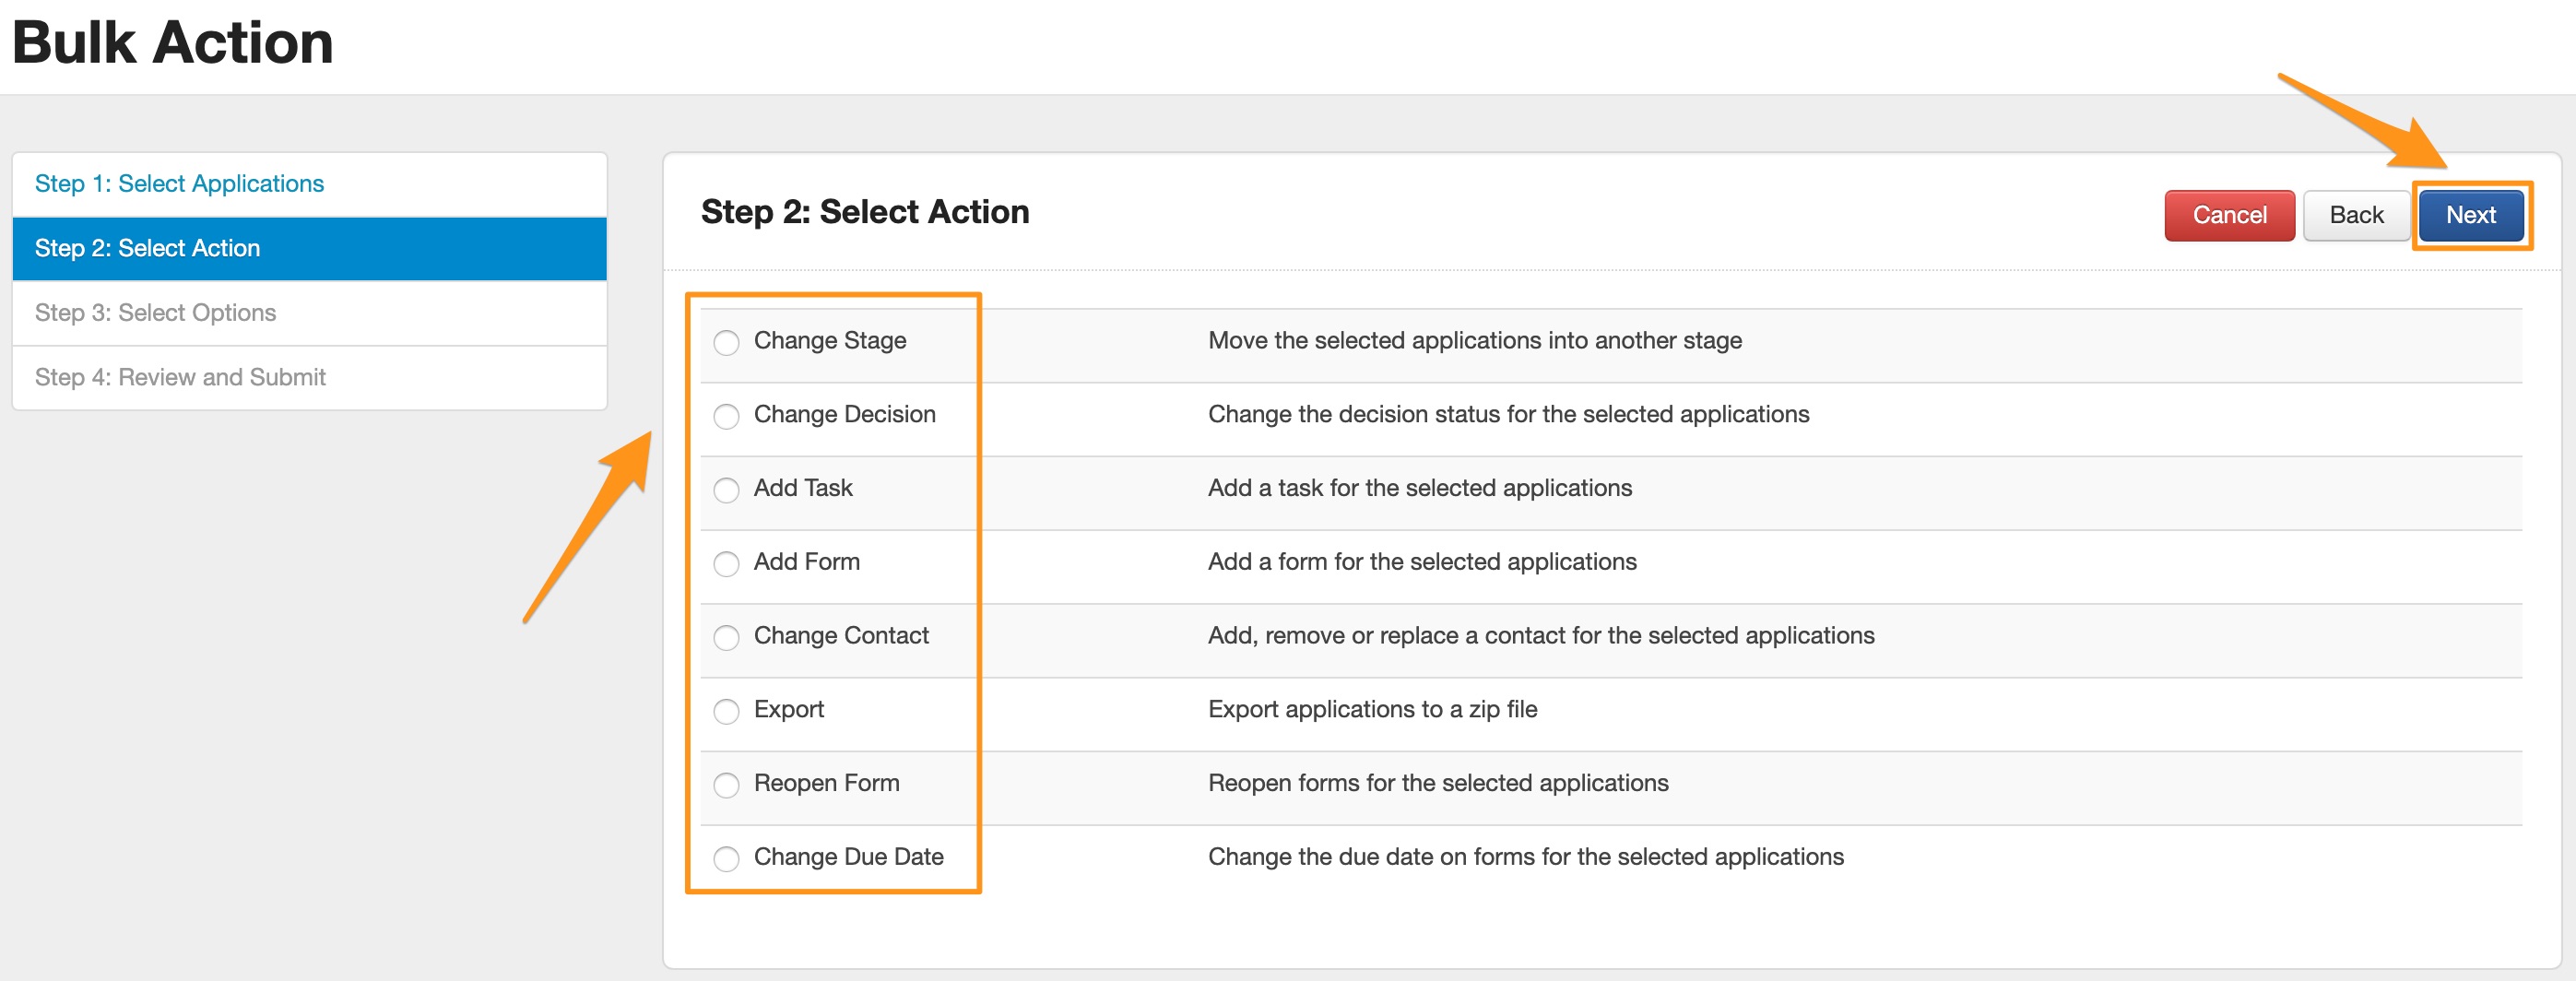
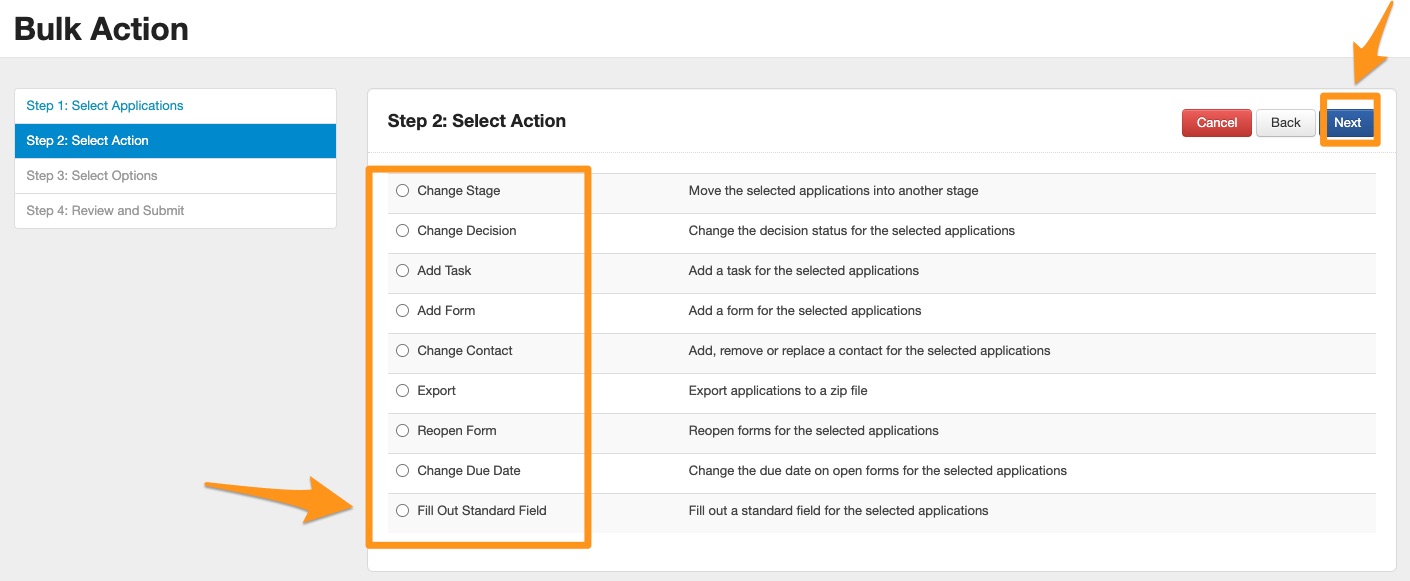
You may apply 'Bulk Action' when you wish to action one of the following operations on a group of applications (more than 1):
Change Stage: Change the stage for the selected applications
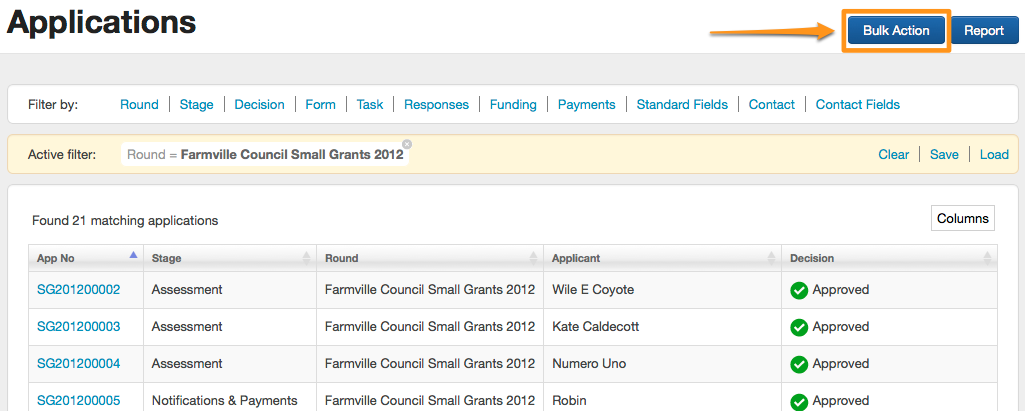
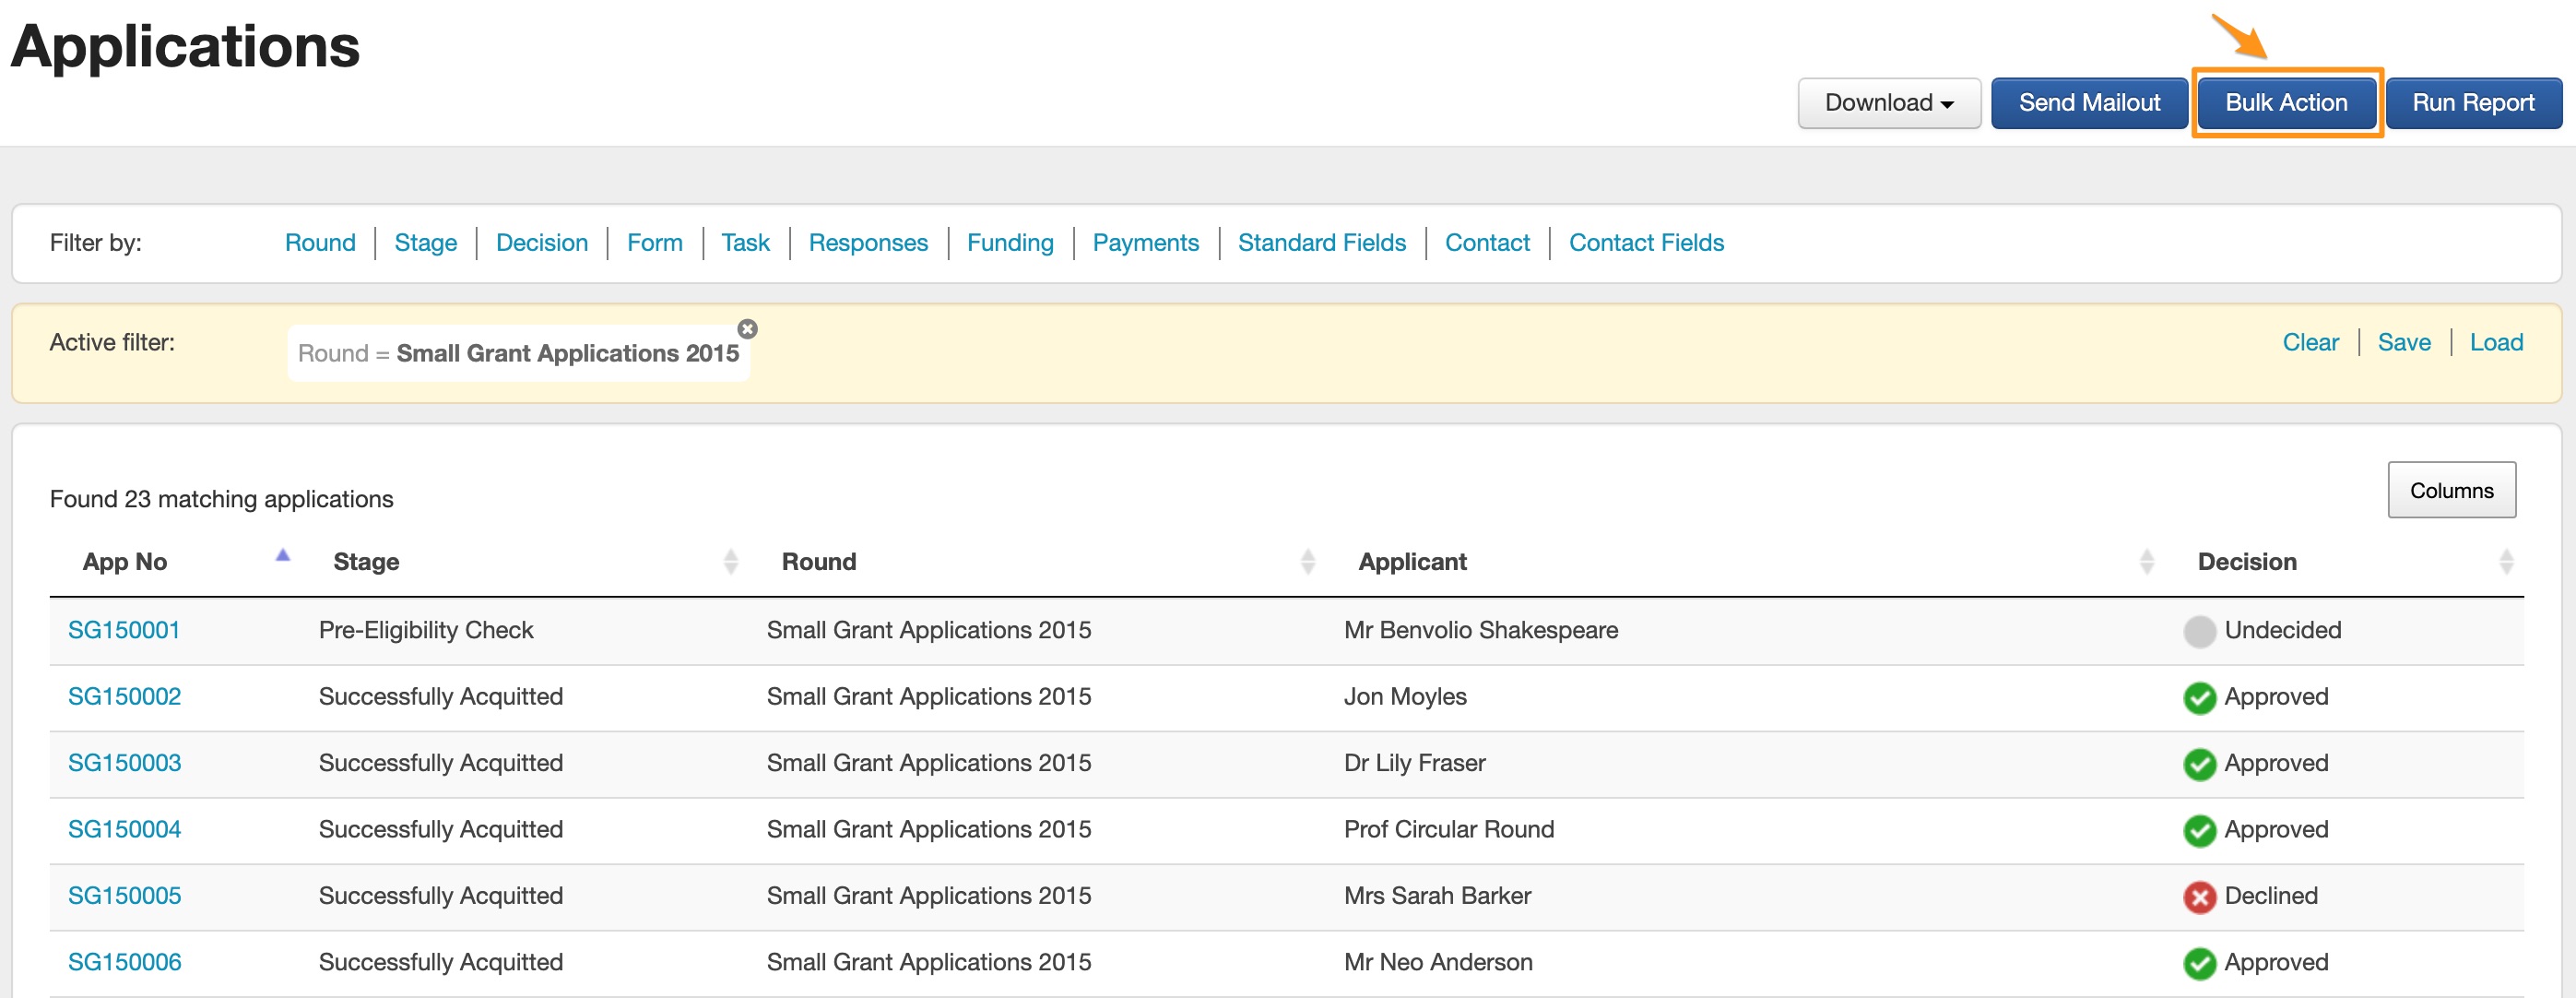
To apply your bulk update go to the Applications filter screen. Apply the filters necessary to obtain the list of applications you wish to move to another stage. Then click on the Bulk Action button in the top right hand side of screen.
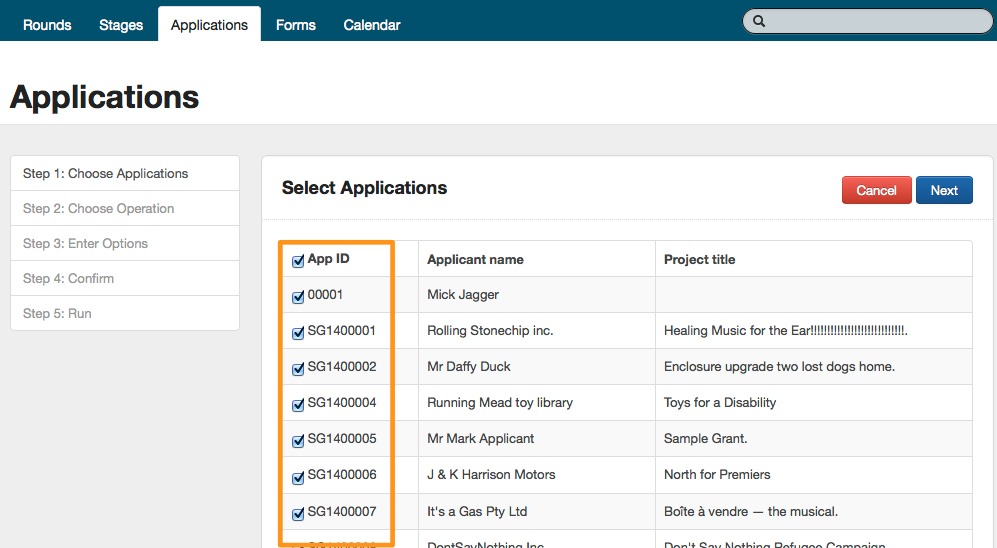
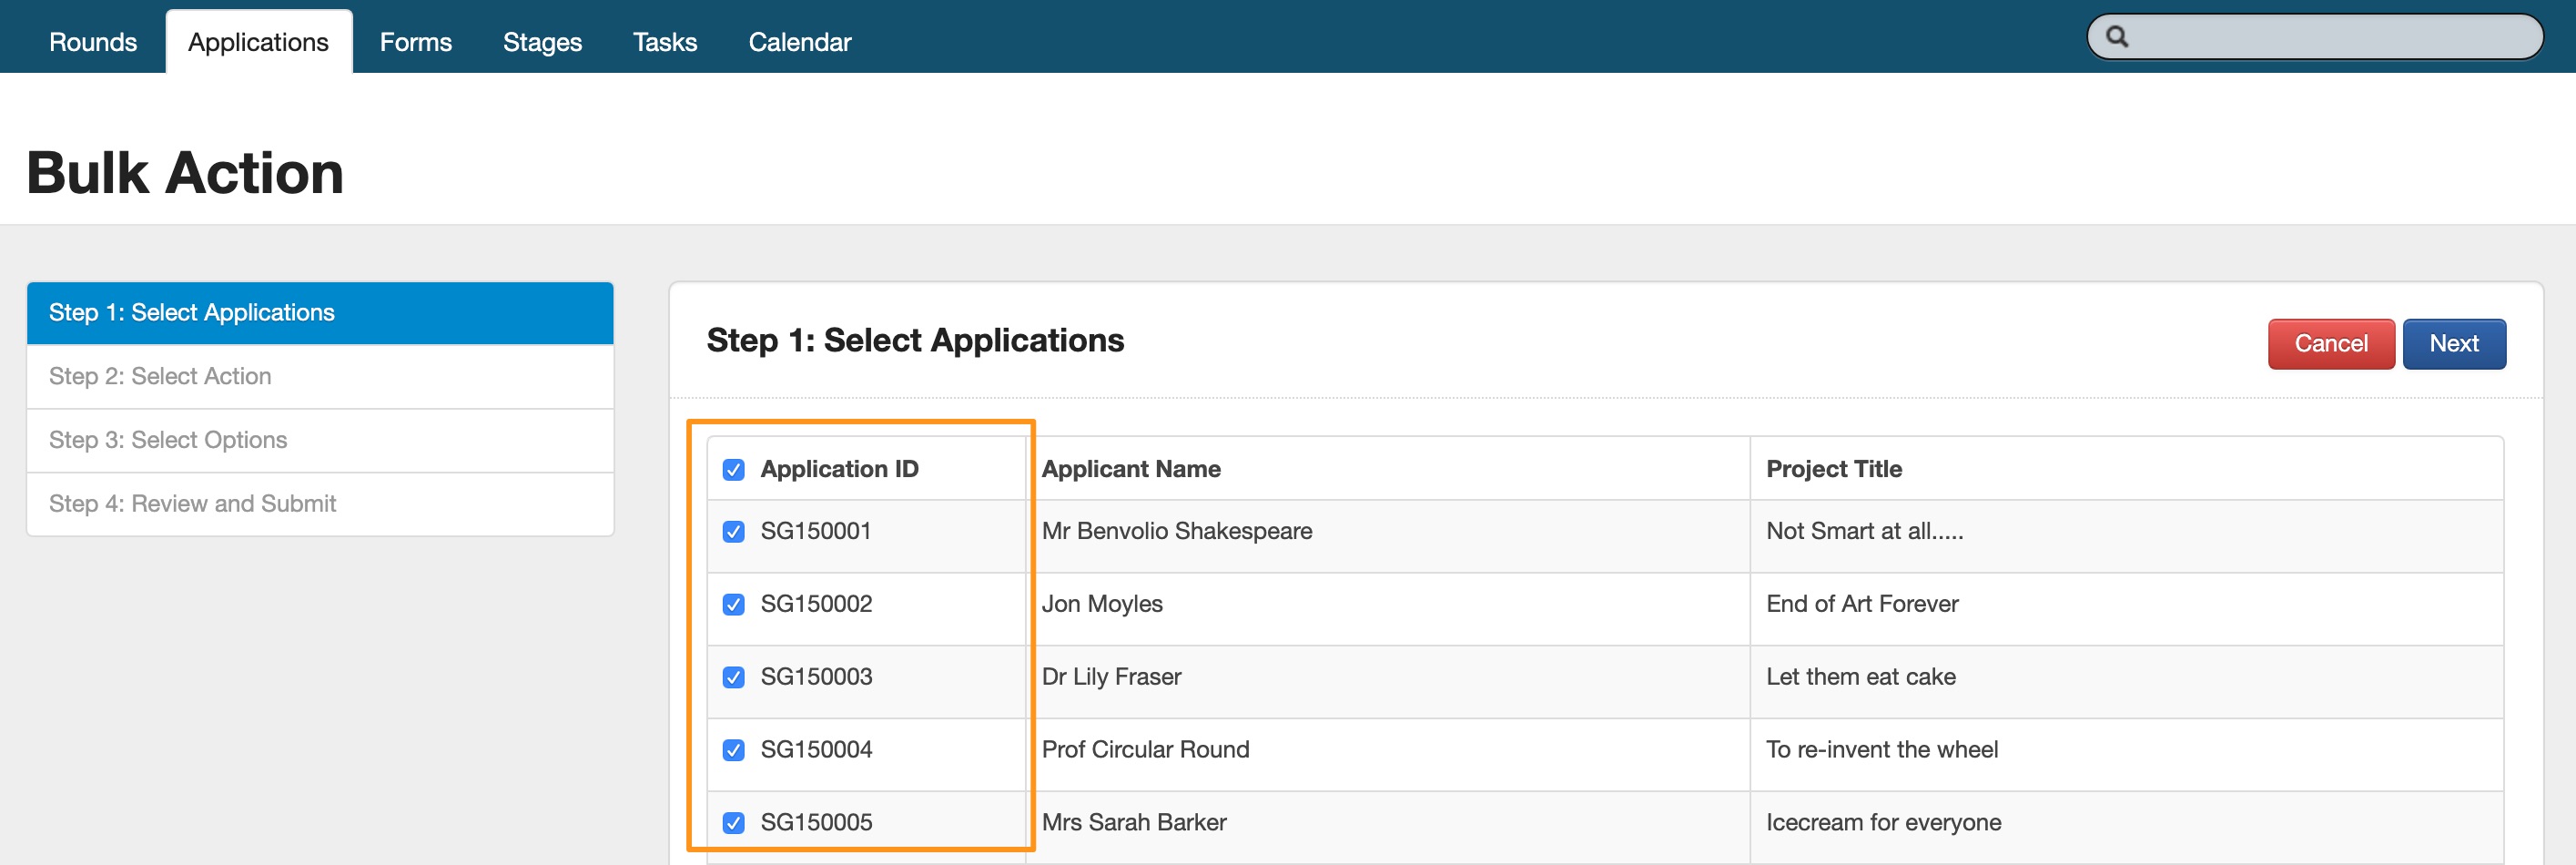
The list of applications you had filtered will now appear on screen. If you wish to deselect any, this is your opportunity. To do so - click on the tick box next to any applications you wish to deselect. When you are happy with your selections click the Next button.
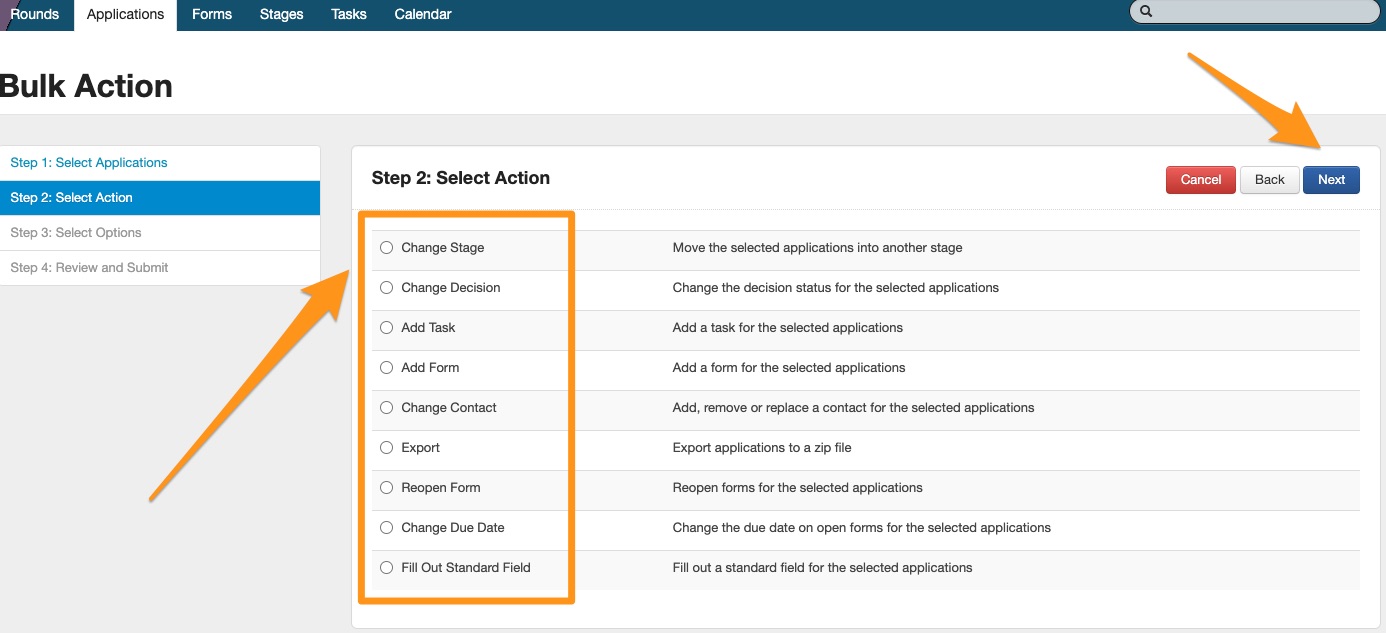
Select the 'Change Stage' option and then click the 'Next' button. *Note: You may only apply one bulk update operation to a group at one time.
Select the relevant stage you wish to move the applications to then click on the 'Next' button.

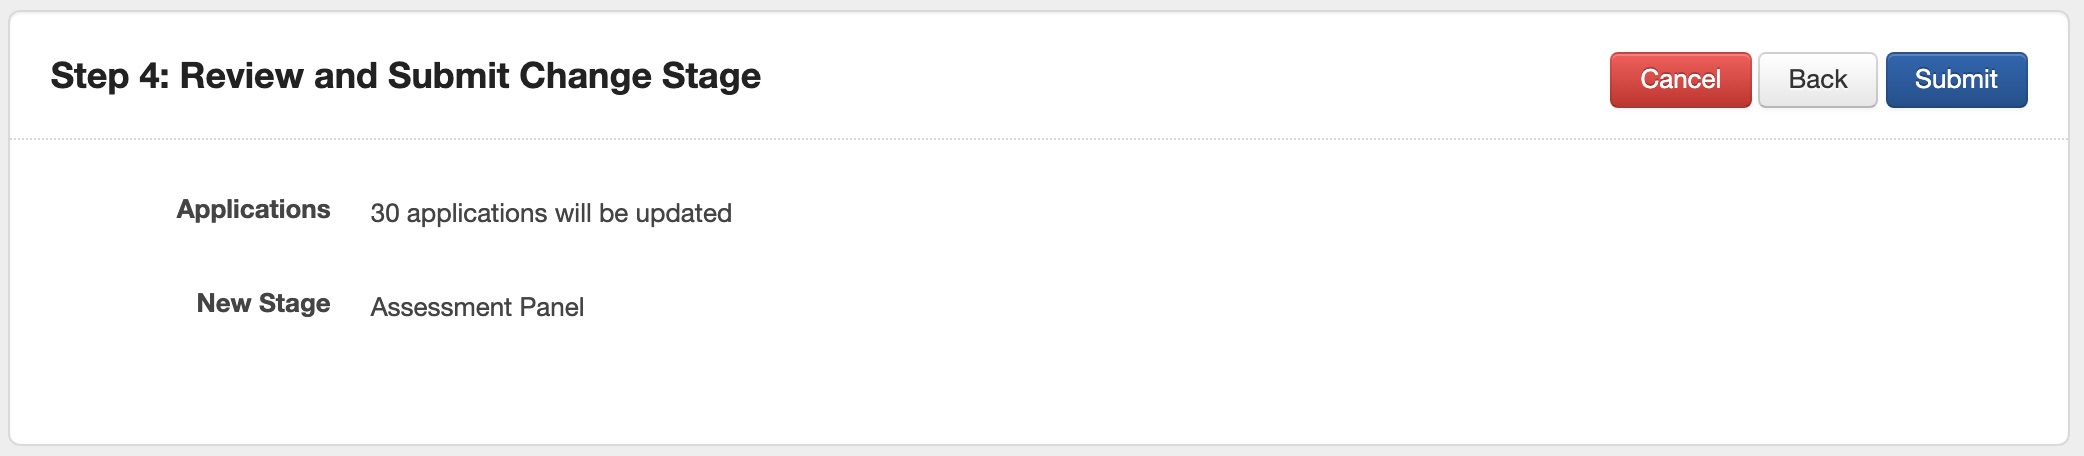
A confirmation screen will appear. Review the options you have chosen and, if happy, click on the submit button.
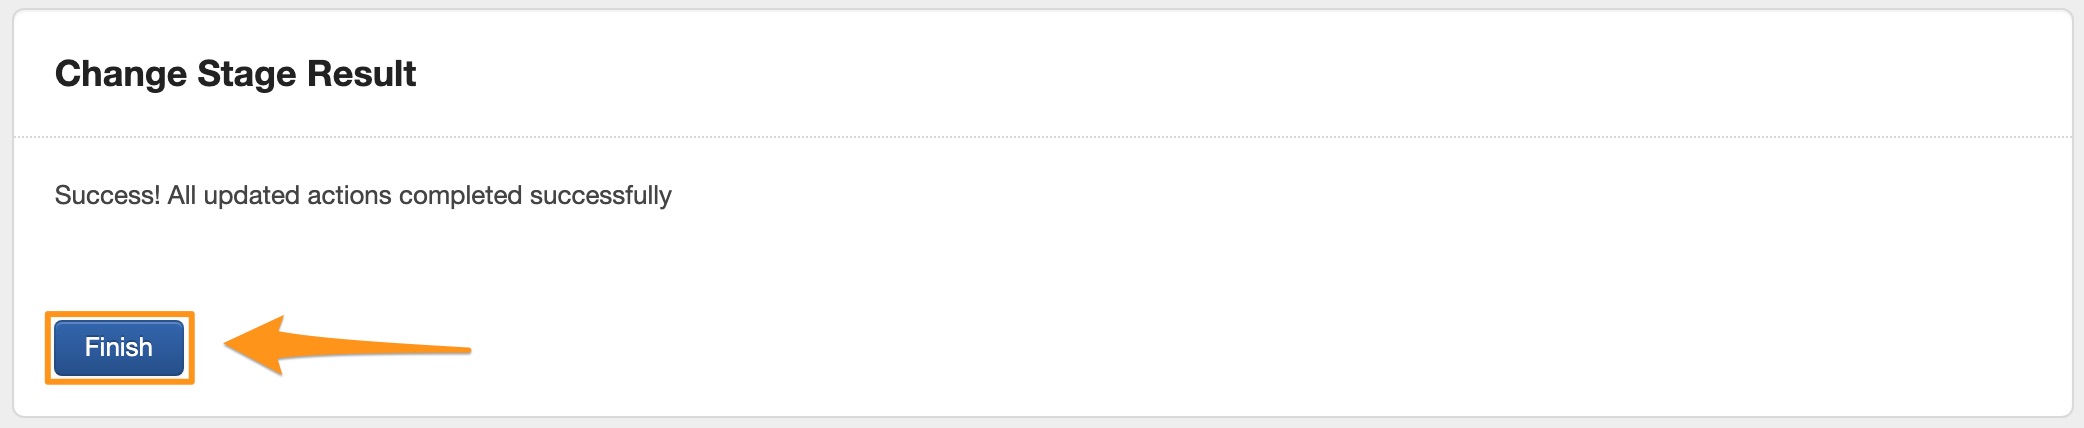
Your action will run the Bulk Update and Confirm the update has run successfully (or any errors will be displayed). Click on the Finish button to return to the Application Filter screen.
Change Decision: Change the decision status for the selected applications
To apply your bulk update go to the Applications filter screen. Apply the filters necessary to obtain the list of applications you wish to change the decision to. Then click on the Bulk Action button in the top right hand side of screen.
The list of applications you had filtered will now appear on screen. If you wish to deselect any, this is your opportunity. To do so - click on the tick box next to any applications you wish to deselect. When you are happy with your selections click the Next button.
Select the 'Change Decision' option and then click the 'Next' button.
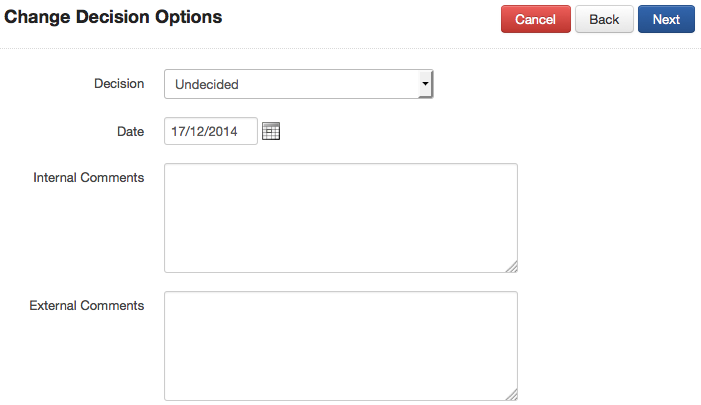
Select the relevant decision, decision date and any internal or external comments you wish to record against all of the selected applications and then click on the 'Next' button.
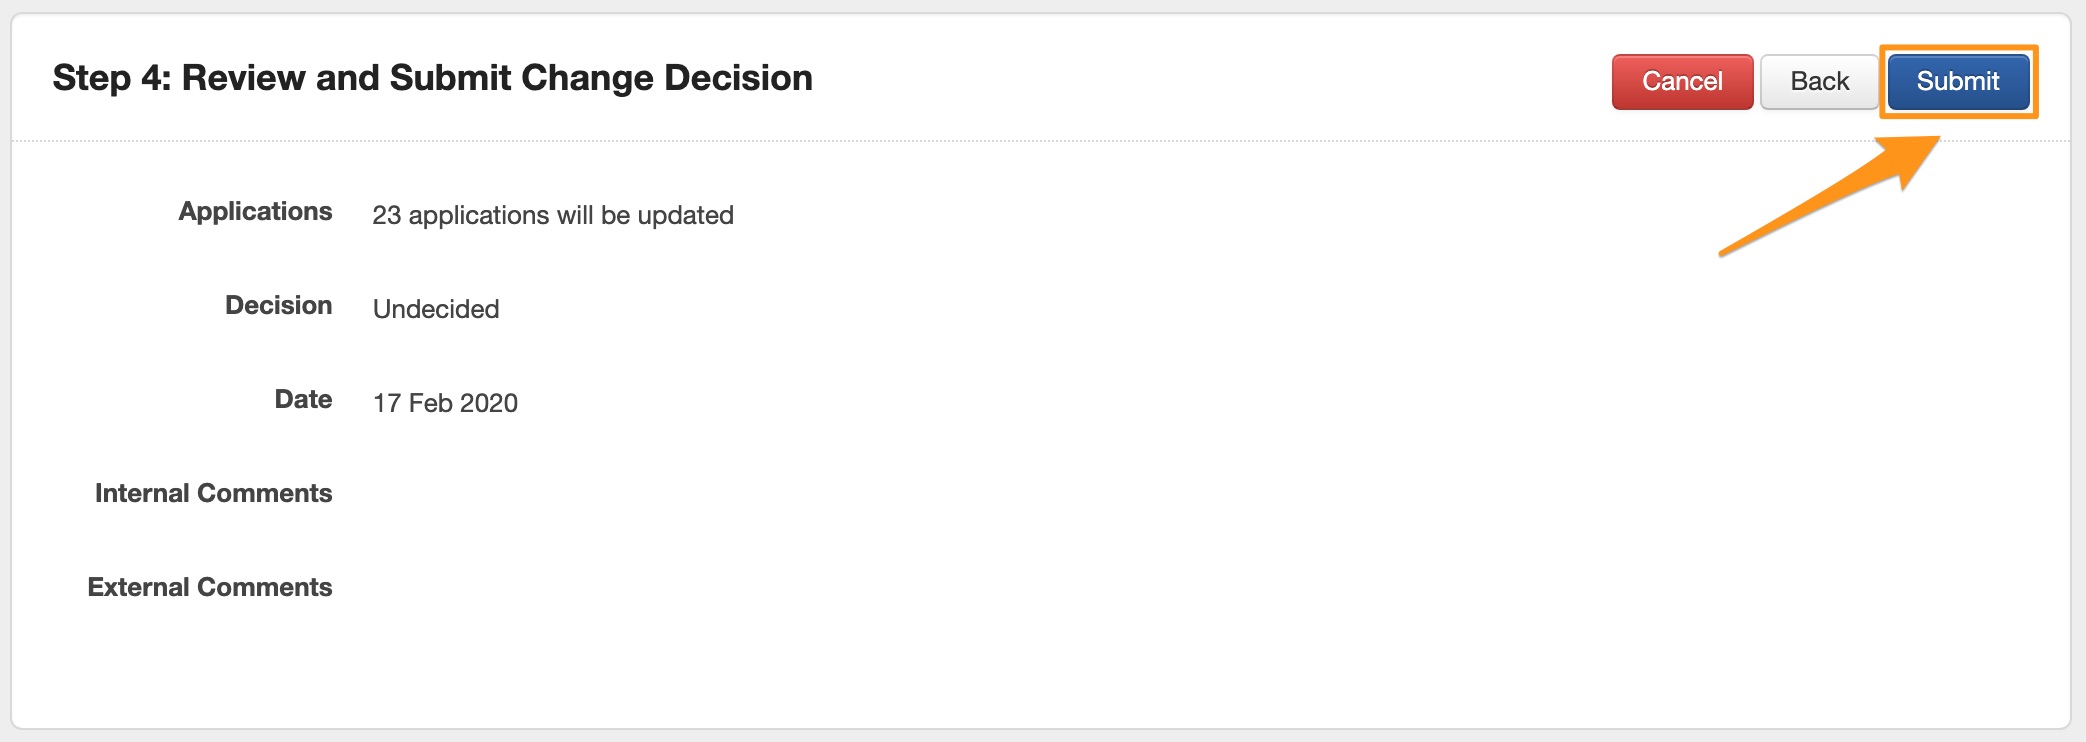
A confirmation screen will appear. Review the options you have chosen and, if happy, click on the submit button.
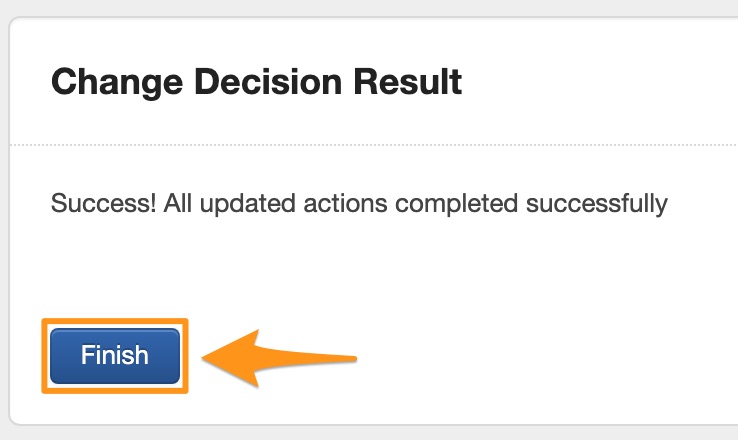
Your action will run the Bulk Update and Confirm the update has run successfully (or any errors will be displayed). Click on the Finish button to return to the Application Filter screen.
Add Task: Add a task for the selected applications
To apply your bulk update go to the Applications filter screen. Apply the filters necessary to obtain the list of applications you wish to add a task to. Then click on the Bulk Action button in the top right hand side of screen.
The list of applications you had filtered will now appear on screen. If you wish to deselect any, this is your opportunity. To do so - click on the tick box next to any applications you wish to deselect. When you are happy with your selections click the Next button.
Select the 'Add Task' option and then click the 'Next' button. *Note: You may only apply one bulk update operation to a group at one time.
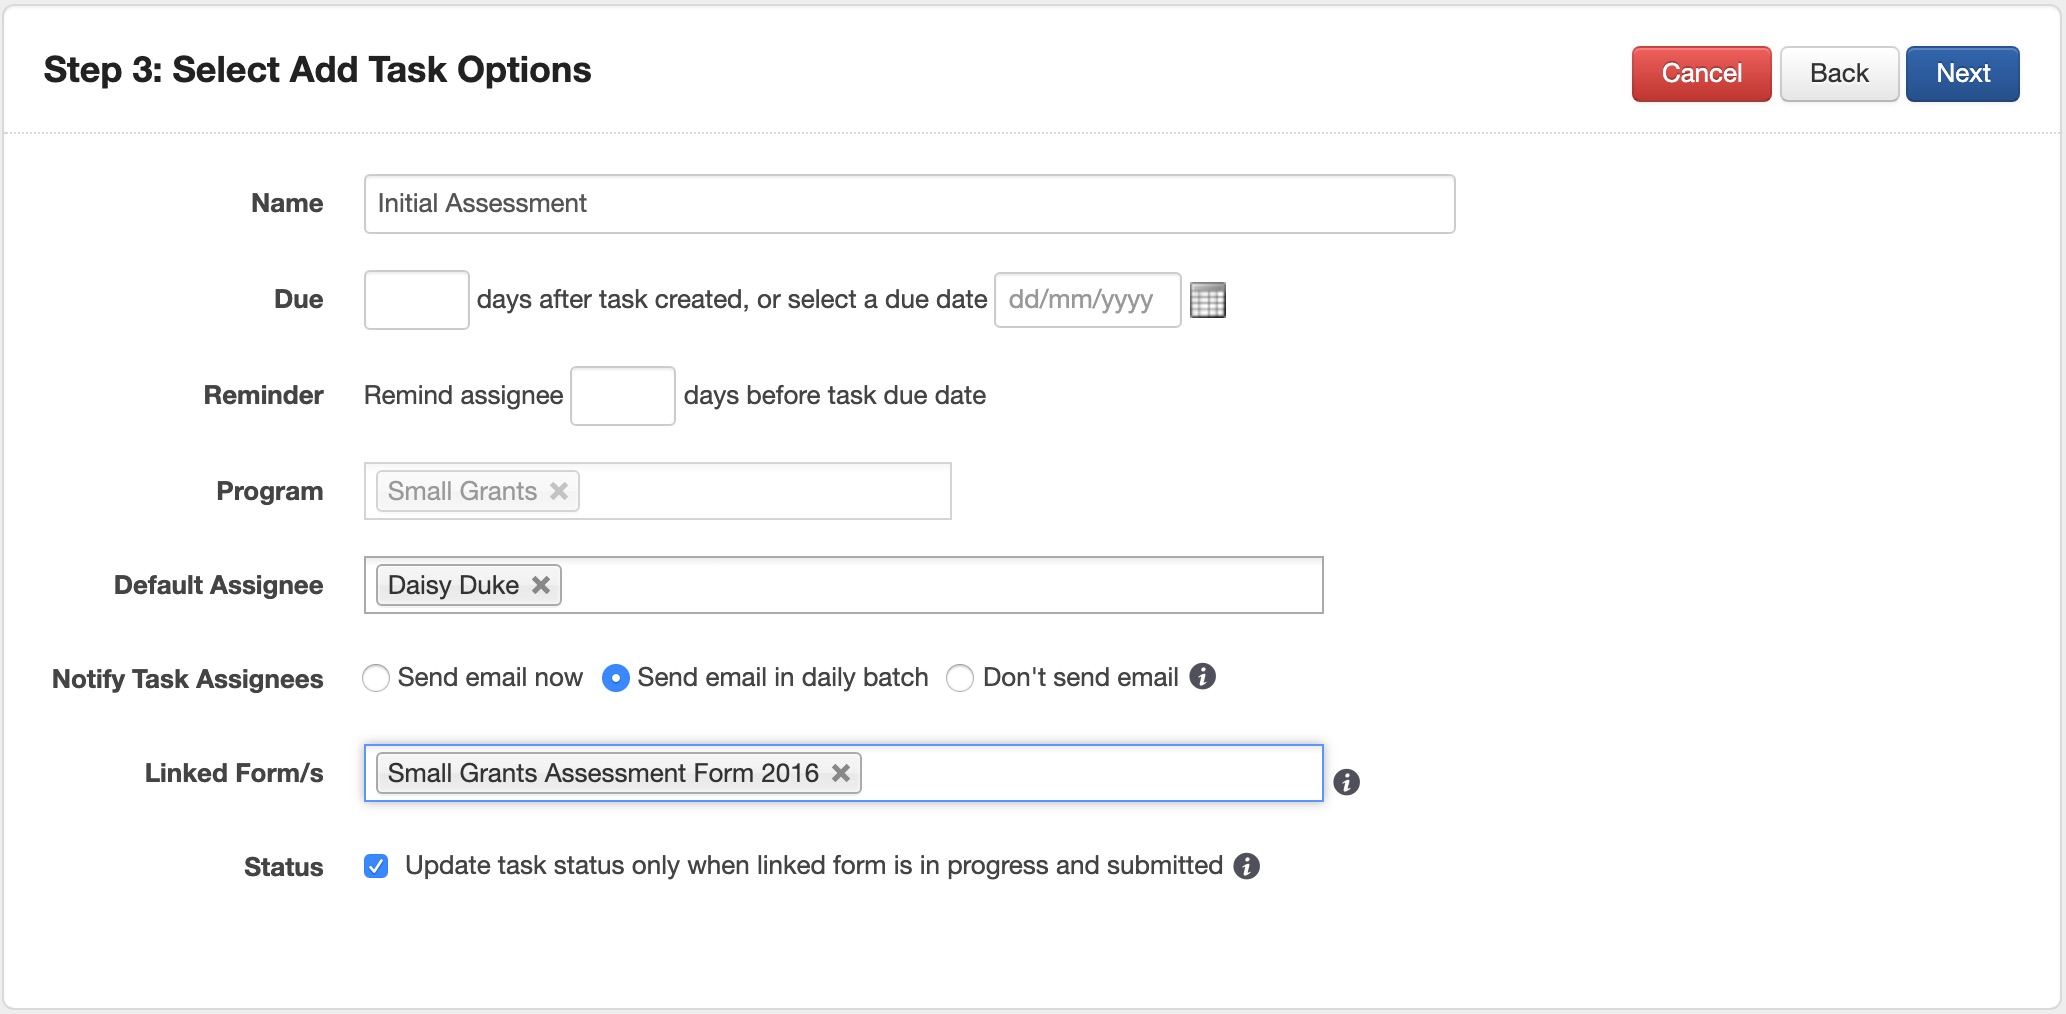
Type the task name, default assignee (if applicable), due date, reminder and linked form (if applicable) of the task to be assigned to all selected applications. You will also be able to define the notification time. Selecting 'Send email now' will batch notifications in 10 minute intervals while the daily batch is sent every morning at 5am. You also have the option to not send a system generated email by selecting 'Don't send email'. Once done, please click on the 'Next' button.
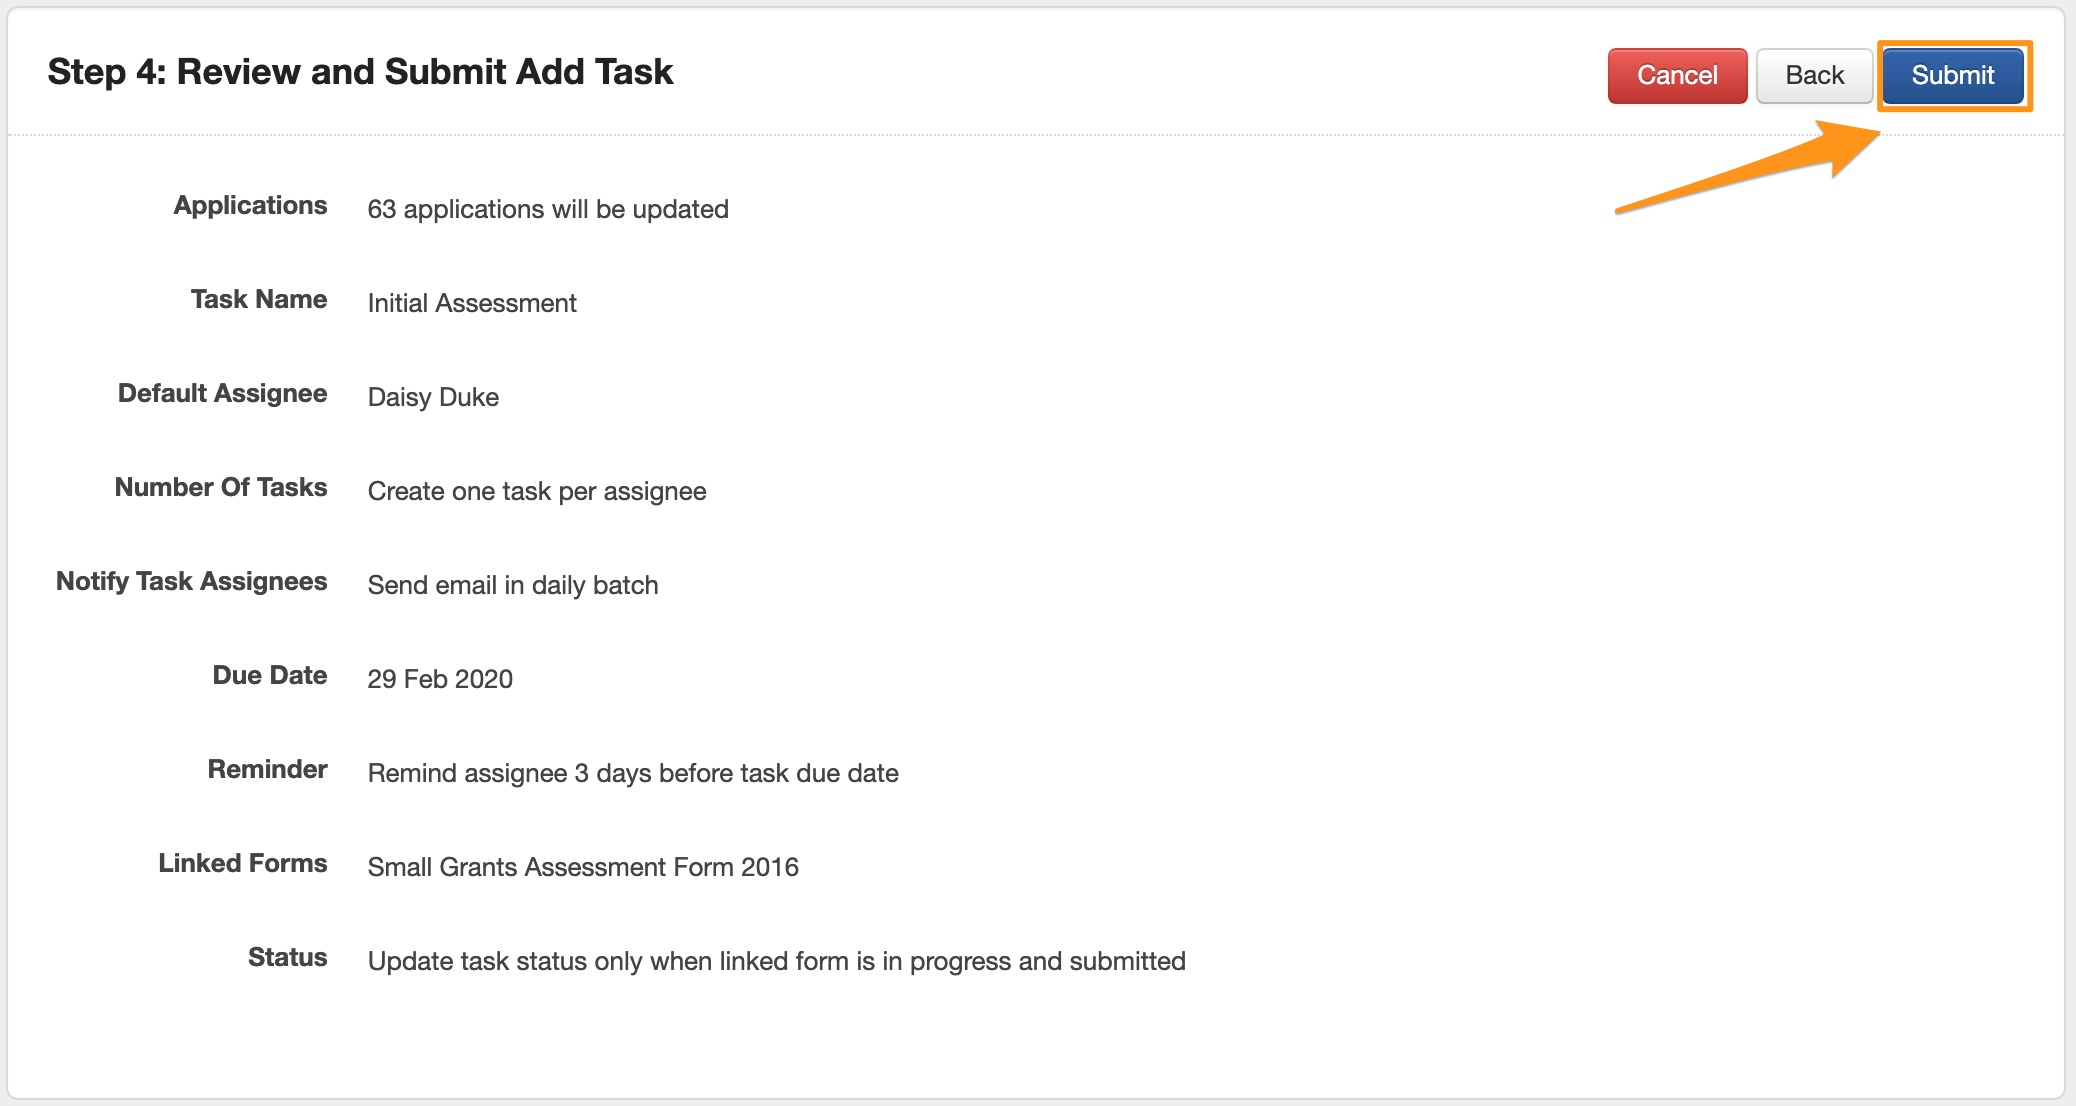
A confirmation screen will appear. Review the options you have chosen and, if happy, click on the submit button.
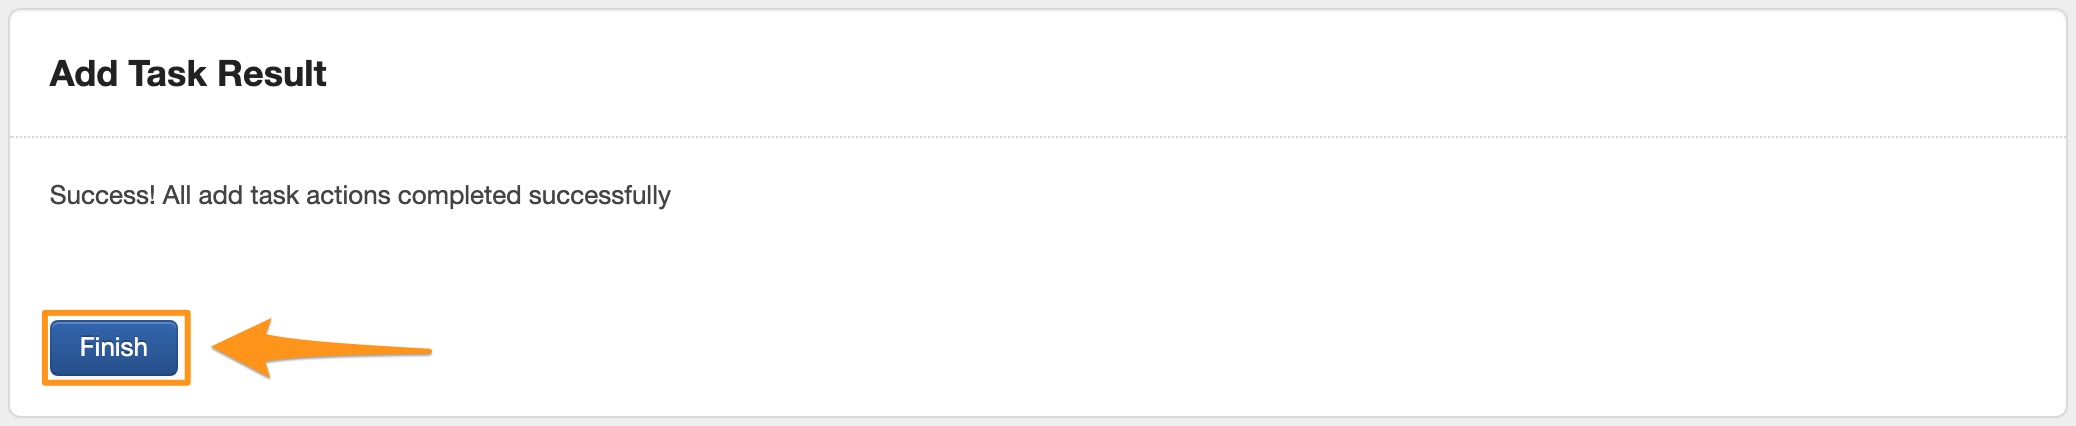
Your action will run the Bulk Update and Confirm the update has run successfully (or any errors will be displayed). Click on the Continue button to return to the Application Filter screen.
Add Form: Add a form for the selected applications
To apply your bulk update go to the Applications filter screen. Apply the filters necessary to obtain the list of applications you wish to add a form to. Then click on the Bulk Action button in the top right hand side of screen.
The list of applications you had filtered will now appear on screen. If you wish to deselect any, this is your opportunity. To do so - click on the tick box next to any applications you wish to deselect. When you are happy with your selections click the Next button.
Select the 'Add Form' option and then click the 'Next' button. *Note: You may only apply one bulk update operation to a group at one time.
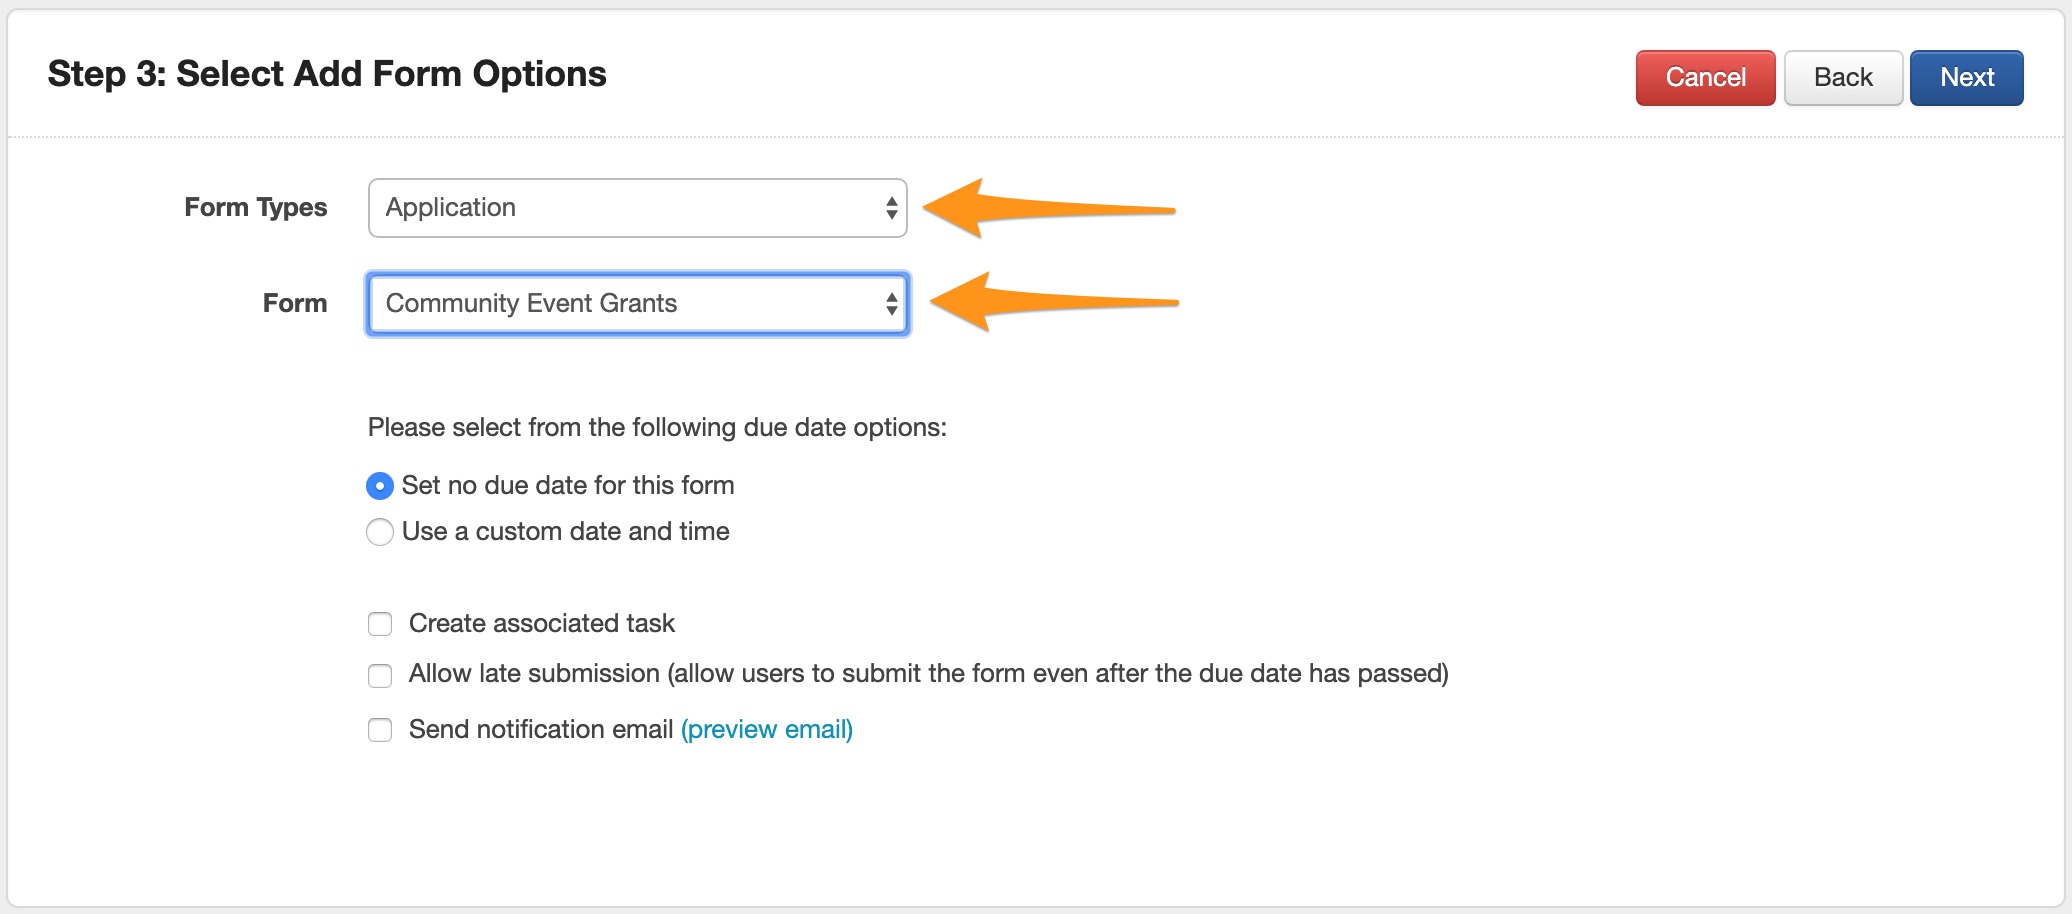
Select the form you wish to add to all selected applications. If it is a form the applicant will be completing you also have the option to set a due date for the form, to create an associated task for all applications and whether you wish a notification to be sent to the applicant to notify them of the form now being available to complete. Select your relevant options that will apply to all selected applications and click on the 'Next' button.
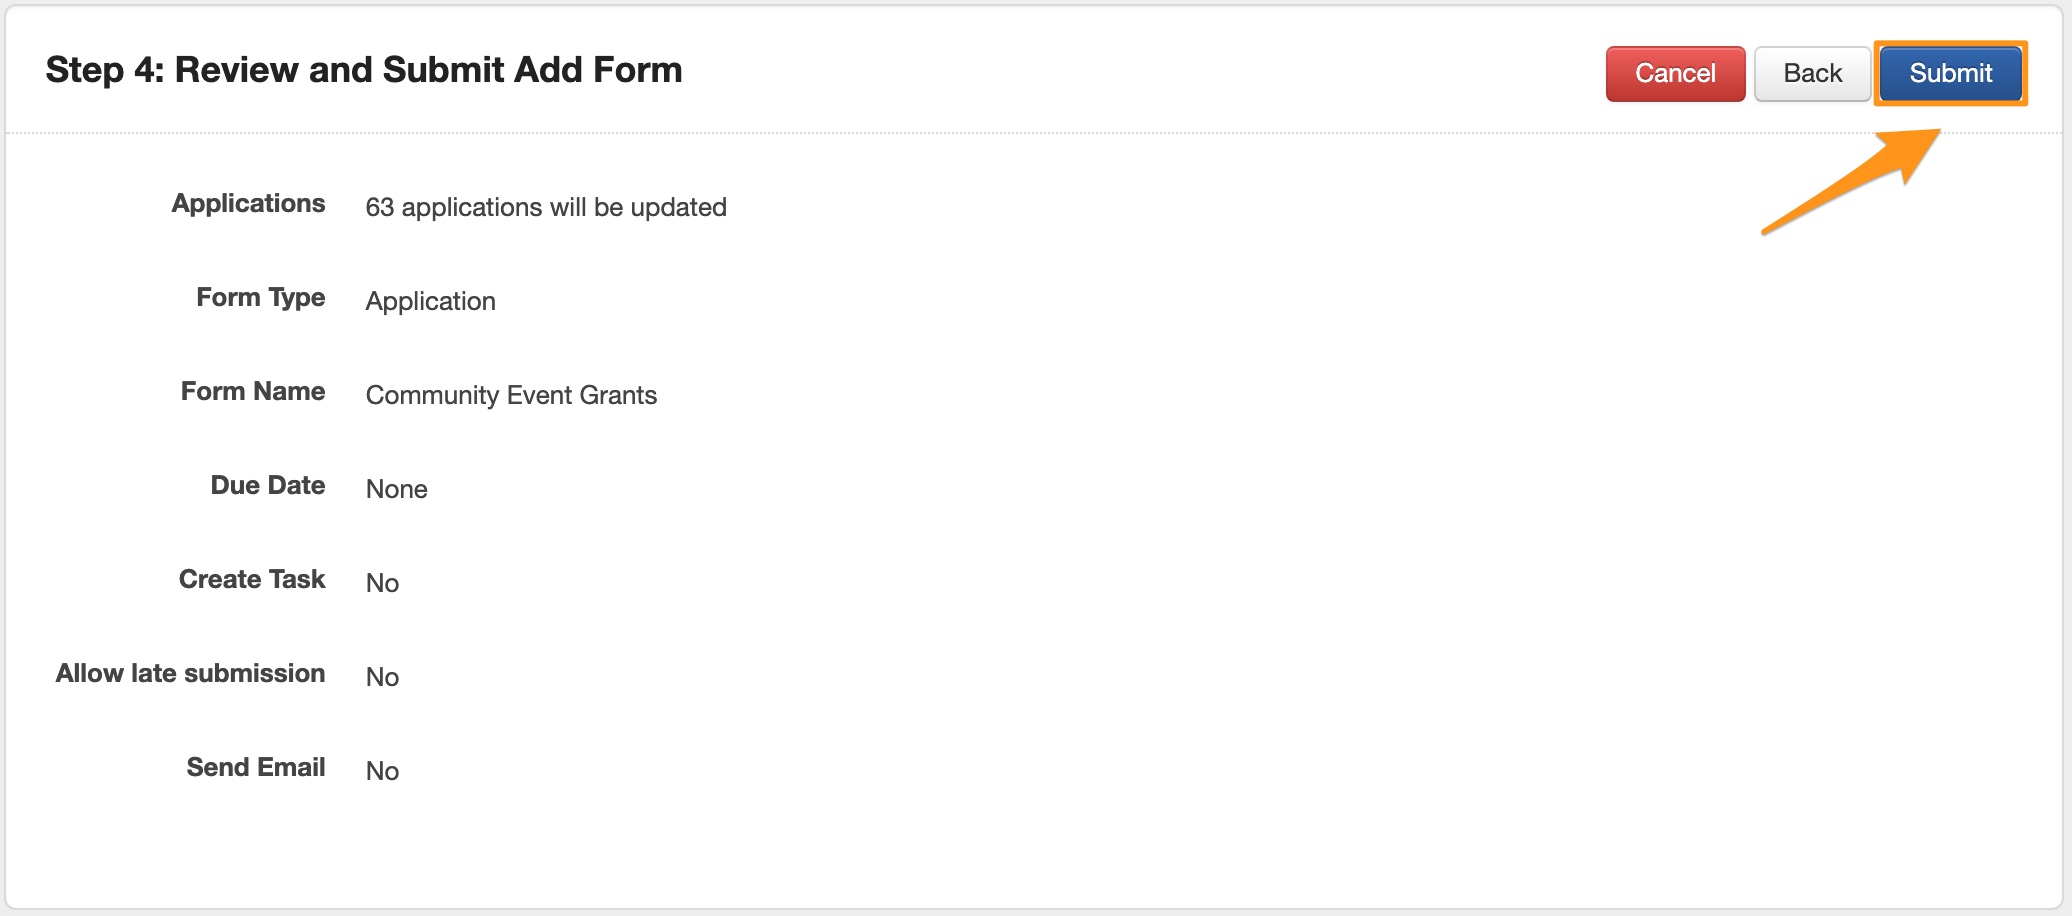
A confirmation screen will appear. Review the options you have chosen and, if happy, click on the submit button.
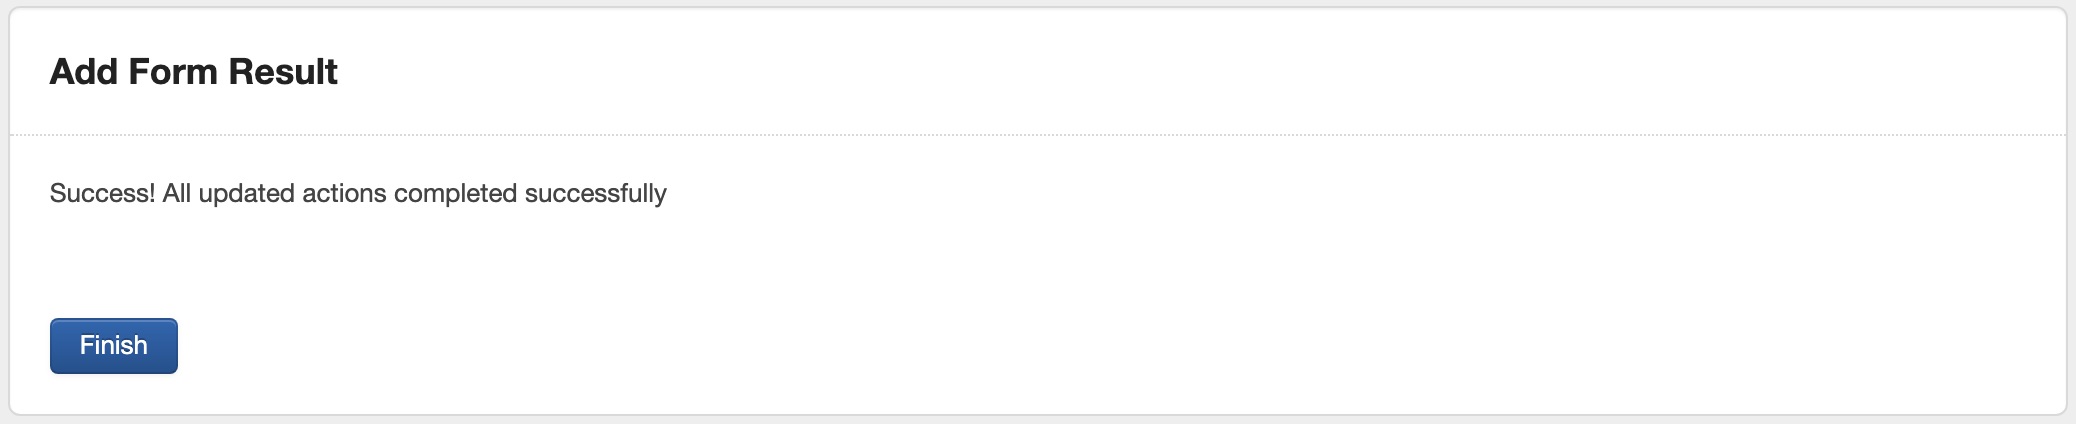
Your action will run the Bulk Update and Confirm the update has run successfully (or any errors will be displayed). Click on the Continue button to return to the Application Filter screen.
Change Contact: Add, remove or replace contacts from selected applications (grant involvement roles)
To apply your bulk update go to the Applications filter screen. Apply the filters necessary to obtain the list of applications you wish to add, remove or replace contacts for. Then click on the Bulk Action button in the top right hand side of screen.
The list of applications you had filtered will now appear on screen. If you wish to deselect any, this is your opportunity. To do so - click on the tick box next to any applications you wish to deselect. When you are happy with your selections click the Next button.
Select the 'Change Contact' option and then click the 'Next' button. *Note: You may only apply one bulk update operation to a group at one time.
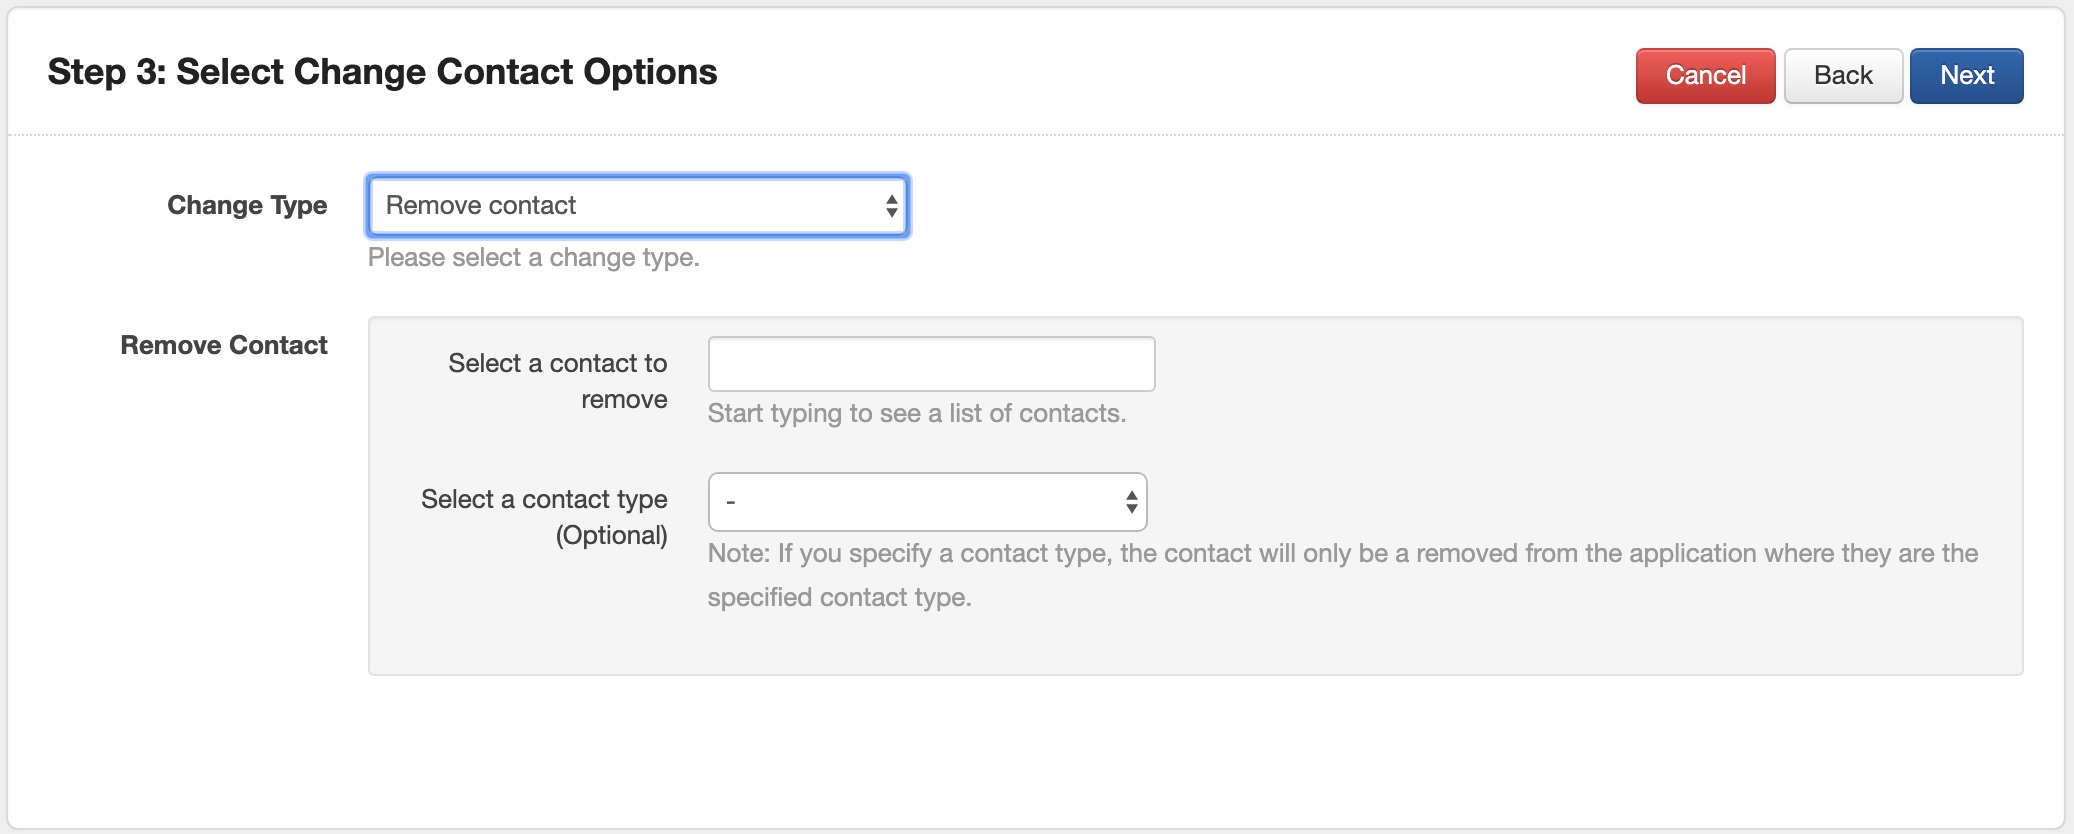
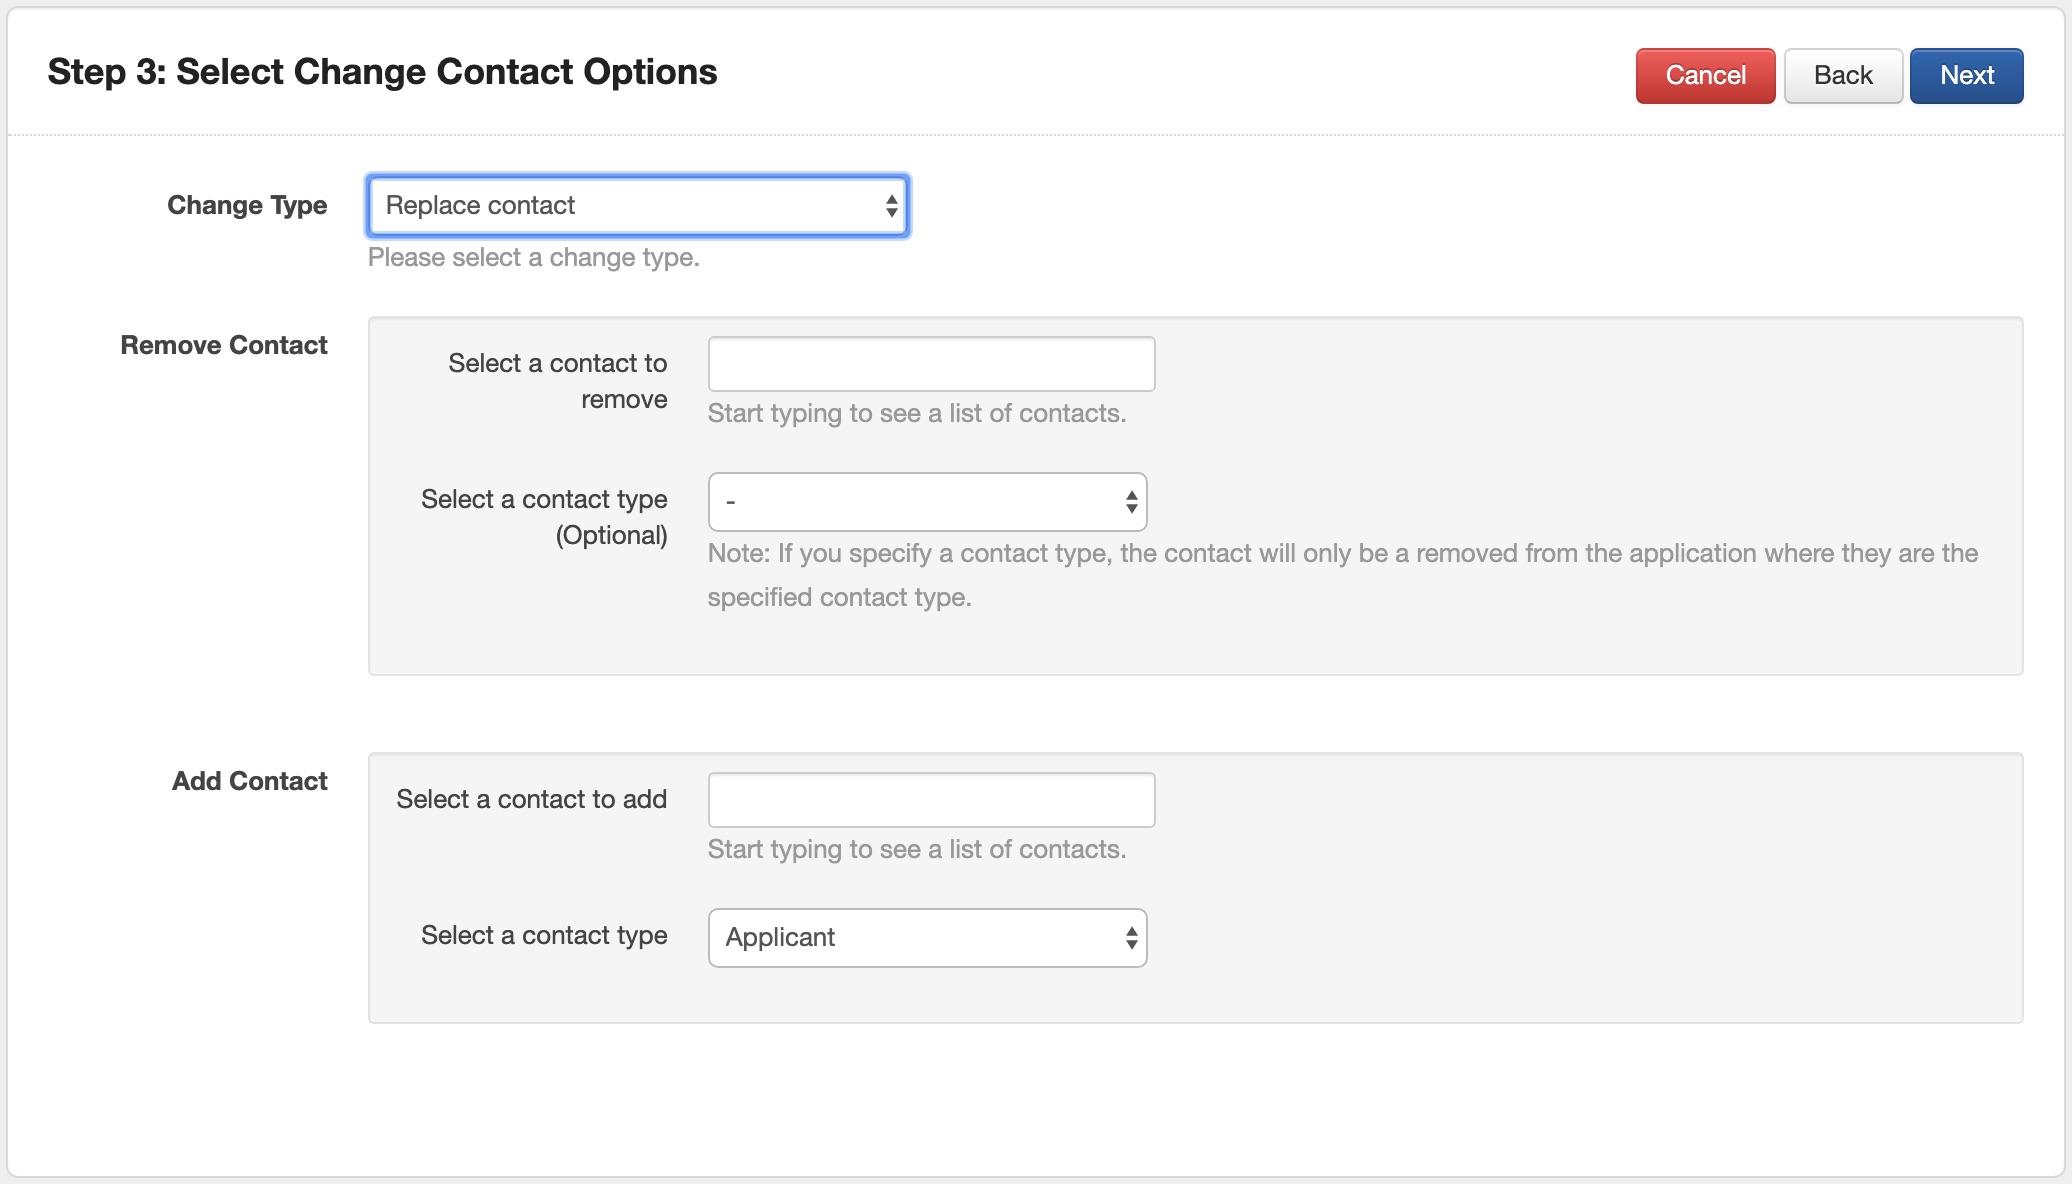
Select the type of change you wish to make, either add, remove or replace a contact. Then follow the relevant instructions on screen *note this change will be applied to all the selected applications, then click on the 'Next' button.


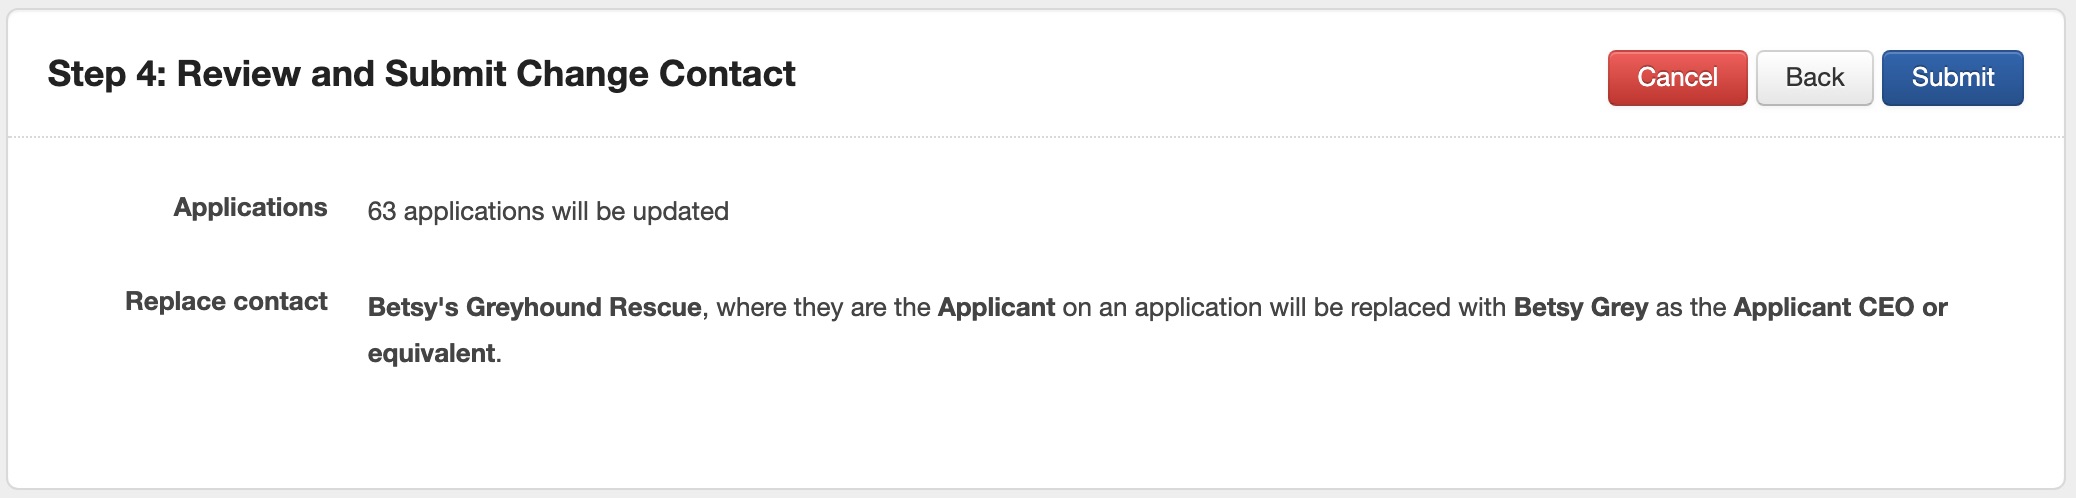
A confirmation screen will appear. Review the options you have chosen and, if happy, click on the submit button.
Your action will run the Bulk Update and Confirm the update has run successfully (or any errors will be displayed). Click on the Continue button to return to the Application Filter screen.
Export: Export applications and understand the zip file
To apply your bulk update go to the Applications filter screen. Apply the filters necessary to obtain the list of applications you wish to export. Then click on the Bulk Action button in the top right hand side of screen.
The list of applications you had filtered will now appear on screen. If you wish to deselect any, this is your opportunity. To do so - click on the tick box next to any applications you wish to deselect. When you are happy with your selections click the Next button.
Select the 'Export' option and then click the 'Next' button. *Note: You may only apply one bulk update operation to a group at one time.
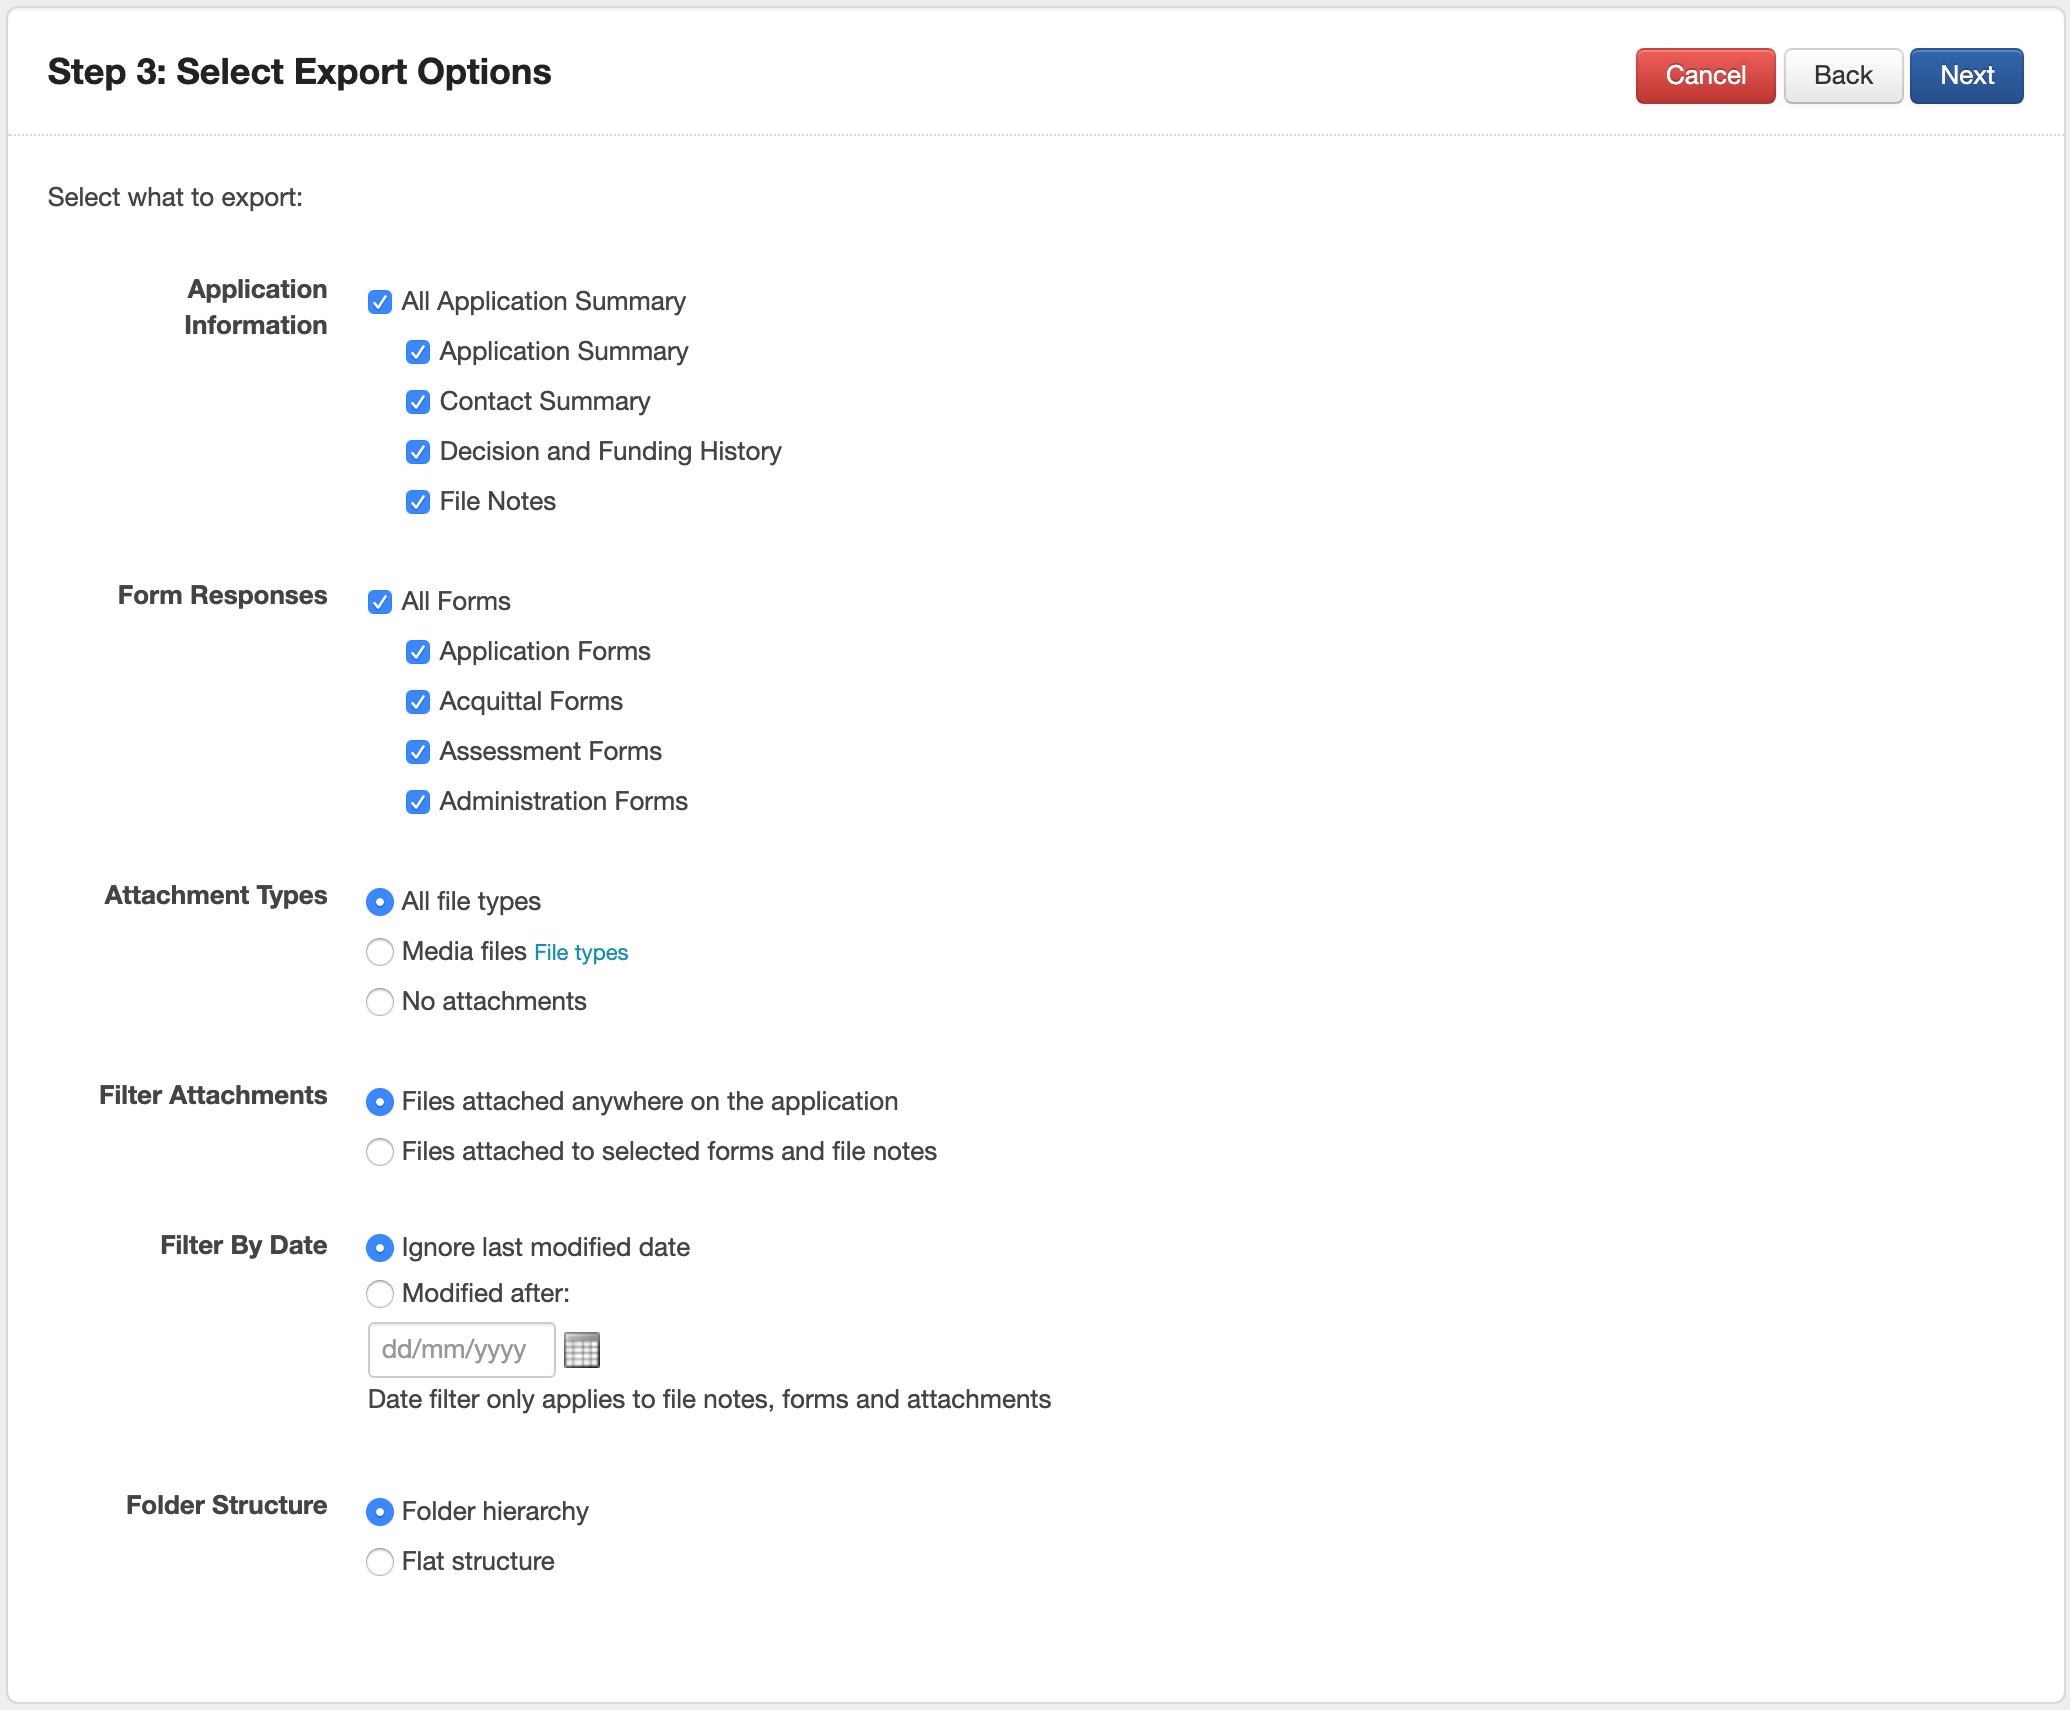
Export Options:
Include in export - Choose what information should be included in your export file. You may include everything or alternatively you can select particular elements of the selected applications.
Last modified date - This only only affects form responses and file notes. If a specific date is selected, only items modified after the date specified will be included in the export. Using this option you can just export items that have changed since your last export and thereby avoid duplication in your system.
Select your relevant options that will apply to all selected applications and click on the 'Next' button.
A confirmation screen will appear. Review the options you have chosen and, if happy, click on the submit button.

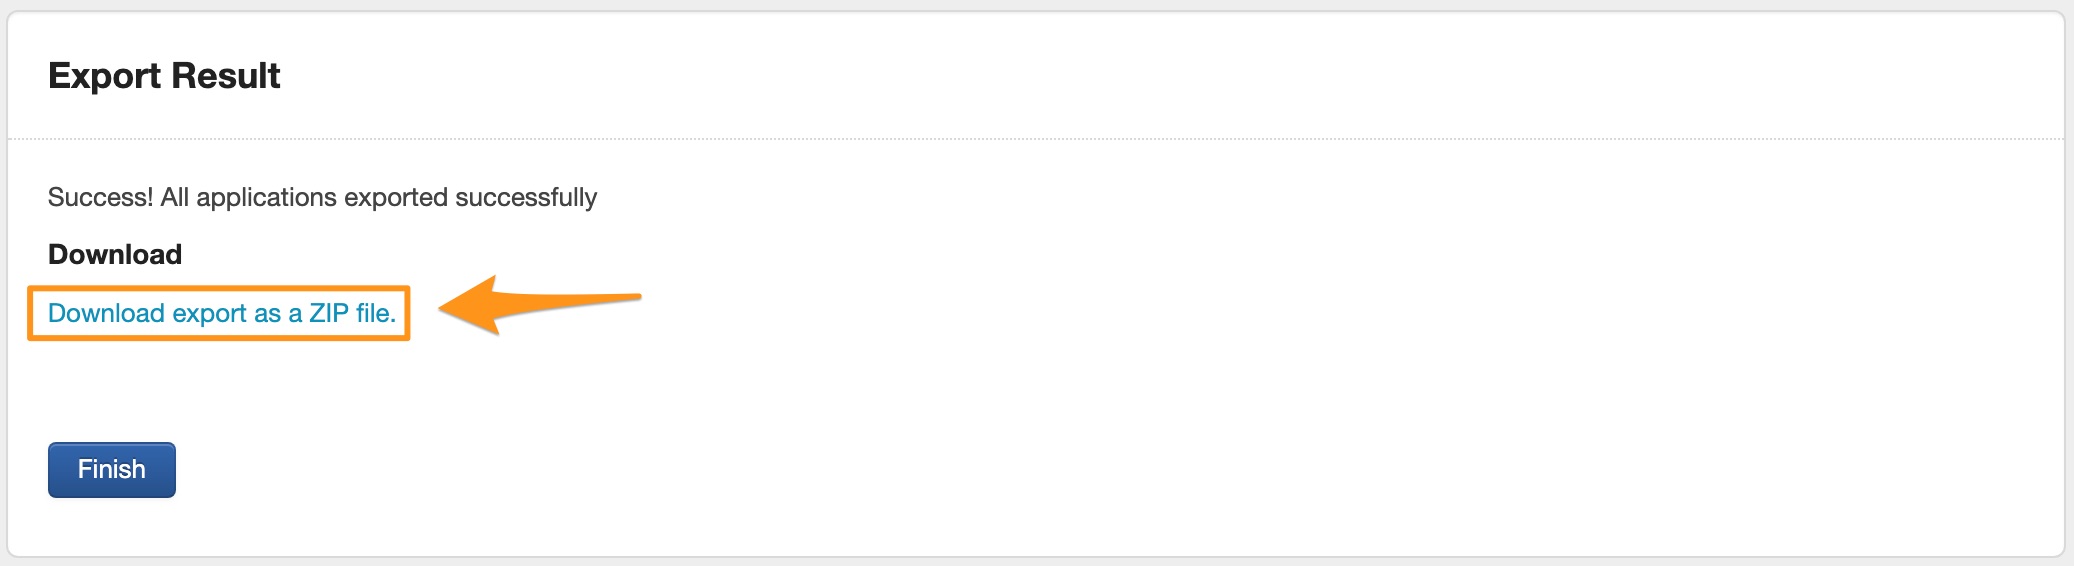
Your export will begin. Depending on the number of applications to be exported this may take between 10 seconds and a few minutes. The page will automatically reload and once the export is complete you will have the option to download a zip file.
Click on the 'Download export as a ZIP file' link, the zip file will download. Click on the Continue button to return to the Application Filter screen.
Understanding the export
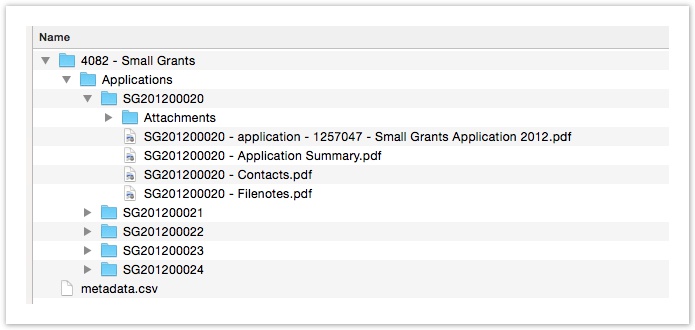
/<SG Program ID> - <Program Name>
/Applications
/<Public ID of Application> - <Application Project Title>
<Public ID of Application> - Application Summary.pdf
<Public ID of Application> - <Form Purpose> - <Form ID Number> - <Form Name>.pdf
<Public ID of Application> - Funding and Payment.pdf
<Public ID of Application> - File Notes.pdf
<Public ID of Application> - Contact Details.pdf
<Public ID of Application> - Task List.pdf
/Attachments
The export zip file follows a standard folder and file structure, whereby each application included in the export is placed within its own folder. All attachments to a form or to a file note for that application are placed within an attachments folder for that application.
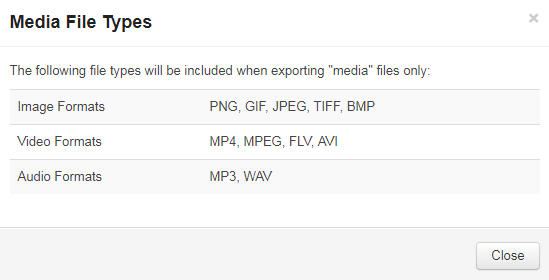
Export for Media files only
Media files can be exported with attachments, and use the standard export file structure, or alternatively, media files can be exported on their own into a single, flat, zip file.
What's a media file? See our list of defined media files here:
Reopen: Reopen forms for the selected applications
To apply your bulk update go to the Applications filter screen. Apply the filters necessary to obtain the list of applications you wish to reopen. Then click on the Bulk Action button in the top right hand side of screen.
Note
Note: Make sure your applications have the relevant forms on them that you want to reopen. Apply a filter first from the application filter screen, to ensure that the selected applications have a submitted type of form that you want to reopen. eg: If I apply a filter for submitted Acquittal forms, I then have the application set, with acquittal forms on them that I want to reopen in bulk.
The list of applications you had filtered will now appear on screen. If you wish to deselect any, this is your opportunity. To do so - click on the tick box next to any applications you wish to deselect. When you are happy with your selections click the Next button.
Select the 'Reopen' option and then click the 'Next' button.
You may only apply one bulk update operation to a group at one time.
Select the form you wish to reopen on selected applications. If it is a form the applicant will be completing you also have the option to set a due date for the form, to create an associated task for all applications and whether you wish a notification to be sent to the applicant to notify them of the form now being available to complete.
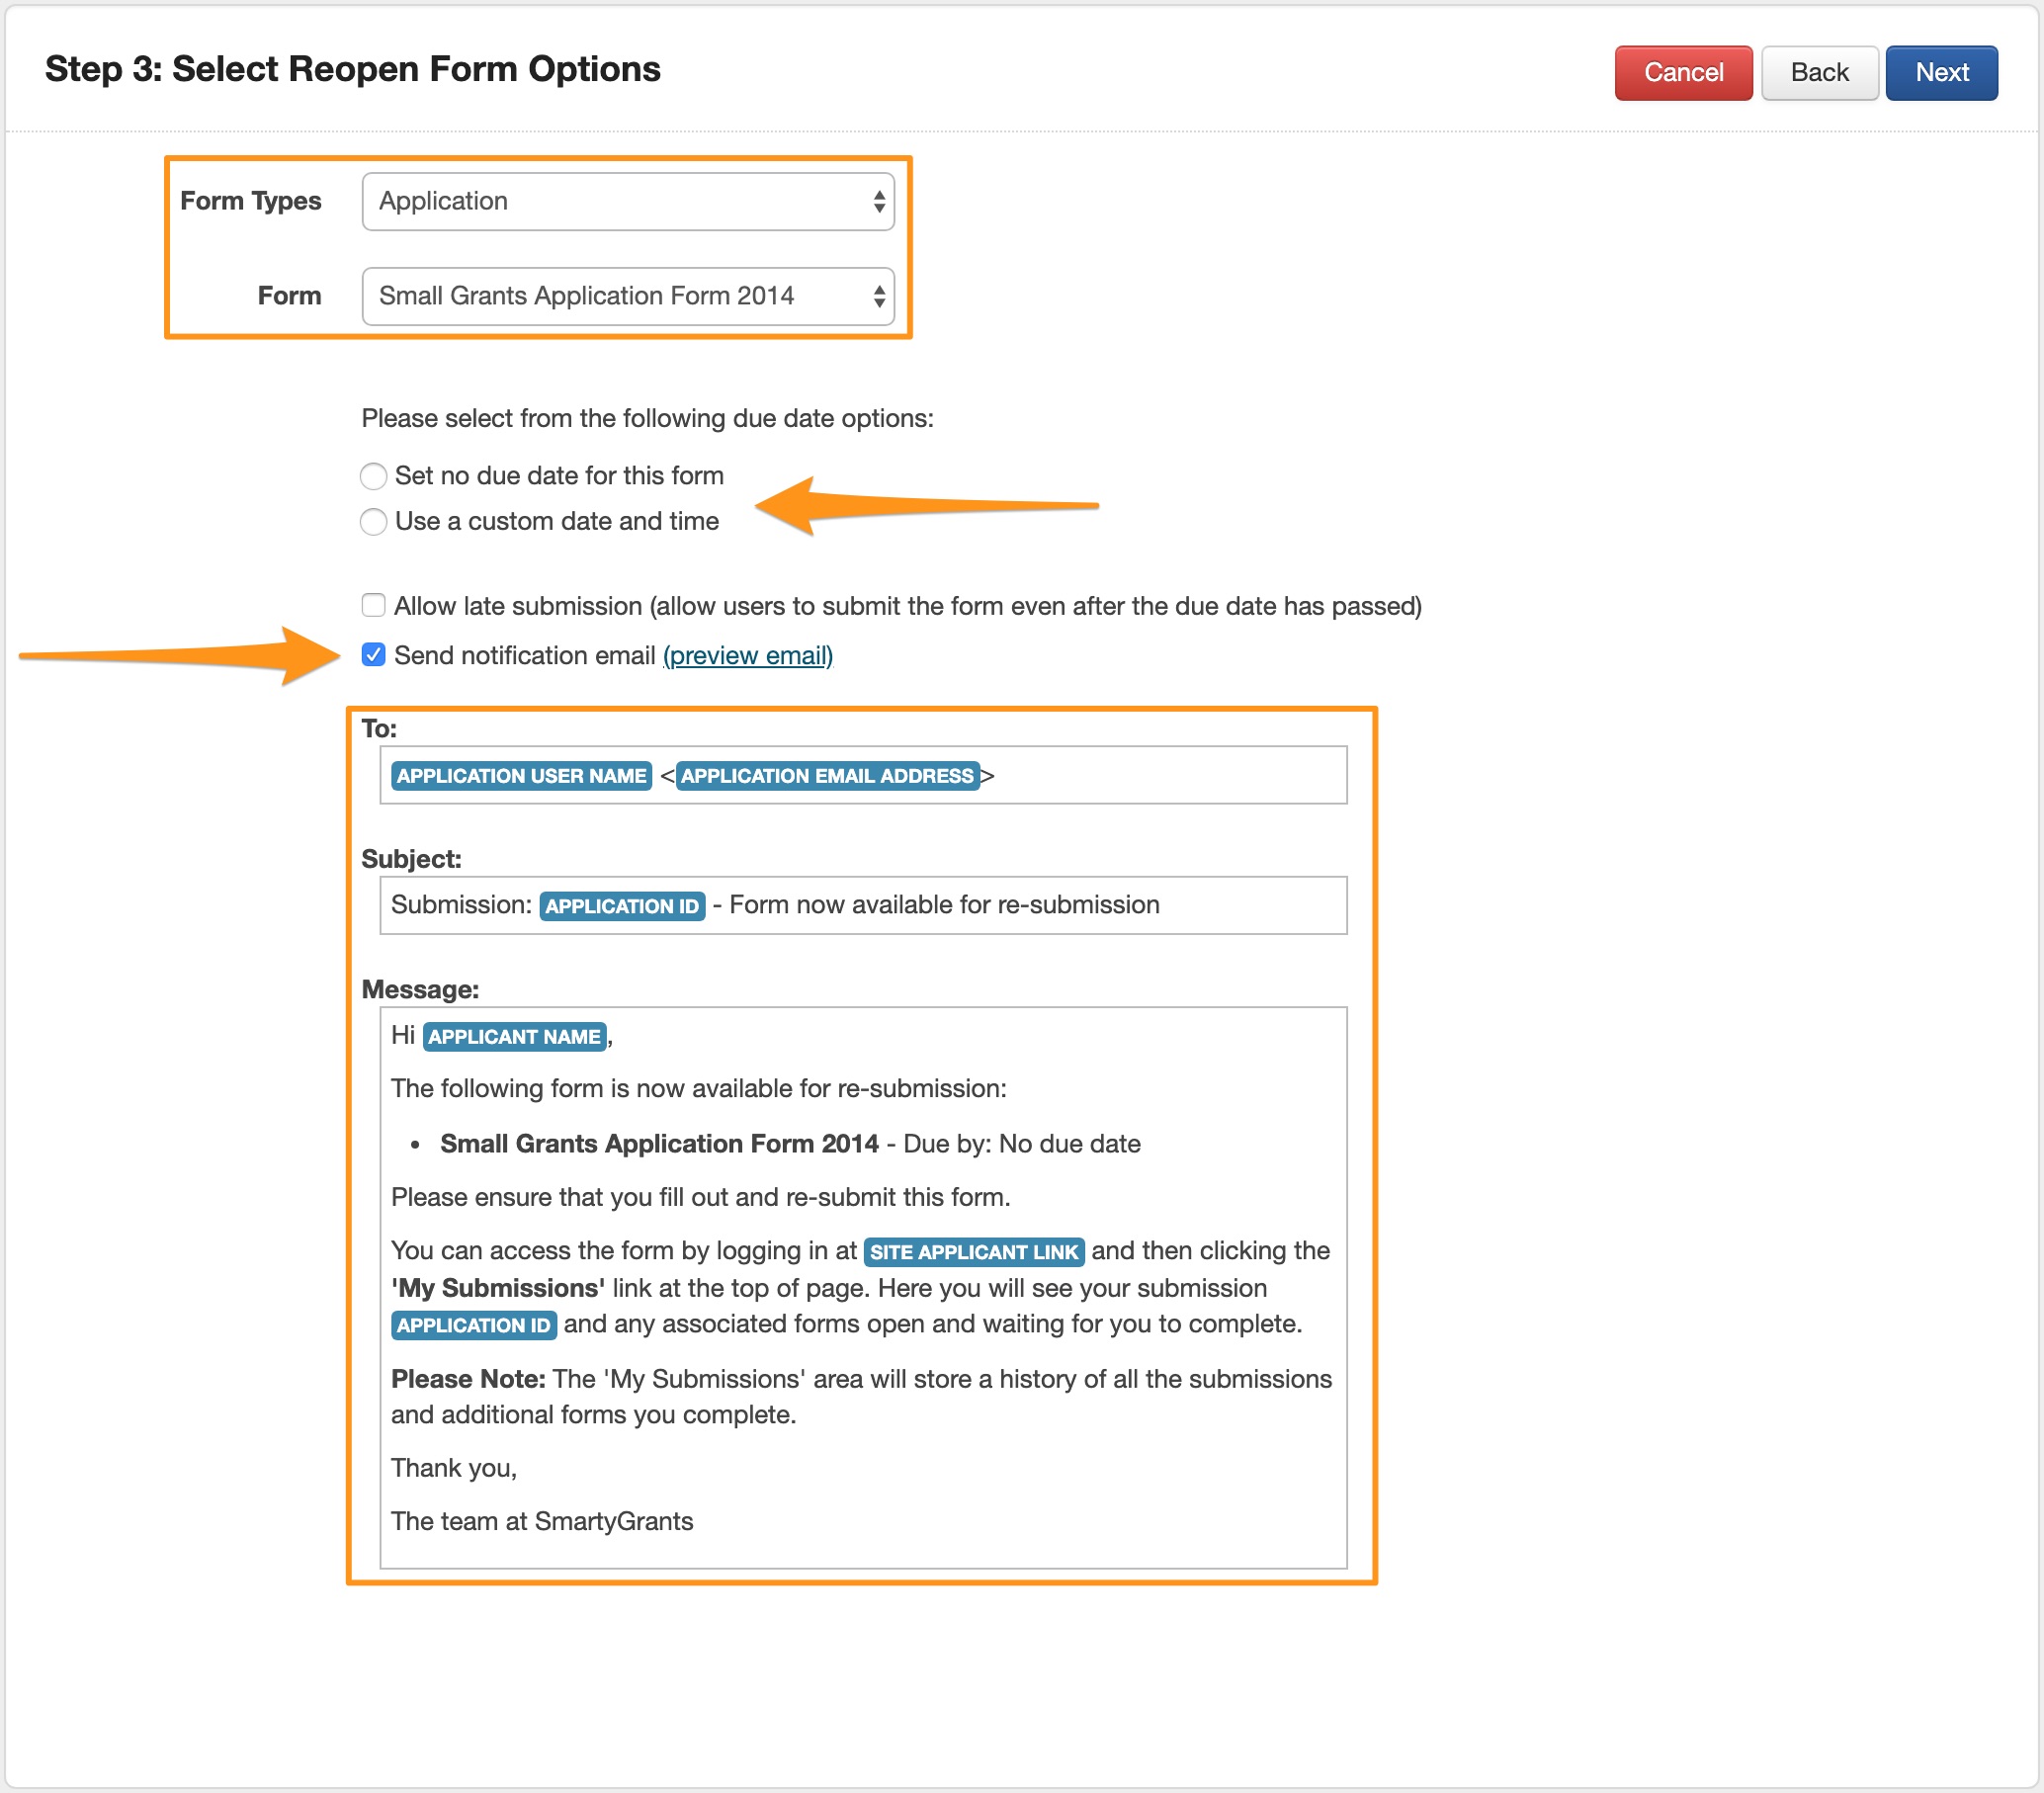
Select your relevant options that will apply to all selected applications and click on the 'Next' button.
A Review and Submit screen will appear. Review the options you have chosen and, if happy, click on the submit button.

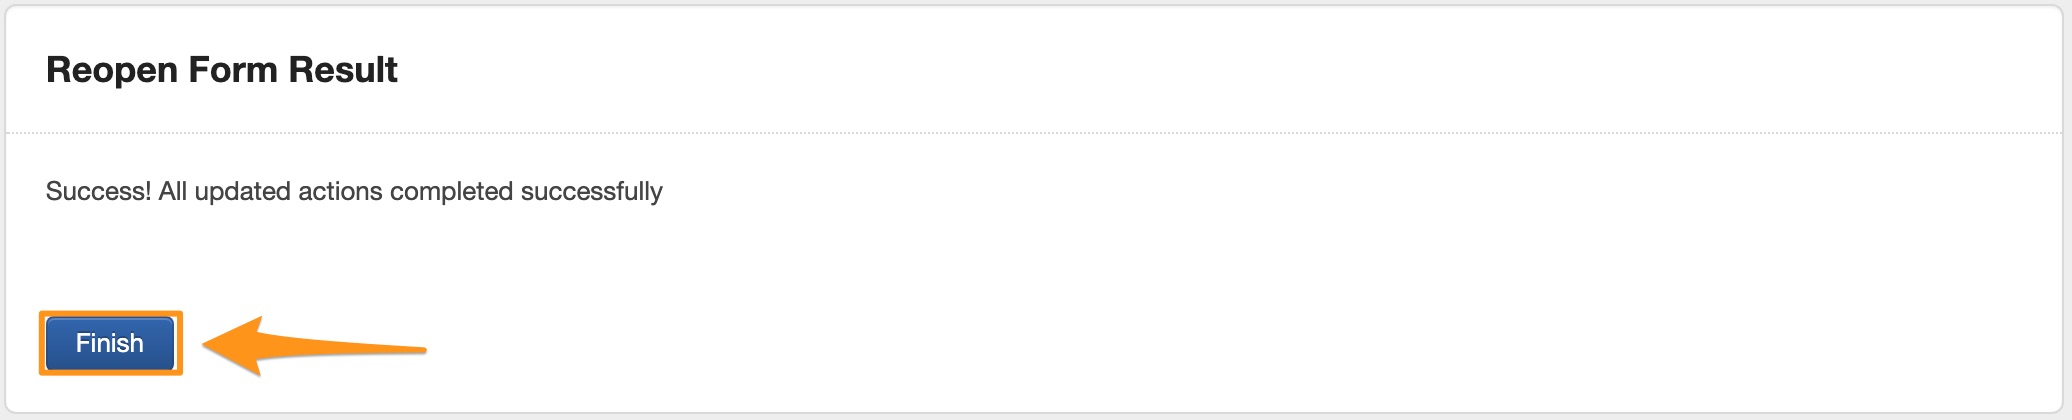
Your Reopen Form action will run and confirm the update has run successfully. Click on the Finish button to return to the Application Filter screen.
Change Due Date: Change the due date on forms for the selected applications
To apply your bulk update go to the Applications filter screen. Apply the filters necessary to obtain the list of applications you wish to change the due date on forms for. Then click on the Bulk Action button in the top right hand side of screen.
The list of applications you had filtered will now appear on screen. If you wish to deselect any, this is your opportunity. To do so - click on the tick box next to any applications you wish to deselect. When you are happy with your selections click the Next button.
Select the 'Change Due Date' option and then click the 'Next' button. *Note: You may only apply one bulk update operation to a group at one time.
Select the Form Types and Form Name for which the Due Date needs to be changed, the actual due date to be changed to and the associated options. You will need to edit the notification email as required also.
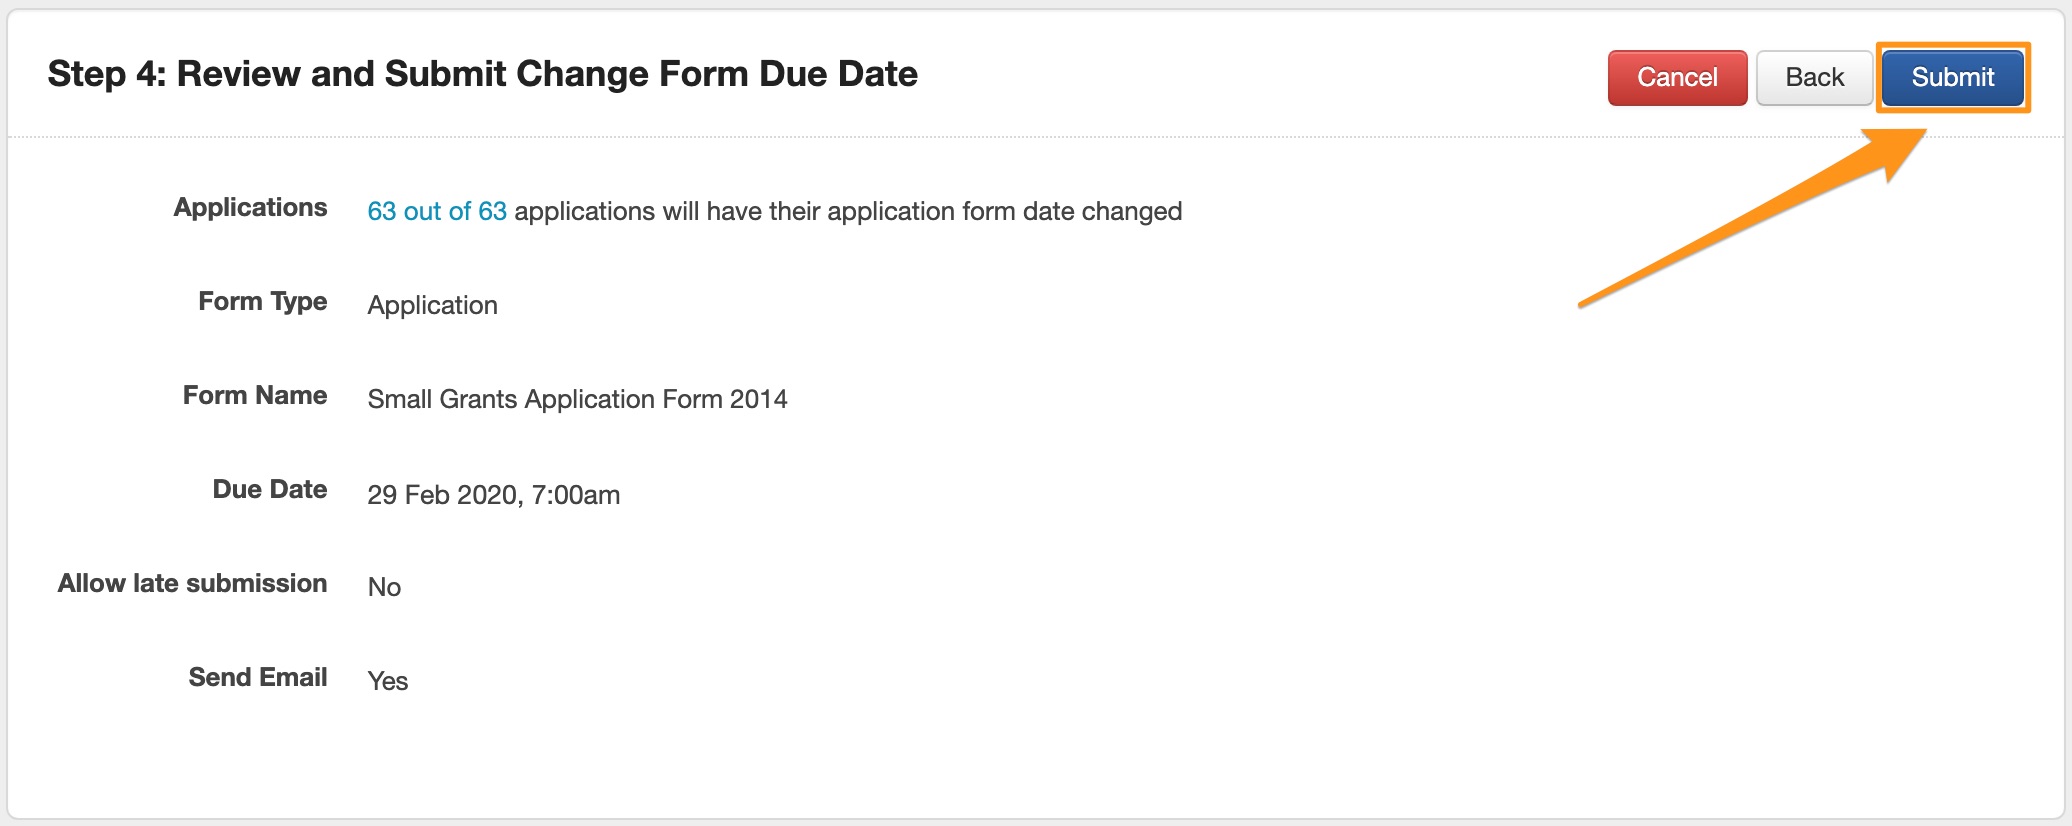
A Review and Submit screen will appear. Review the options you have chosen and, if happy, click on the submit button.
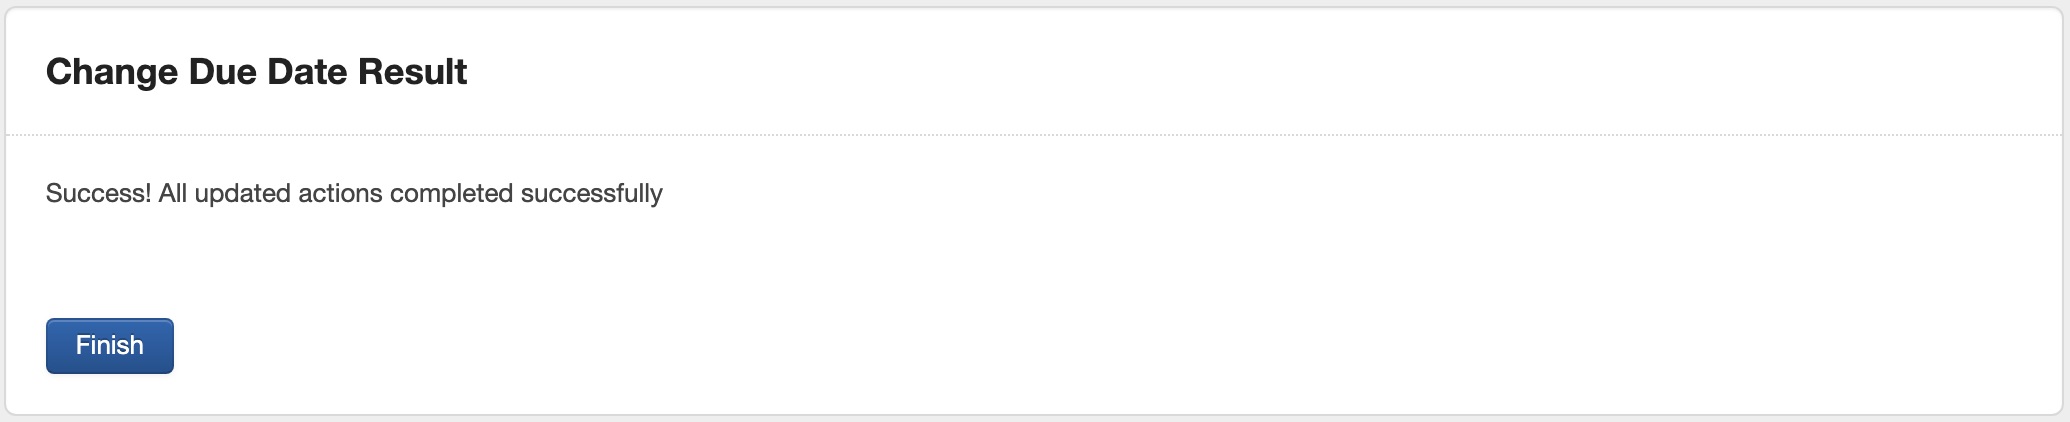
Your Change Due Date action will run and confirm the update has run successfully. Click on the Finish button to return to the Application Filter screen.
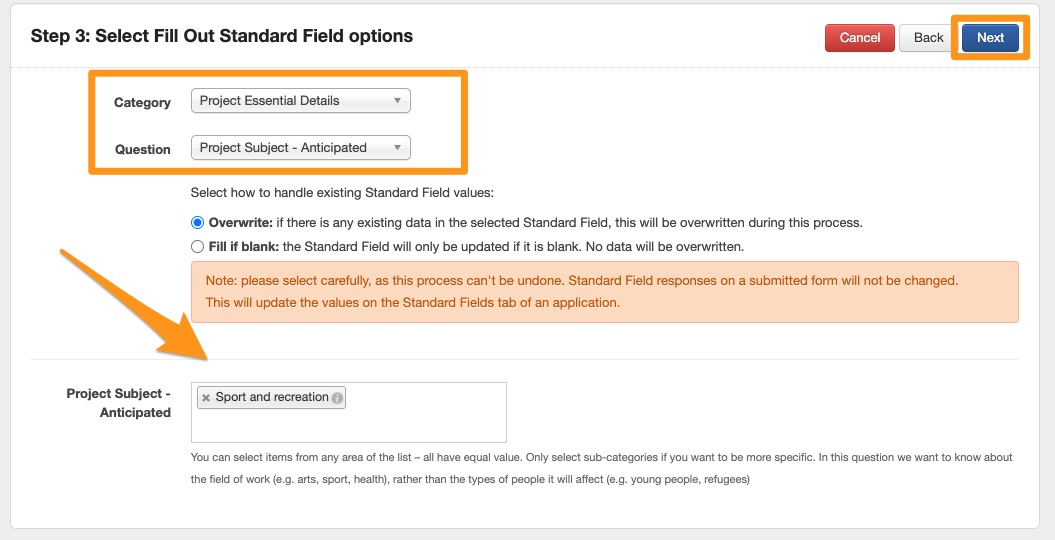
Fill out Standard Field: Fill out a standard field for the selected applications
Once you have selected your application you may then select the bulk action Fill out standard fields
You will then be required to select the category that your standard field is located in and then select the specific standard field from that category you wish to edit
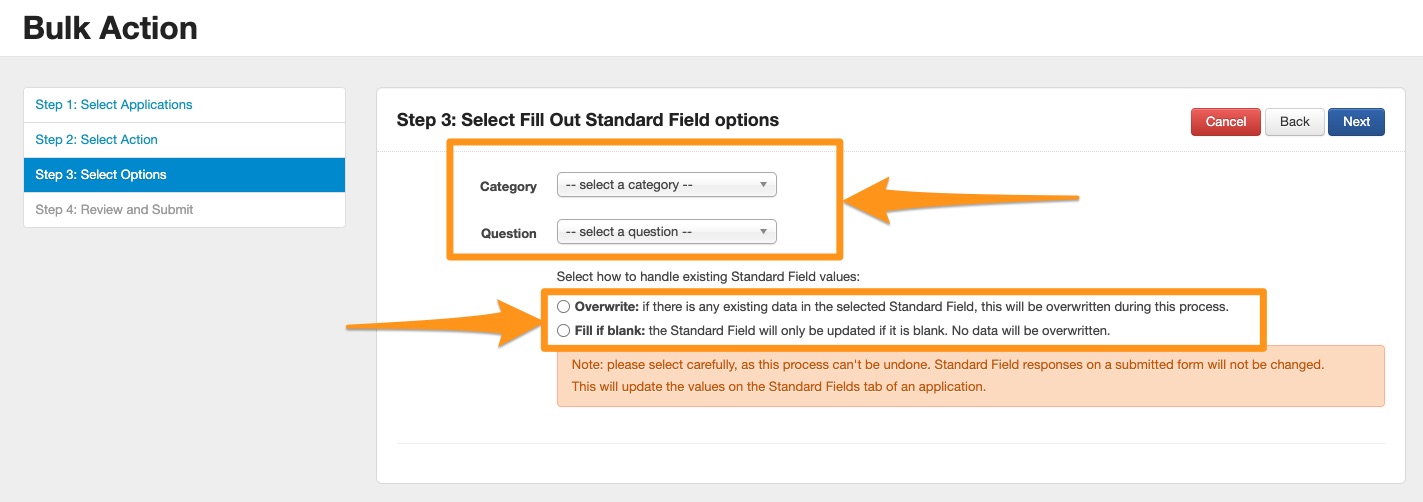
Next you should decide if you wish to overwrite the existing data or fill in that field is currently blank
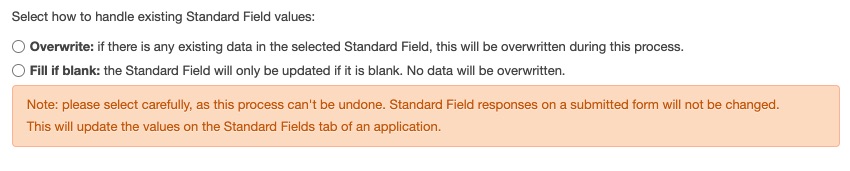
Once the selections have been made and the replacement or additional data entered you select next to complete the process. NB: please select carefully as the overwrite or fill in option can not be undone.