Tags, Flags & File notes
Tags and Flags are tools found on a contact record within the contact directory. Tags and Flags can be used to highlight contacts that require specific attention, or categorise contacts by similar attributes. Once a tag or flag has been applied you are able to use that tag or flag to filter and report on those contacts.
Tags
Tags allow you to categorise a contact according to similar attributes. You can also add more than one tag to a contact at a time, allowing you to filter and report on those contacts at a later date.
For example, you may want to identify contacts you want to send a Christmas Card to, by adding the tag "Christmas Card List" to each contact you can later run a report for those contacts with this tag and send your Christmas Cards.
How to add a Tag?
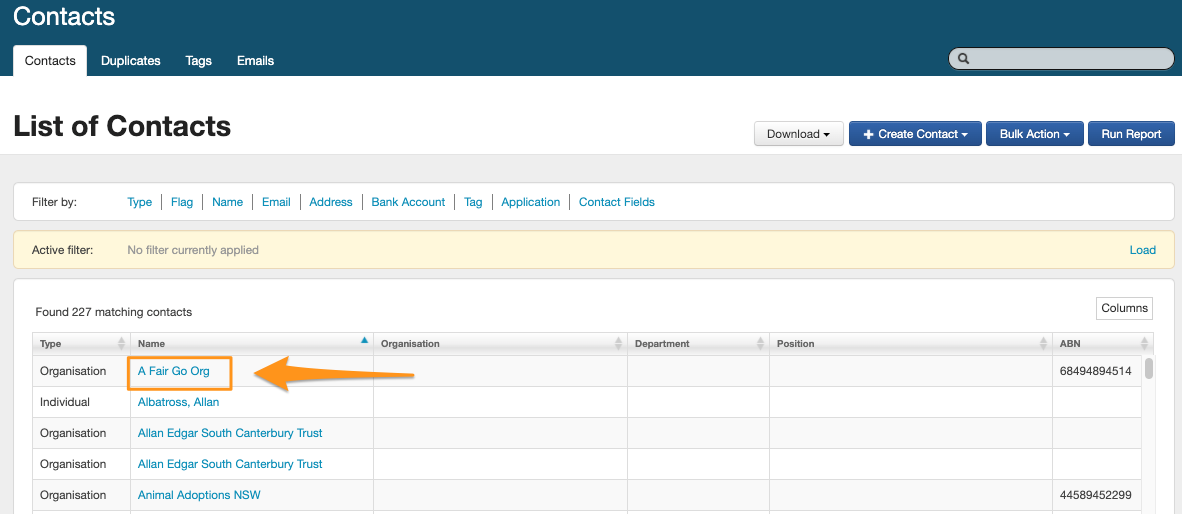
To add a Tag you should start by selecting the contact directory at the top of the screen.

Select a contact record by clicking onto the hyperlink of the contacts name. Once you have clicked onto the contacts name, you will be taken through to the contact record.
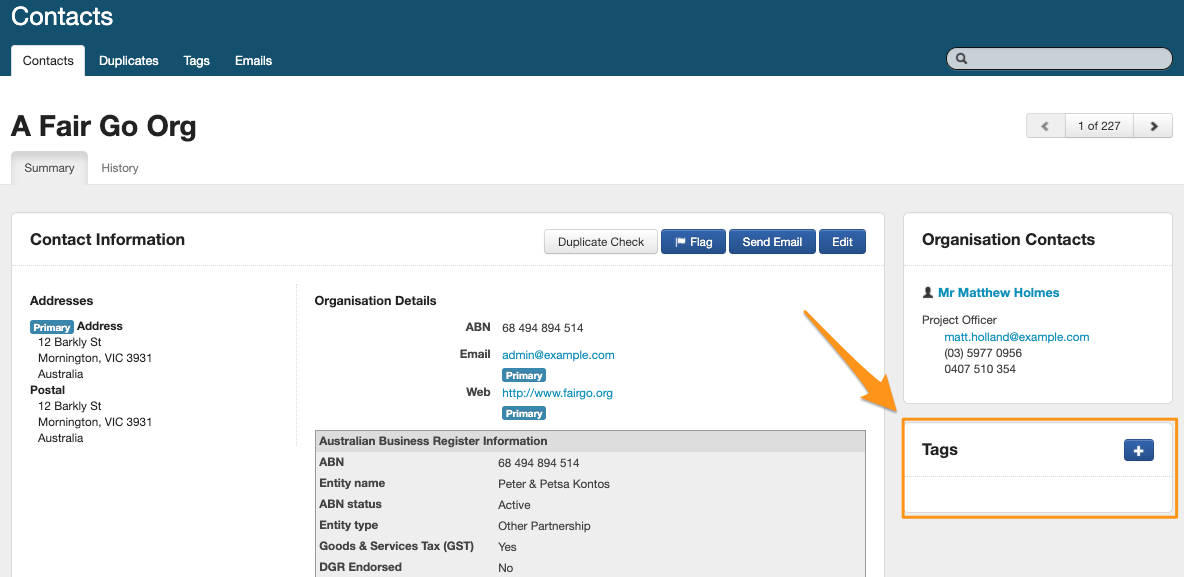
On the right of the screen you will notice a Tag box with a blue add + symbol. To add a Tag click on the blue cross and type the tag name into the pop up box and "save".
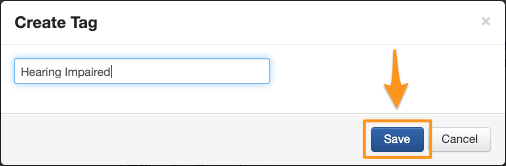
You can add Multiple Tags to the one contact in the same way.
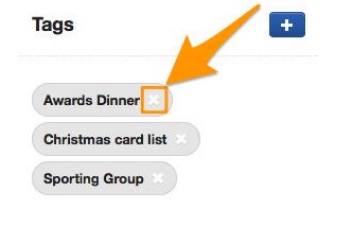
Removing a Tag
To remove a Tag from a contact card, click on the white cross on the tag itself and the tag will disappear.
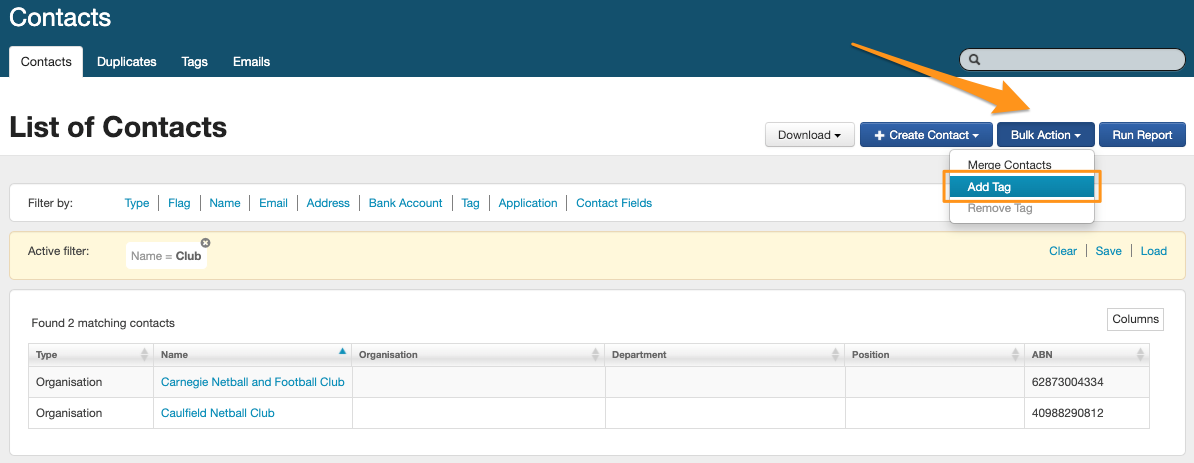
Adding and Removing Tags in Bulk
Tags can be added and removed in Bulk from the contact filter screen. You may want to apply a filter to a number of contacts with similar attributes then add a Tag to those contacts at once. You may wish to apply a filter then add a Tag using Bulk Action and Add Tag.
In the below example I have applied a filter to find all organisations that have the word "club" in their name. For more information on how to use a filter please see Create/View/Filter/Edit contacts
You then name the Tag and save this name by selecting Add Tag
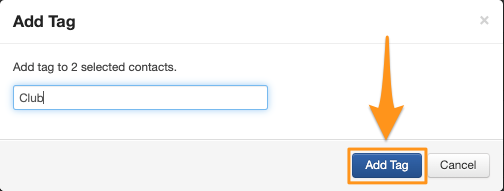
Once this Tag has been saved, the Tag will be applied to each of the individual contacts.
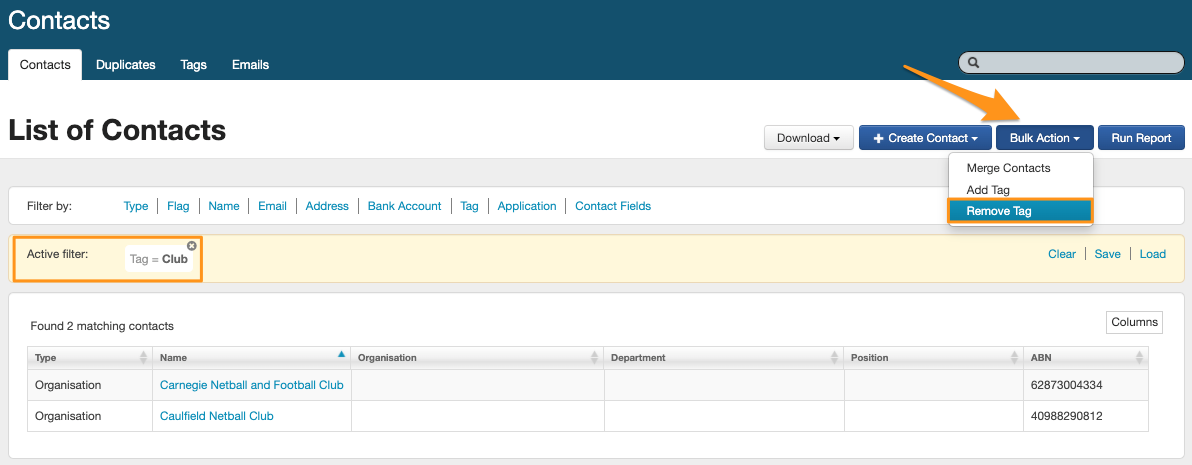
To remove a Tag in bulk you need to apply a filter first in the contact filter screen then choose Bulk Action and Remove Tag.
Flags
Flags can help you manage specific information or requirements for a contact. There are two types of flags, Red and Yellow, providing you with two options for classifying flags depending on your organisations processes and policies.
You might, for instance, decide that all financial flags will be red and perhaps all flags relating to correspondence will be categorised as yellow. Your organisation may decide only to use Red flags, the decision is yours. When a flag is added, you have the option to add a reason for adding the flag, which will remain visible on the contact record.
How to add a flag?
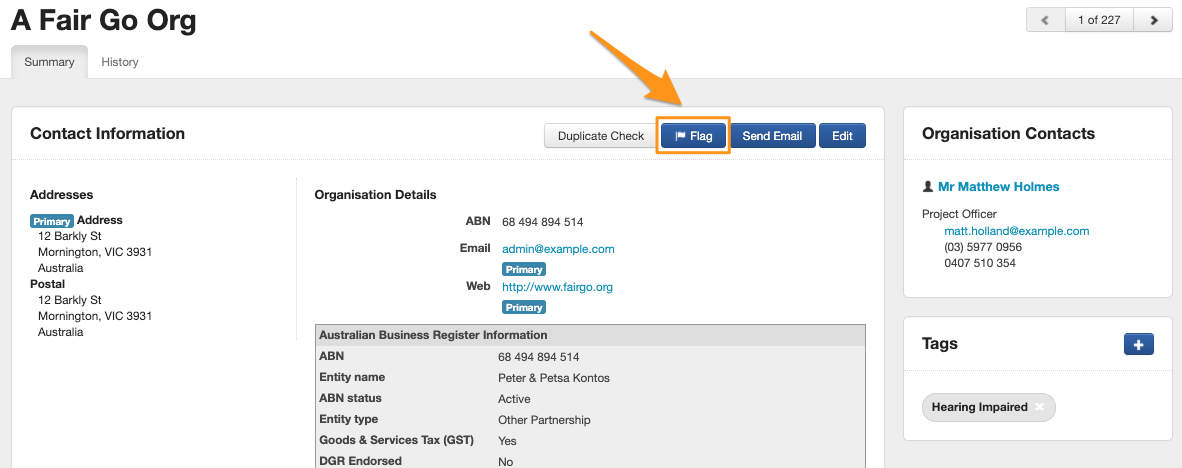
You start by selecting a contact from the contact directory. Once within a contact card you would select the blue "Flag" button.
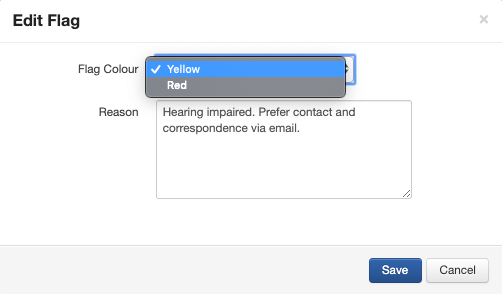
You would then decide on the Flag colour based on your organisations policies and procedures. Type in the reason box and select save.
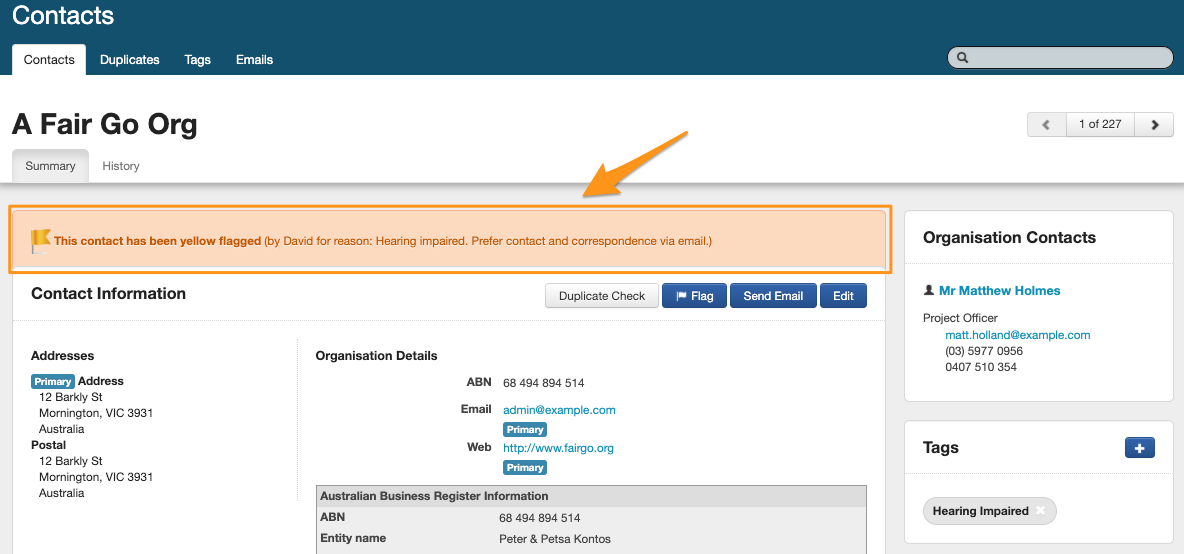
Once saved, the flag information can be found at the top of the contact card and is available for all users with access to Contacts to see. A flag will display the colour selected (Red/Yellow) along with the name of the user who created the flag and the reason (if recorded).
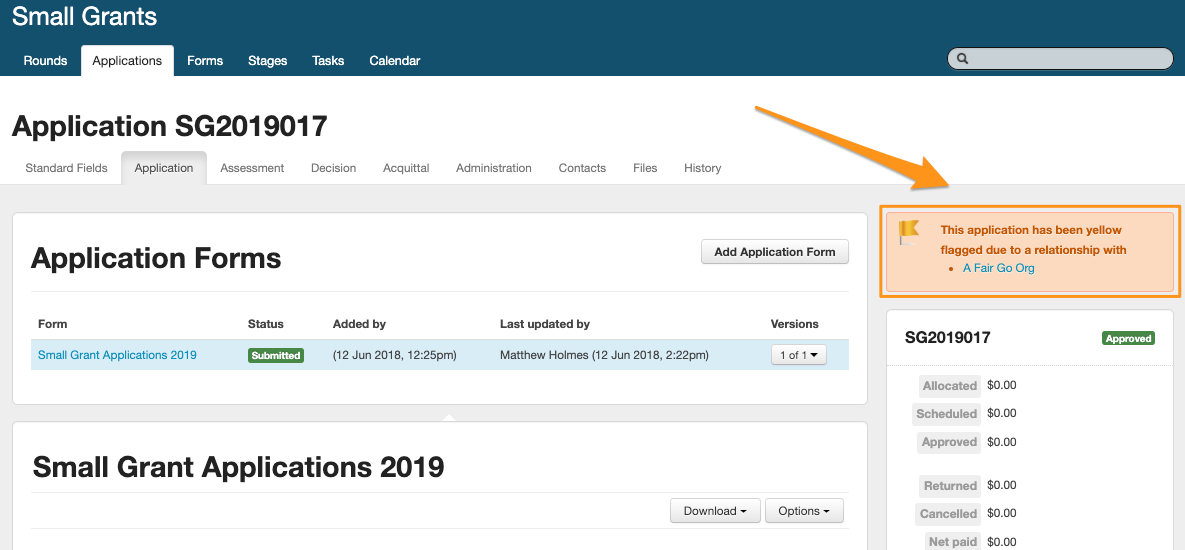
The flag will also appear on any applications that particular contact has an involvement with and be visible to any user viewing the application/s.
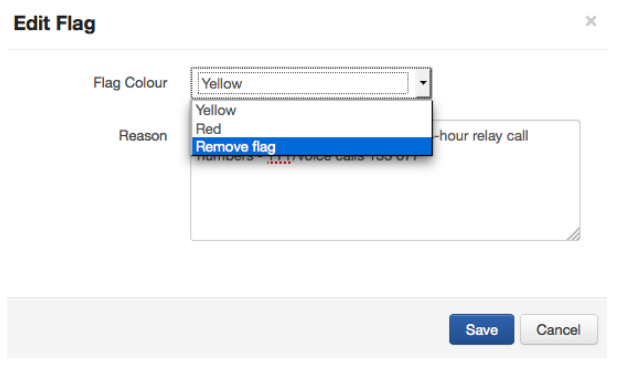
Removing a Flag
You can remove a flag by selecting the Flag button, choosing "Remove flag" from the drop down list and selecting save and the bottom of the screen.
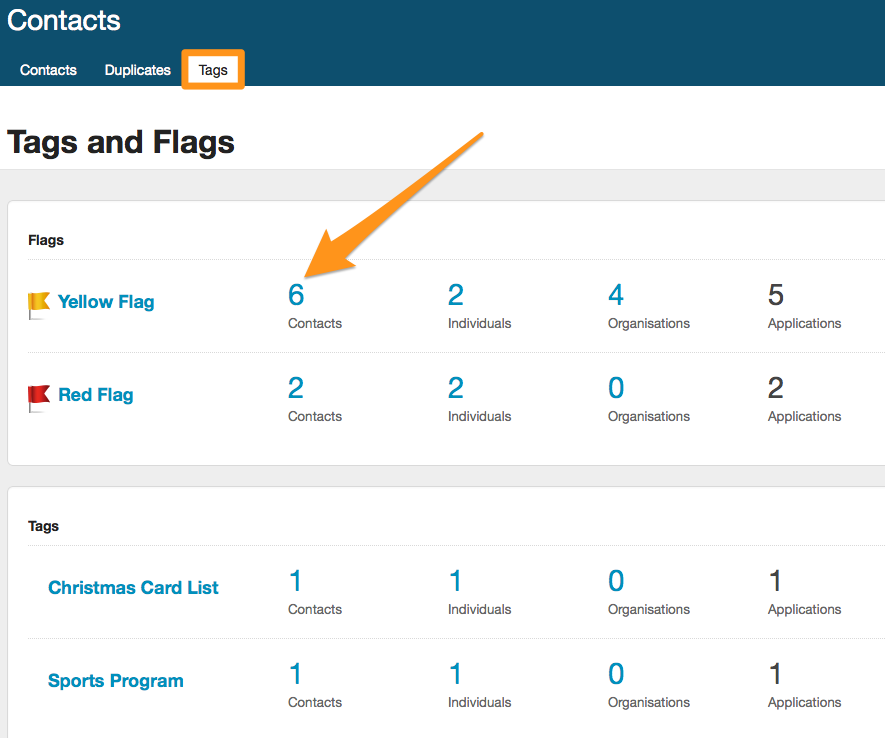
Filtering using Tags and Flags
You are able to see a snapshot of all of the tags and flags used by clicking on the Tags tab at the top of the contacts screen. This Tab not only provides a breakdown of the contacts with Tag and Flags but it also provides a number hyperlink that takes you through to the contacts filter screen.
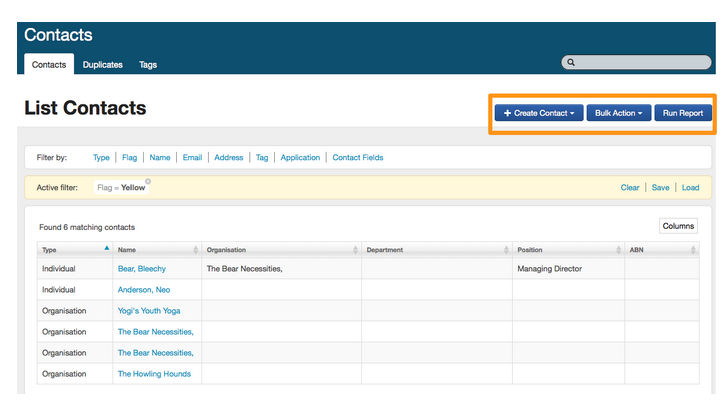
Once in the contact filter screen you are able to perform a number of functions on that found set. You can report, perform a bulk action or click into any of these individual contacts.
SmartyGrants allows you to track correspondence with your contacts using File Notes. You can add a file note in either the contact card within the contact directory or in the contacts tab of your application.
Create a File Note in the Contacts tab of the Application
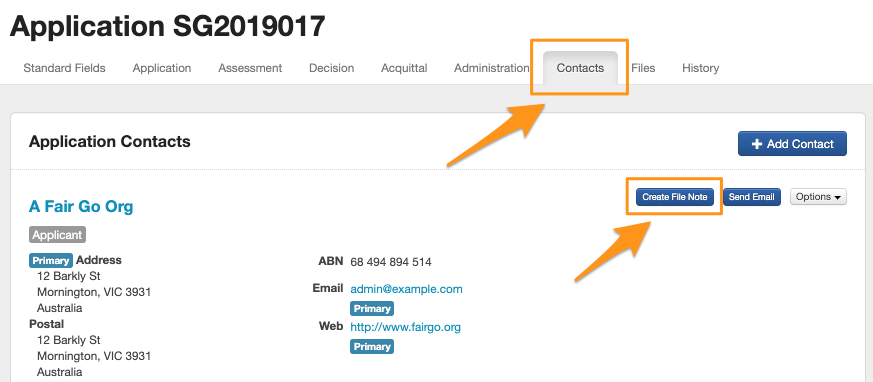
- Go to the specific application you wish to record a note for and click on the 'Contacts' tab.
- From the listing of contacts, click on 'Create File Note' next to the contact you wish to make a note against.
Create a File Note in the Contact Card of the Contact directory
- Select the Contact directory icon at the top of the screen then click on the hyperlink for a specific contact.
- From the contact card, scroll down towards the bottom of the contact card and click on 'Create File Note'.
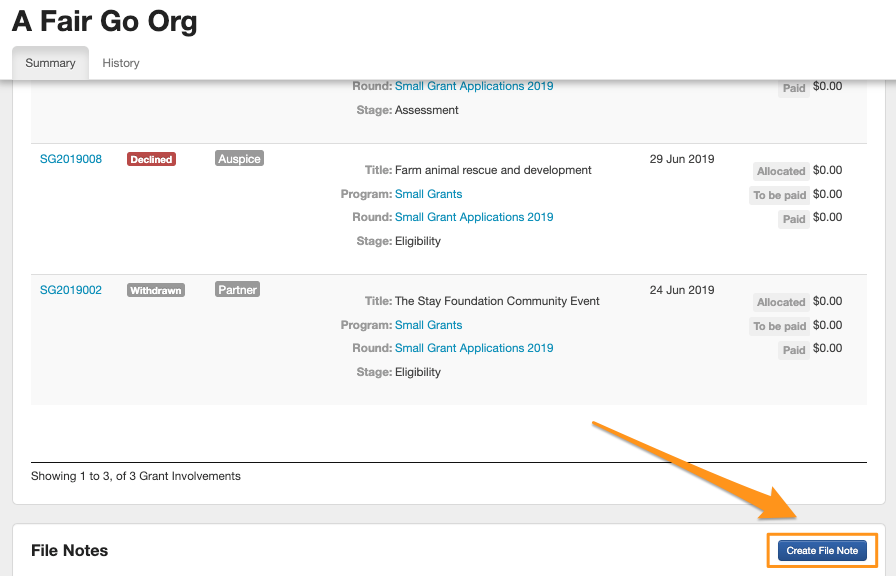
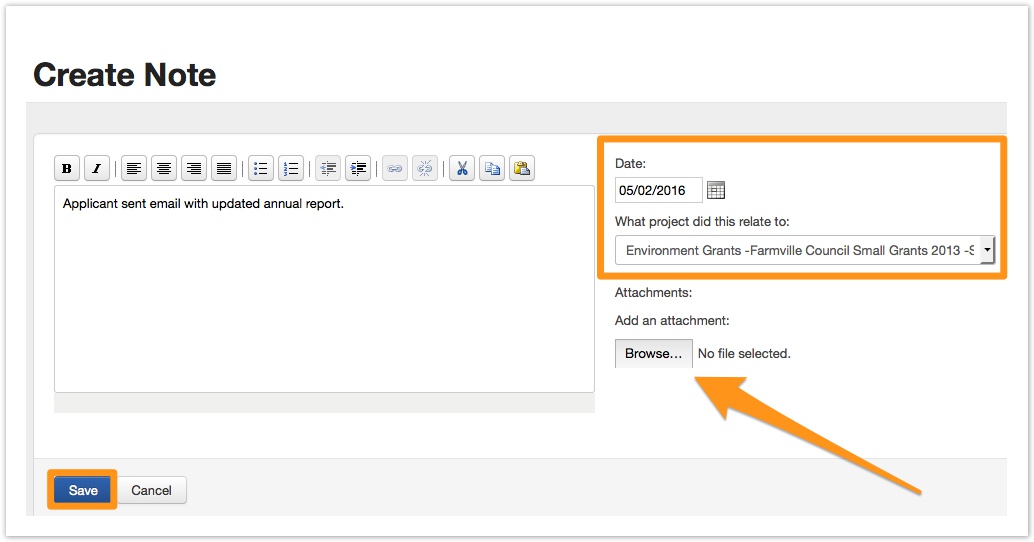
- A file note box will appear. Here you can type in the information you wish to record against this contact, as well as attach any files you wish to add to the application.
- You may specify a date for the note, choose the contact it took place with and amend which project the note relates to. When done, click on Save.
- This file note is now recorded against the contact on the specific application or contact card, any files attached will also now appear in the 'Files' tab of the application; and the note is also recorded against the contact in the 'Contact Directory' area.
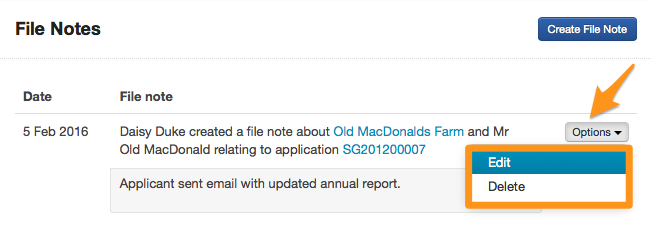
Edit a File Note
- File notes can be edited by selecting the options dropdown menu and edit. Any changes made to the file notes will be saved in the history tab.