Create/View/Filter/Edit contacts,View History and Contacts on Applications Tab
SmartyGrants helps you to keep track of Application contact details by filing them into a dedicated Contacts directory.
Important
Contact records in the contact directory will only be created automatically if you use the Contact Fields when building your application form. For more information on adding Contact Fields to forms, please see Form Elements and Question Types.
You can, however, create any additional contacts (that have not come through on an application form) within the contact directory area (see instructions below). Once a new contact is created, you can link a grant involvement to a specific application.
Create a Contact
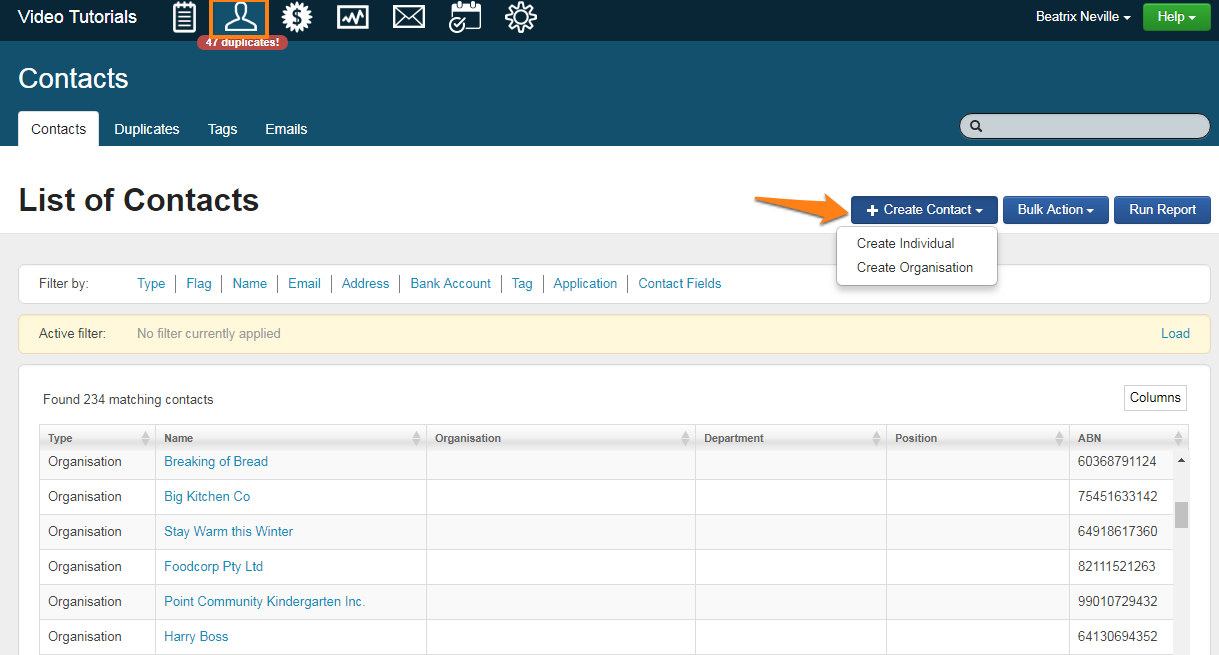
1. Click the Contact Directory icon in the navigation panel at the top of screen.
2. Click on the + Create Contact button and select either 'Create Individual' or 'Create Organisation'.
3. Enter the new contact details
Multiple phone numbers, email addresses, websites and addresses can be added by clicking the "+ Add ..." buttons.
Note that a 'Primary' phone, email, website and address should be listed. You can add additional types such as, postal, street, office, personal etc for each type of contact information. The primary details will feed through to a 'Primary' report field folder when creating a template for use such as mailing and correspondence.
Entries can be removed or edited by clicking on the Options button to the right of the relevant field.
For individual contacts: As you type in the name of the organisation the individual belongs to, a list will appear containing suggested matches from your existing list of contacts. If their organisation appears on this list, click on it. Otherwise you can enter the organisation's name manually.
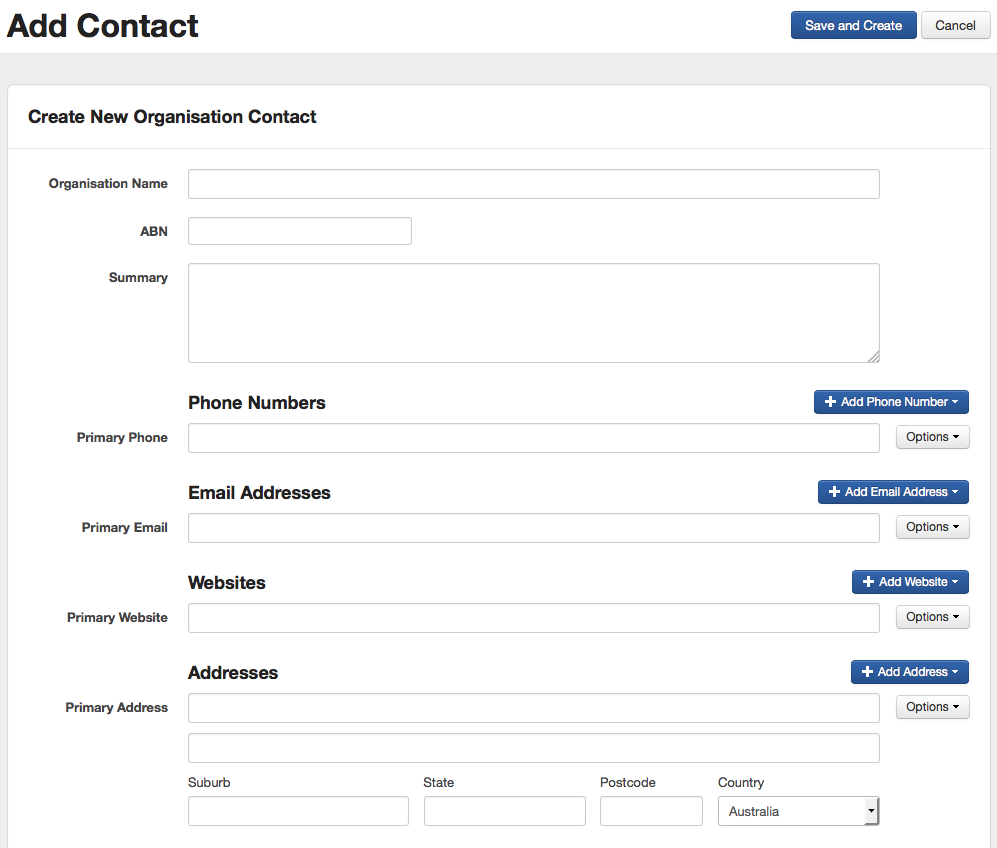
4. When finished, click the Save and Create button.
Once a new contact is created, you may link an involvement to a specific application. See here to learn how.
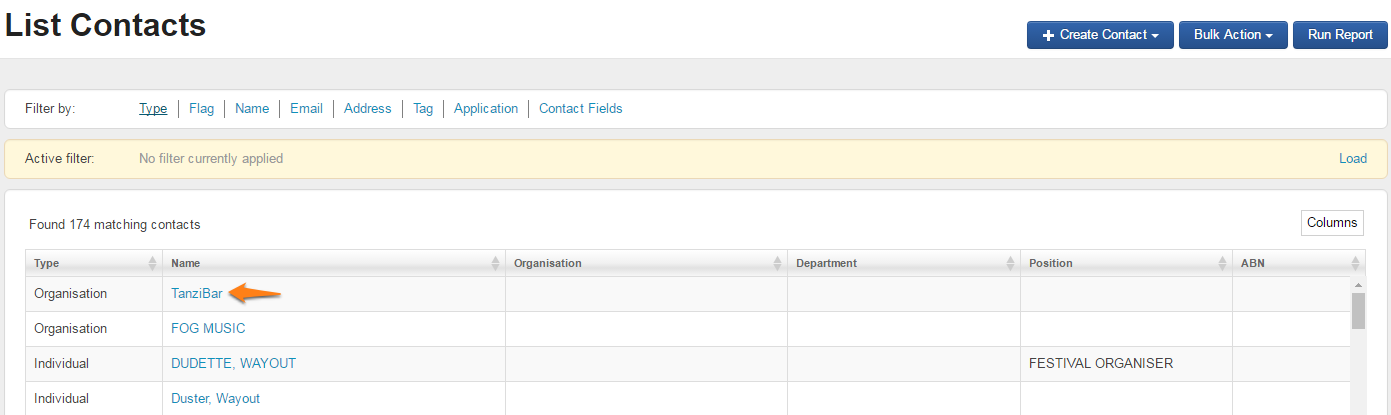
View Contacts
Wherever you can see the name of a particular organisation or individual - be it in:
Contact Directory;
The application contacts tab;
Via a search;
Or anywhere else;
Simply click on its name to see its full contact record.
Filter Contacts

All contacts can be filtered by:
Type (by Individual, Organisation or both).
Flag (whether any flags are associated with a contact, yellow red, any or none).
Name (first name, last name, organisation name or all).
E-mail (e-mail address associated to a contact, either Primary, Office, Personal, Other or any).
Address (any address element or address type).
Bank account (account country, bank account element, bank account name/number, type)
Tags (any available tags, single or multiple).
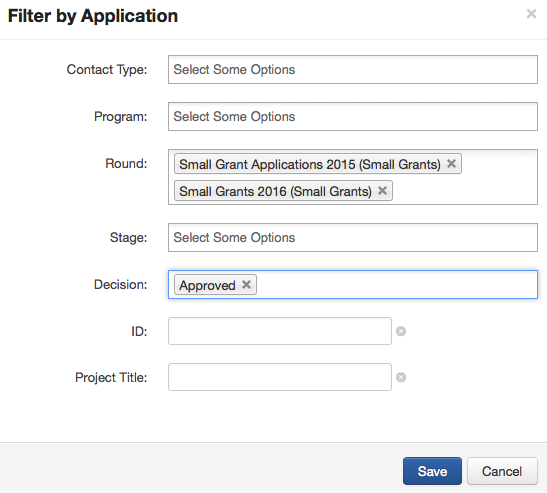
Application (any application associated to a contact by any of the following elements: contact type, program, round, stage, decision, application ID, project title).
Contact Fields (any custom contact field categories and fields that may have been created in your account)
Apply Filters:
You can add as many filters as you wish.
If you have a favourite set of filters you use all the time, you can also save them - meaning you don't need to reset them every time you use the system. See save/load filter set below to learn more.
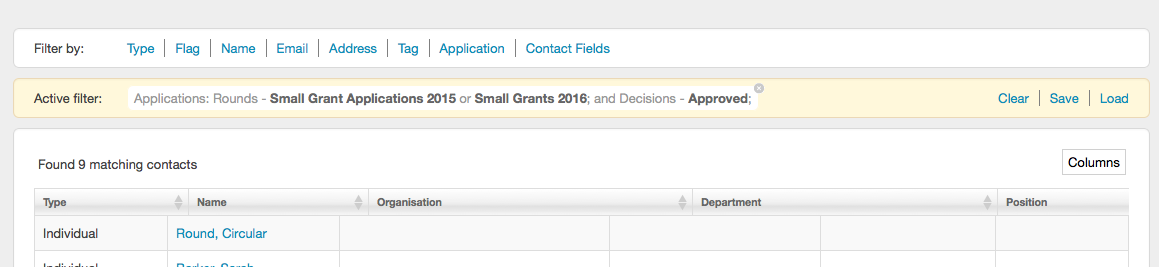
Click on the filter option/s you wish to filter by; there you can choose multiple options. For example, you may wish to filter all contacts related to a 2015 and 2016 round, as well as limit your search to those that have successful application involvements only.
Choose the available categories you wish to select, ensure you click on 'Save'
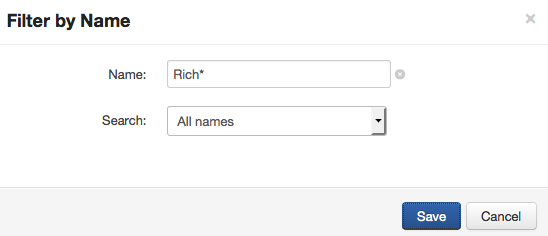
Query Search
When filtering applications there a particular filters that allow you to filter for key words, and to add wildcard queries. See Query Search for information about how to apply wildcard searches.
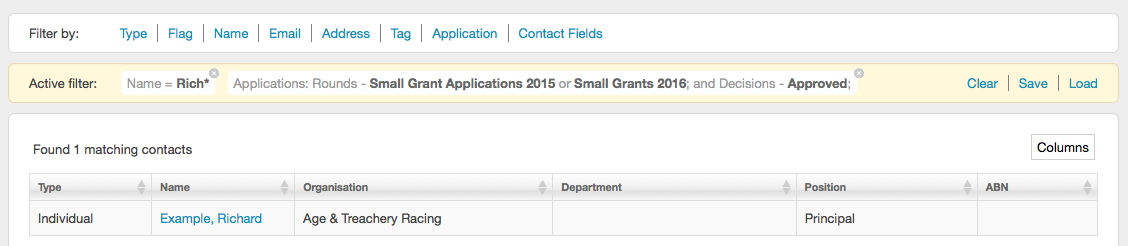
Each time you apply a new filter you will be brought back to the contact directory screen. There you will see that the filters have been applied each time you add a new one.
Clear Filters
To clear all filters click on 'Clear'
*Note: filters will be saved if you click over to another screen. Filters will only be removed if you click on 'Clear' on the yellow filter bar.
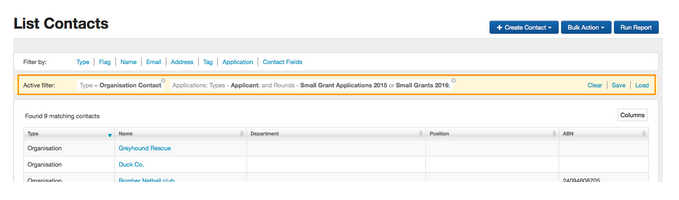
You will see that this screen will also tell you the number of contacts which have been found to match your filter conditions.
If you wish to add/remove columns from the filter table on screen click on the 'Column' button and tick on the columns you wish to be shown, if you would like one removed, click until there is no tick against the column name.
If you wish to sort by any particular column click on the arrow that appears next to the column name. This will sort the filter table alphabetically or numeric by that particular column.

Save/Load Filter Set
If you use the same set of filters frequently you can save the set so that you do not have to reset your filters every time you use the system.
Note: this favourite set is personal for each user, adding it as a favourite under a specific user will not appear for another user in the same account.
Add all the filters you wish to apply (see Add Filters above)
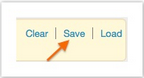
Once applied click on the blue Save link
Give your set of filters a name. Use something simple that you or another user will recognise if you go to reload the set of filters. Click on Save.
Your set of filters has now been saved and is ready to re-load at any time. When you are done you may clear those filters.
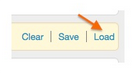
To load a set of saved filters, click on the blue Load link.
You will be given a list of saved sets of filters, click load next to the filter you wish to apply.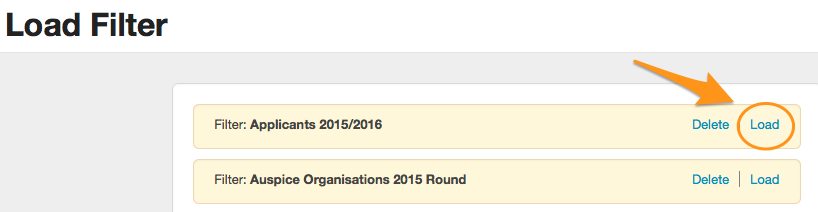
Your filters will now be reapplied. *Note: the number of matching applications showing may be different from the first time you ran the filter, dependent on any changes that may have been actioned on applications.
Edit a Contact
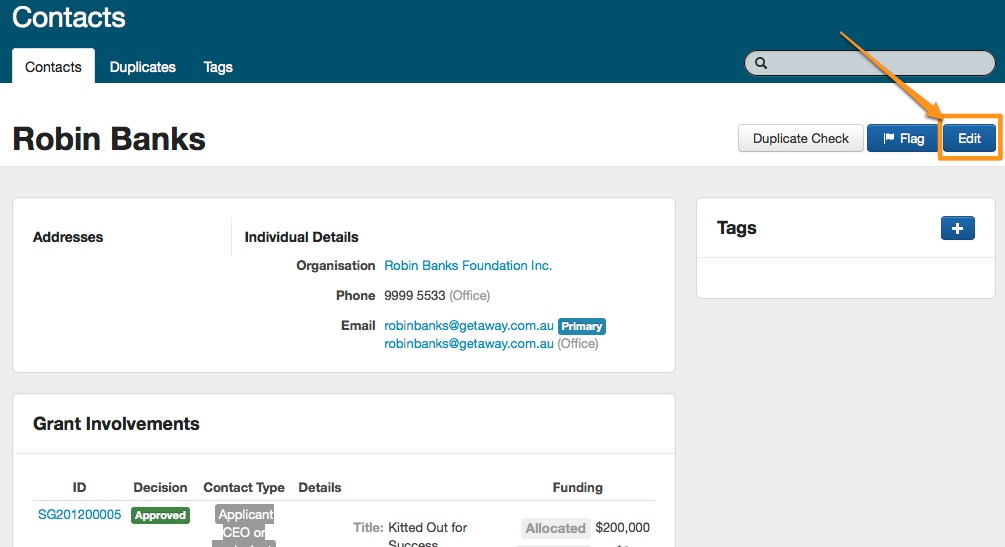
To edit any details of a contact, go directly to the contact you wish to amend and click on the 'Edit' button in the top right hand side.
Make any necessary amendments and click on 'Save and Close'.
SmartyGrants will keep an audit history of all changes made to a contact file.
View Contact History
A description of the changes made as well as the date, time and the name of the user who has made this change, is all available for viewing on the history tab.
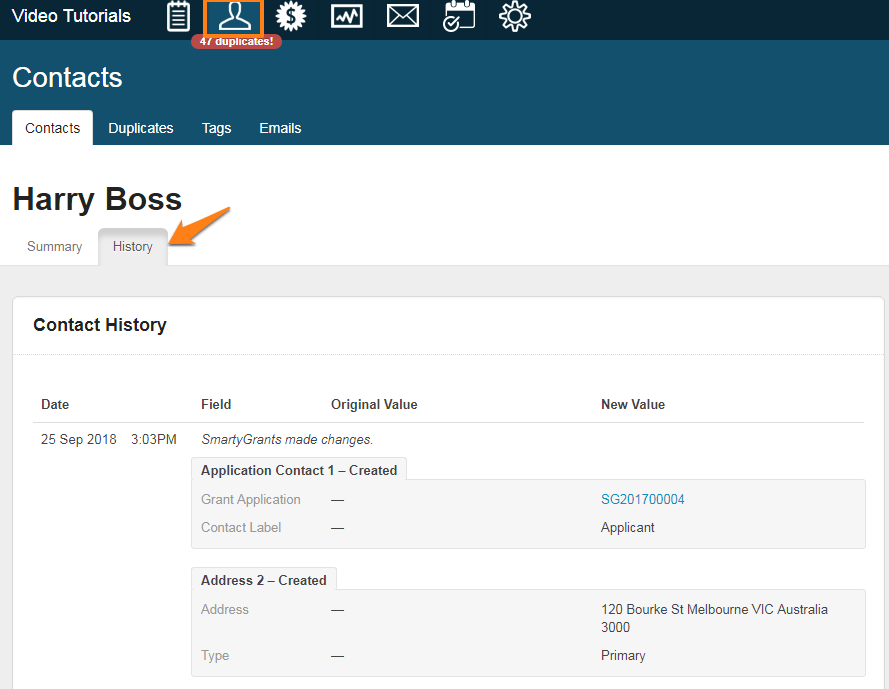
The history tab will contain hyperlinks to any attachments or applications that have been linked
SmartyGrants allows you to keep track of contact relationships for each application.
If you create a new contact through the contact directory area, you are then able to link that particular contact to a specific application. This will ensure that all grant involvements are kept up to date, as well as giving you control over the linking relationships to different organisations.
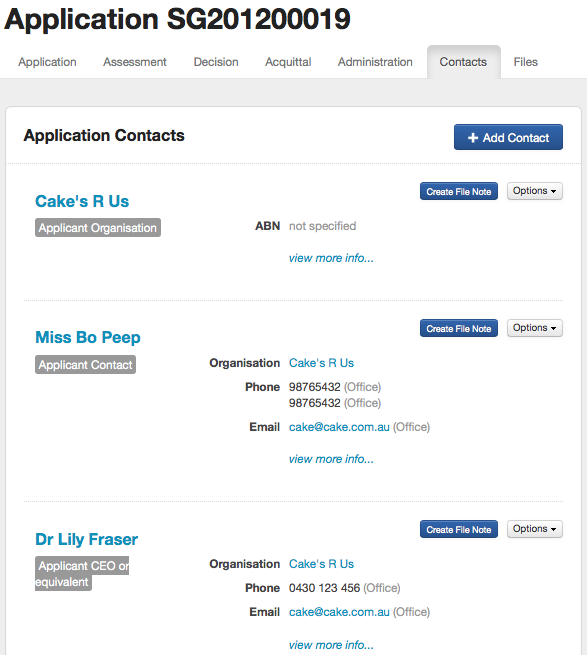
In the example below, we are looking at application SG201200019 and have clicked on the 'Contacts' tab. All contacts listed in the application have come through linked with the application form as it was submitted.
Contact information that is linked in an application form can be found in two areas - the 'Contacts' tab found on the specific application; and in the 'Contact Directory' area of SmartyGrants
Note: All linked contact information against all programs feeds in the directory area
In the following examples we focus on contacts linked to a particular application, as well as looking at how to link a new contact to a specific application, edit the contact type, remove a contact from an application and create file notes.
On the Contacts tab, I can amend the existing relationship - for example: remove or change the 'relationship type', create a file note, or attach any additional documents. I may also link a completely new contact into the application.
If you need to create a new contact in the Contact Directory see Create/View/Filter/Edit contacts for more information.
Linking a new contact to an application:
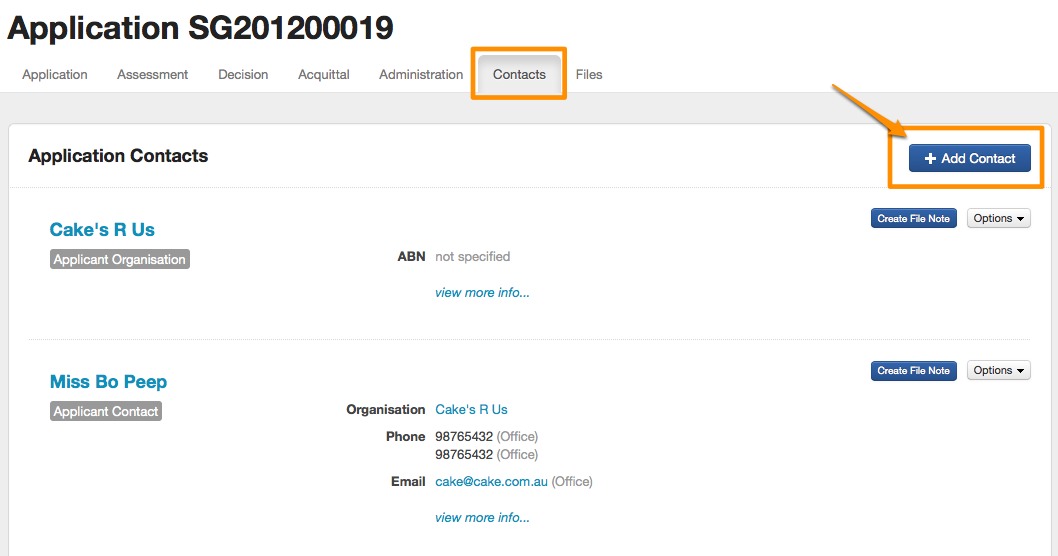
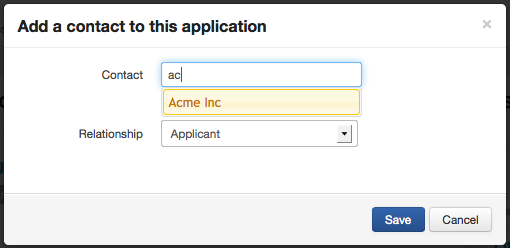
To link a contact to a particular application, go to that application and click on the 'Contacts' tab.
Then click on the 'Add Contact' button.
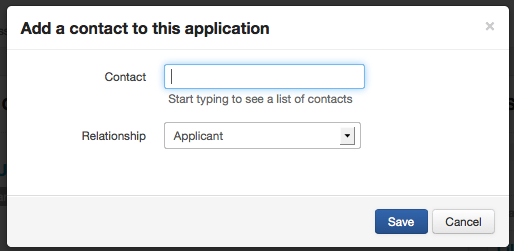
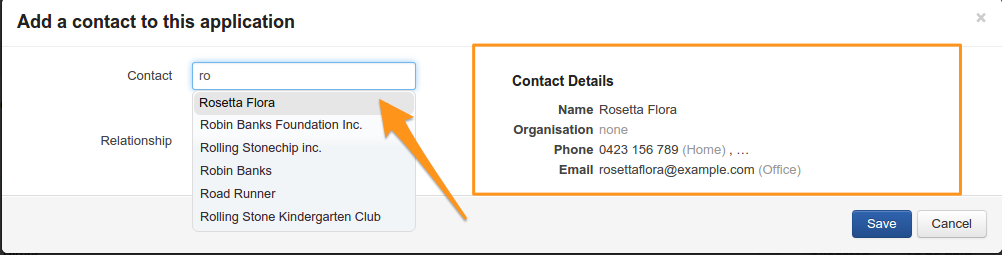
When you start typing the name of the contact you wish to link, a list of possibilities will appear. Click on the one you wish to link.
When you hover your mouse over the drop-down list of name options you will see a summary of contact information available. As you scroll down the names list the summary will change allowing you to pick the correct contact for your application. This is particularly useful if you have duplicates in the system with different information.
Choose the relationship the contact has to the application.

Then click on Save. Your contact has now been linked with this application.
Removing a contact from an application:
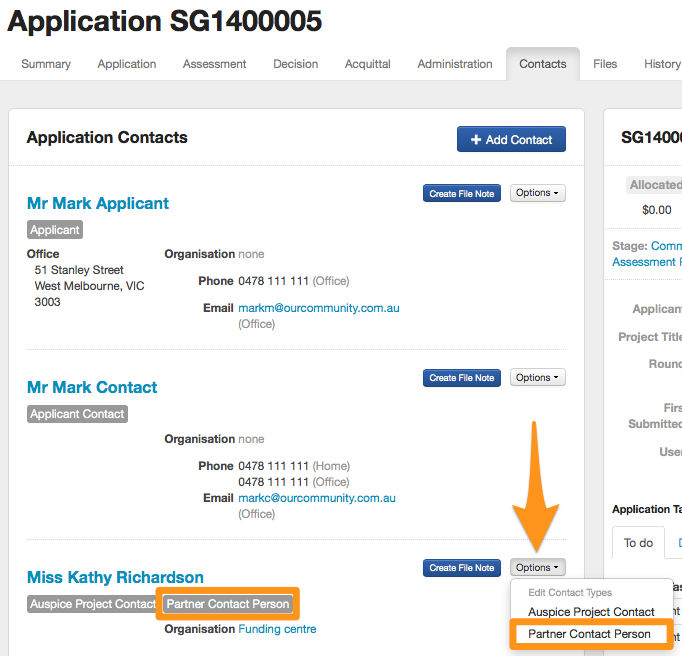
Go to the application you wish to remove a contact from and click on the 'Contacts' tab.
From the listing of contacts, click on the grey 'Options' button next to the contact you wish to remove. Click on the contact type you wish to remove. In the below example we will be removing the contact type "Partner Contact Person"
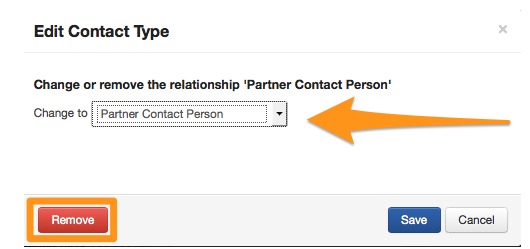
You then ensure that the correct contact type s displayed in the drop down list and click on the "remove" button. Your contact has now been removed from this application.
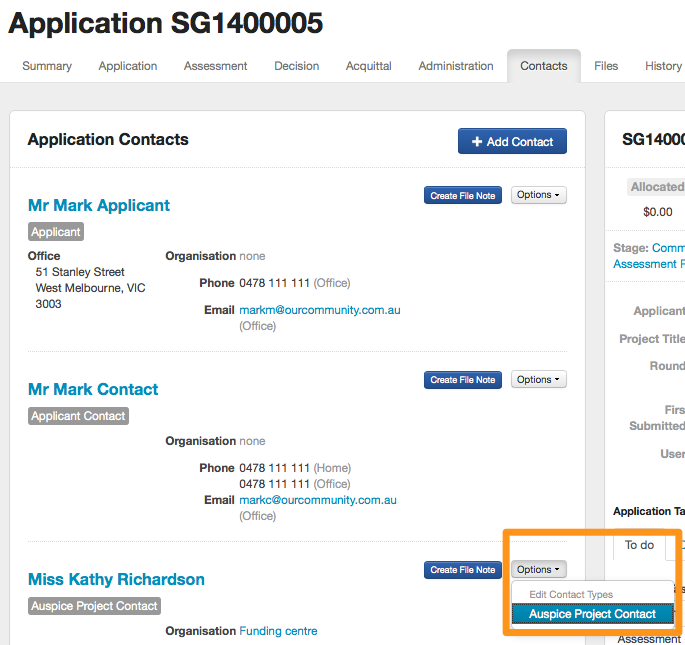
Edit the existing contact type:
Go to the specific application you wish to edit a contact for and click on the 'Contacts' tab.
From the listing of contacts, click on the grey 'Options' button next to the contact you wish to remove. Click on the contact type you wish to edit. In the below example we will be changing the contact type "Auspice Project Contact".
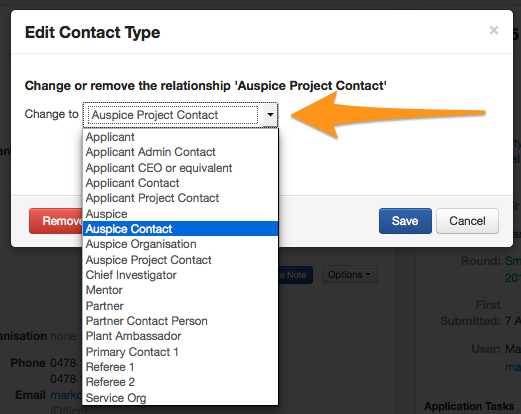
Select the new 'Contact Type' you wish to change and click on Save.
Bulk Contact Update:
Please note you have the ability to add or remove a contact from application involvement using Bulk Update, see Bulk Action Options for more information.