Create a template
The system uses templates to run reports and extract data from SmartyGrants.
Before creating a template it is important to be familiar with how templates work and the rules that apply to customising templates, to learn more see Templates and Rules.
Create a New Template
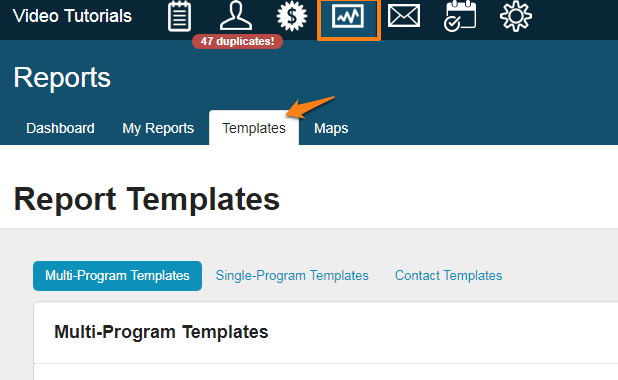
Click the Reports icon in the navigation panel at the top of screen.

Click on the Templates tab.
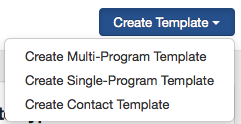
Click on the Create Template button and select the type of template you wish to create.
Name your template, select the program (if relevant) and select the Template Layout option you want.
Template Layout Options
Option 1 - Use a default file
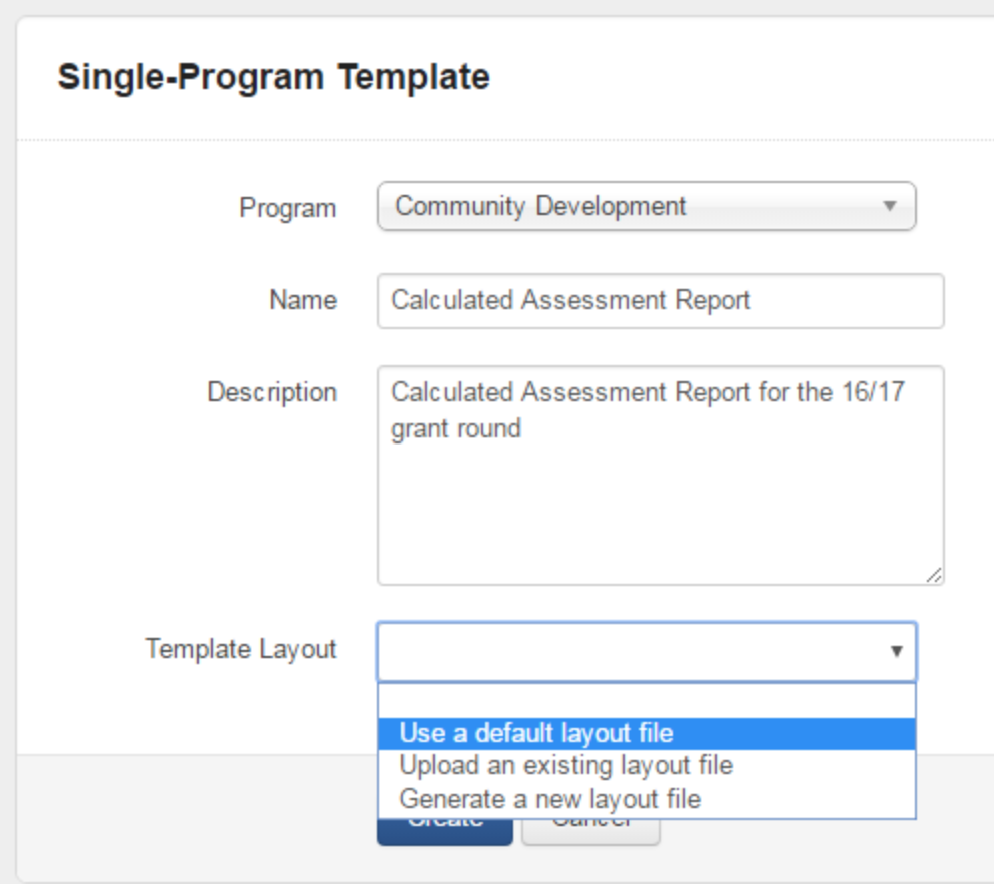
This is the option to choose if you like to start with one of the default templates but wish to customise the formatting/layout further. In this sense, you’ll be able to create a copy of a default template, give it a new name, and customise it to you liking.
Option 2 - Upload an existing layout file
If you already have a template file you had previously created and have now customised, you can simply upload as a new template here.
Tip: You do not have to upload a customised file as a new template. Instead, you can replace an existing template that already exists. This can be done in the existing template's settings - go to view details against the template you wish to replace.
Option 3 - Generate a new layout file
Create a new template layout with the fields you specifically require.
Specify what format (either Word or Excel).
Select which available fields you require. If you wish to report on archived forms or standard fields, you can click the checkbox that will allow these items to appear.
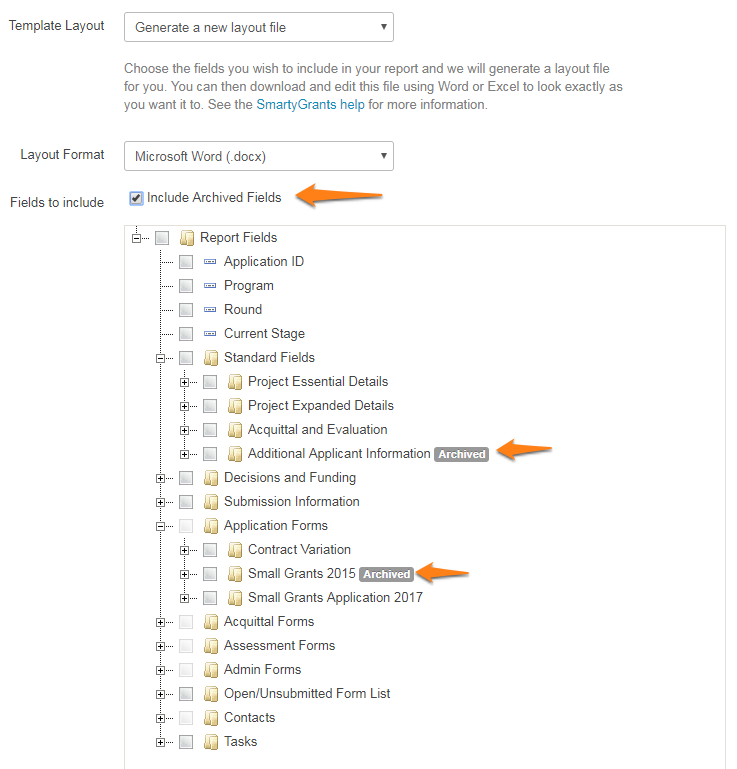
After you have selected the template format you need, click on the Create button down the bottom of the page.
If you are happy with your template and don't want to customise the layout further, you are now ready to run a report against the template.
If you want to customise the layout of the template, click on download template and customise it to your liking.
When ready, upload the template back into the system. This can be done by creating a new template and uploading the new version, or by replacing the one you just created with the new version.
Replace a template
To replace the current template:
Go back to the Templates tab.
Next to the relevant template, click Options and then View Details.
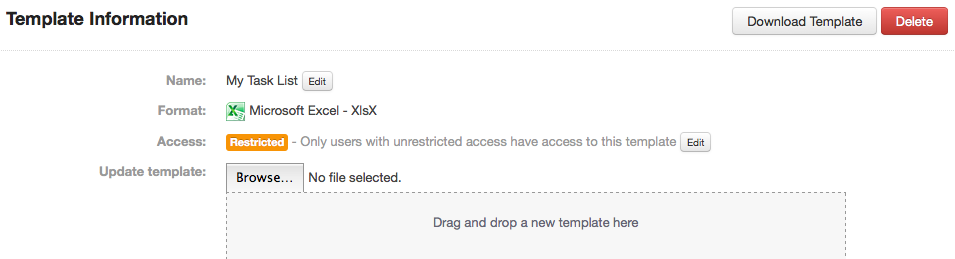
Next to Update Template, either drag and drop the new version into the grey area or click on browse to attach it. When the file has finished uploading, click Save.
Template restrictions
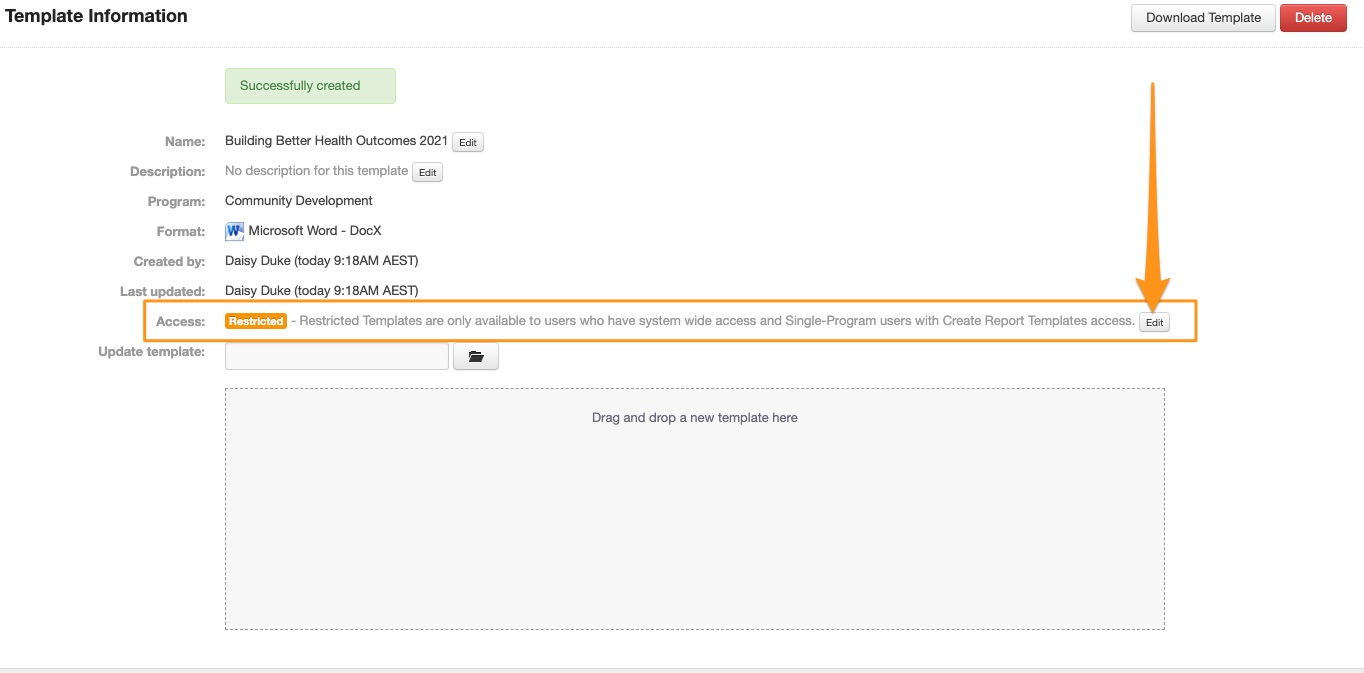
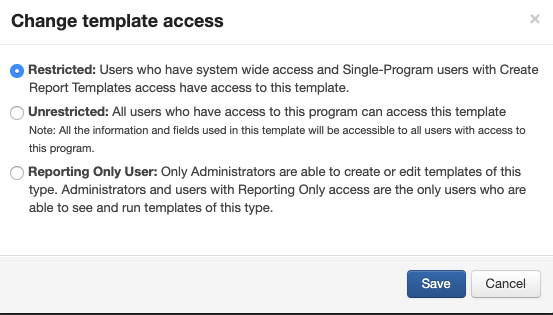
Once a template has been created you have the ability to restrict who can access this template by selecting the edit option and making a selection.
Available Fields
The fields available to include in a newly generated report template will be dependent on what type of template you are creating.
Multi-Program: Only includes Standard Fields or common system elements you would find across all programs (Decisions, Stages, Tasks, etc).
Single-Program: Includes Standard Fields, common system elements, or Single Question fields from forms specific to a program. The latter is the only difference compared to a multi-program template.
Contacts: Only includes information drawn from the contact directory - includes default contact fields as well as any custom contact fields that may have been created.

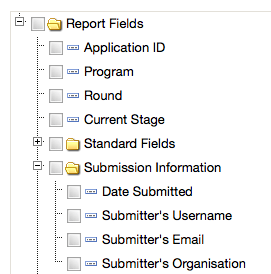
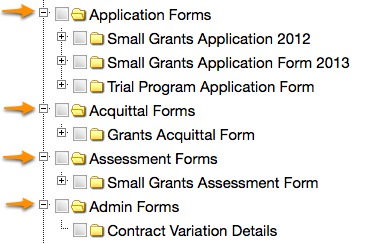
Each of the yellow folders in the fields list relates to a different area within SmartyGrants. Click the + and - symbols, and tick or untick boxes to see how they work.
Any fields recorded anywhere in the system can be included:
The Application ID number.
The Grant Program name.
The Grant Round name.
The Stage an Application is currently assigned to.
All active Standard Fields.
Submission information: Date originally submitted, the currently assigned applicant user
The Decision and Funding allocation status of Applications.
All the fields in your Application Forms.
All the fields in your Assessment Forms.
All the fields in your Administration Forms.
All the fields in your Acquittal Forms.
Open/Unsubmitted form list.
All the fields in your Contacts directory.
All task related information.
Latitude and longitude results from Address fields against form responses and Standard Fields.
Fields: basic application Single Questions
These can be selected when creating both Single-Program and Multi-Program templates.
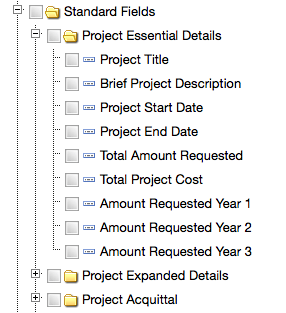
Fields: Standard Fields
Standard Fields are displayed in their respective categories and will include any custom standard fields created in your account. These can be selected when creating both single-program and mutli-program templates.
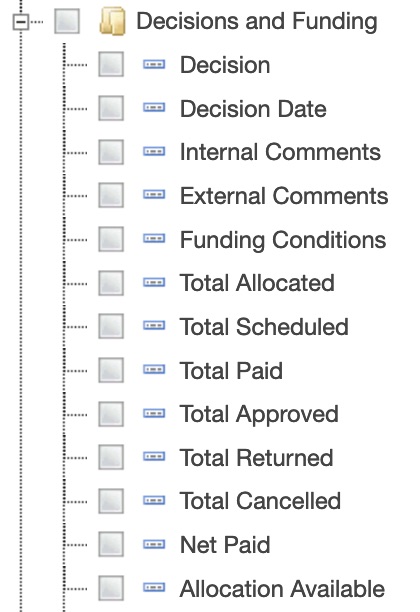
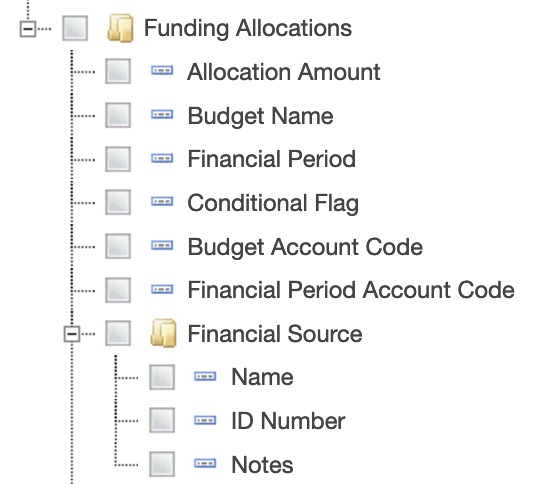
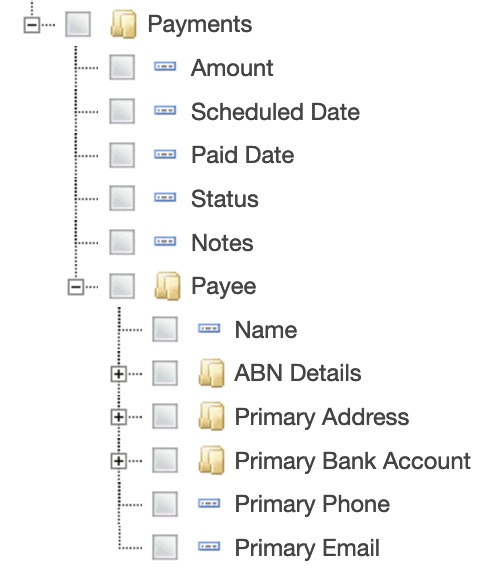
Fields: Decision, Funding and Payments
These can be selected when creating both single-program and mutli-program templates.
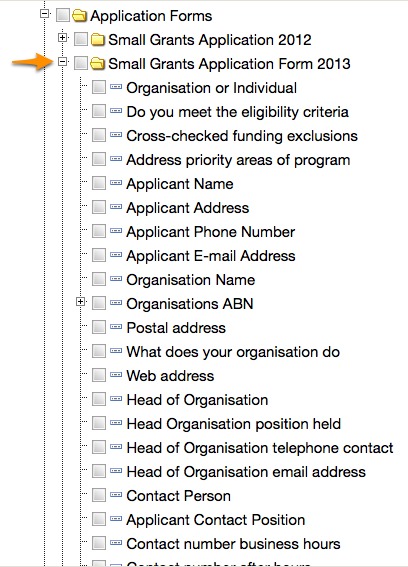
Fields: Forms
All current forms will appear in the report tree when creating a single-program template. All fields included in each form are available for selection.
*Note: archived forms will not appear. If you want to use an archived form it needs to be reactivated in the form settings.
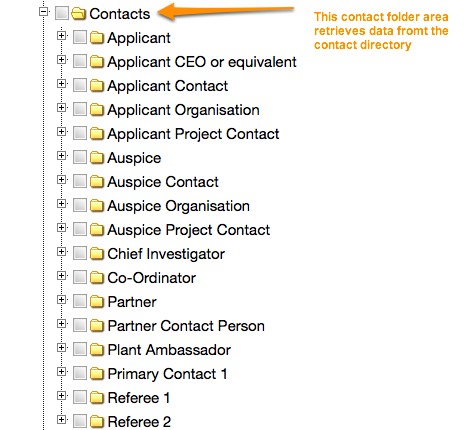
Fields: Contacts
The contact folder retrieves data specifically from the contact directory area of the system (this means if you use the contact directory and update information, this will give you the most up to date contact information, opposed to what might have been originally submitted on the application form - see Contacts to learn more).
These can be selected when creating both Single Program and Multi Program templates.
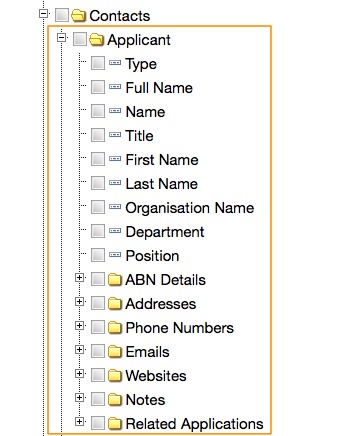
Each contact type will display all default contact fields as well as any custom contact fields for selection:
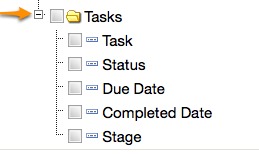
Fields: Tasks
Not only do your tasks feed into your Calendar but you can also retrieve all of your task information into one neat report. These can be selected when creating both Single Program and Multi Program templates.
*Note: there is a default task template already available.
Fields: Contact Templates
These fields are available only when creating a contact template, which is a template that retrieves data specifically from the contact directory and can only be run from the contact directory and draws data from the contact record and any related contact record information.
Each contact type will display all default contact fields, as well as any custom contact fields for selection, as well as related application information:

See customise templates for further details on customising both Excel and Word templates.