My Account
The My Account settings page is specific to your own personal login. It contains various settings and configurations to tailor your own user account preferences.
Table of contents
My Account page
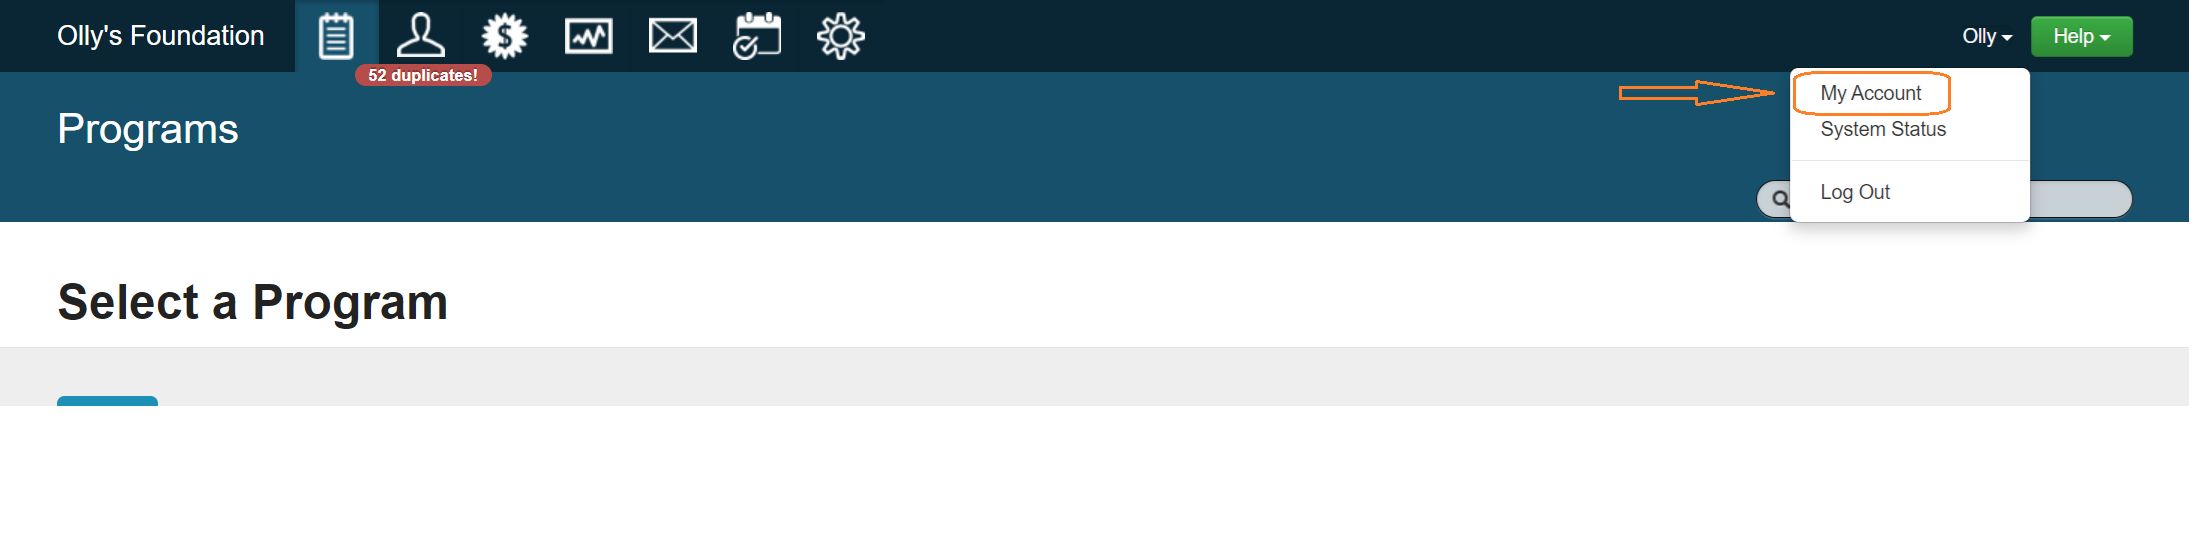
To access the My Account page, select the Name of the account you are logged in with at the top right corner of the screen.
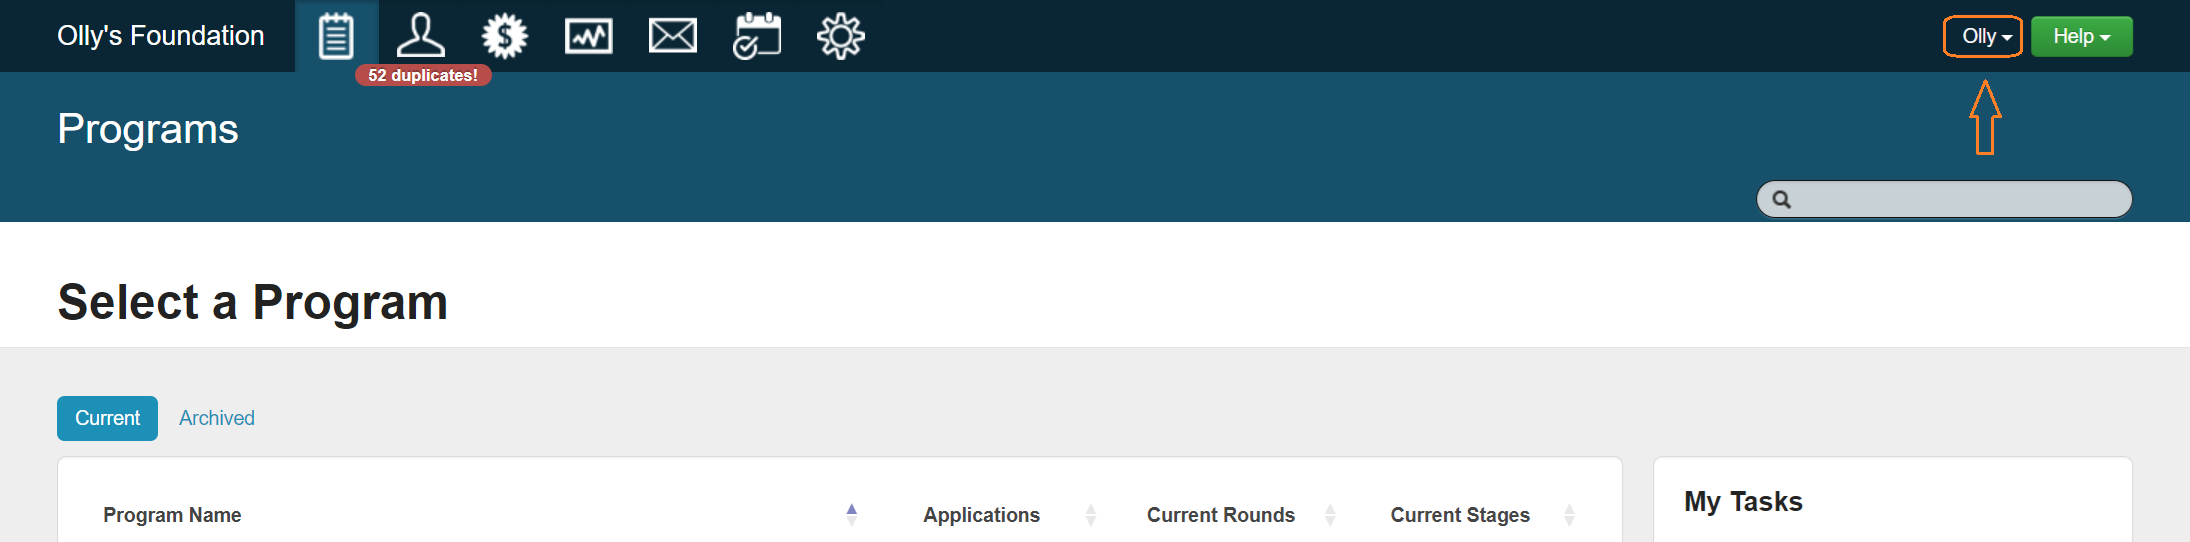
Select My Account from the drop-down menu.
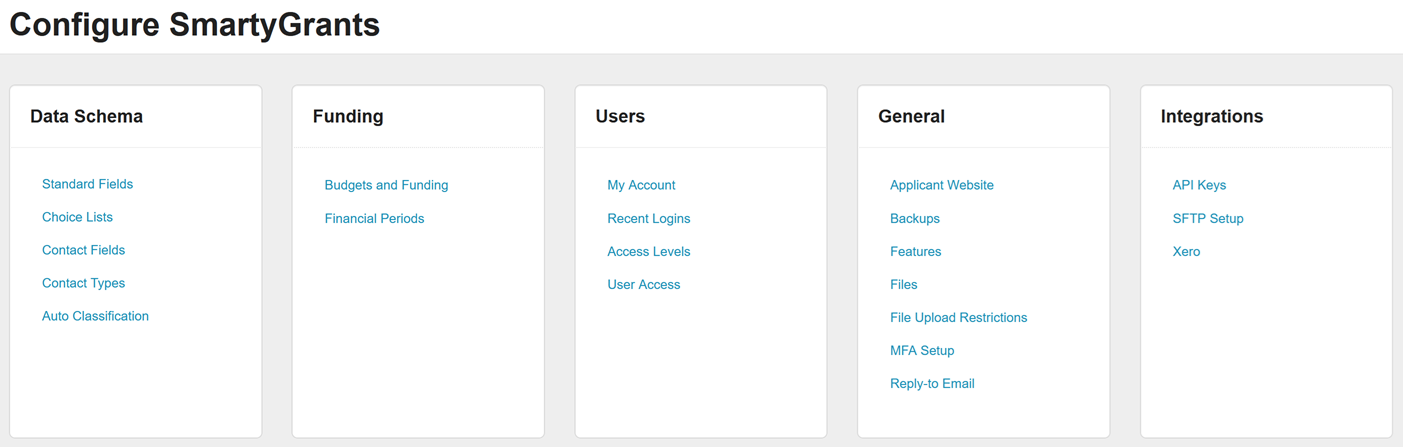
Alternatively, this page can also be accessed via the Settings screen. Select the Settings icon, and then select My Account.

Preferences
The Preferences section of this page contains viewing preferences that you can configure to best suit your use of the system.
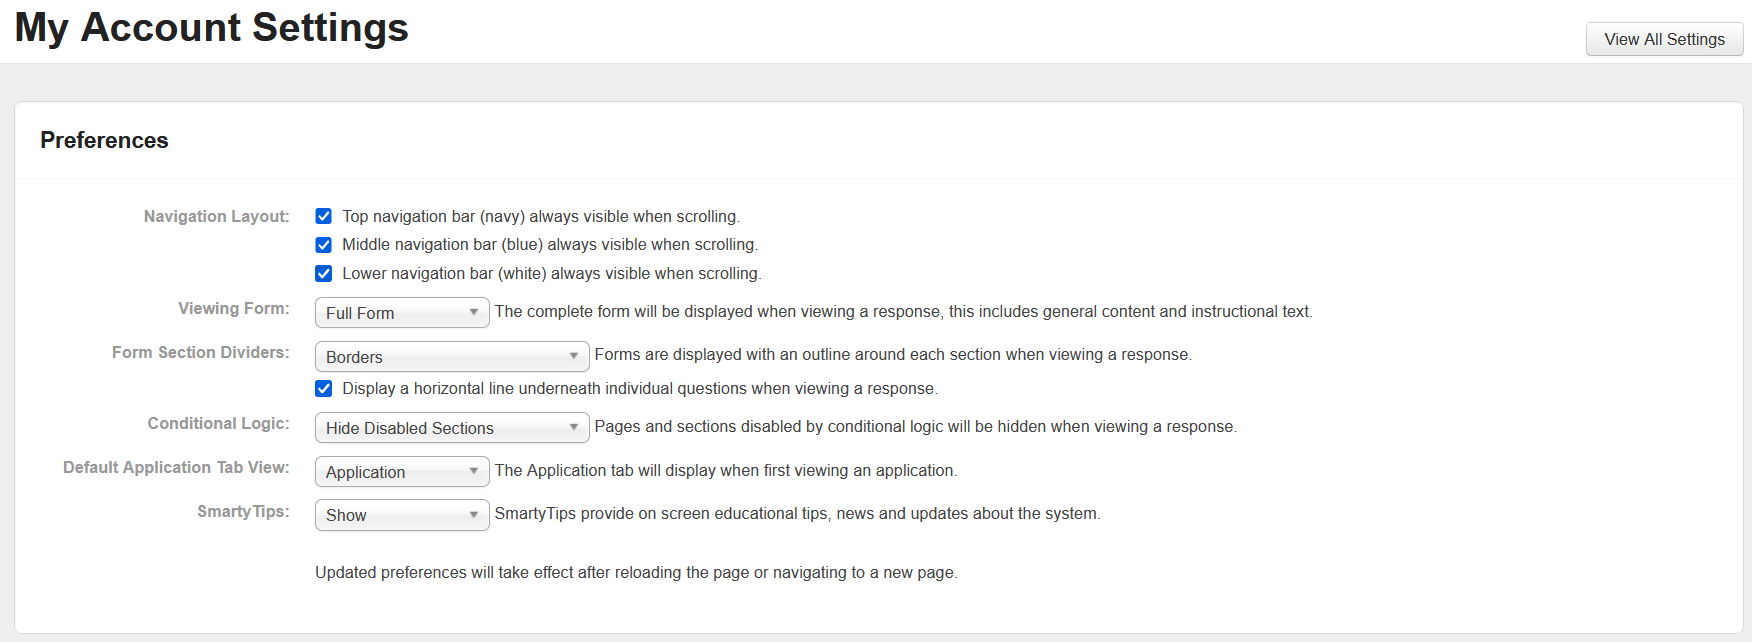
Navigation Layout
This setting controls how you view the navigation bar on each screen.
You can deselect either the Top, Middle or Lower Navigation Layout options by unchecking the relevant tick boxes. These preferences will only be visible once you reload or move to a new page.
If you are frequently viewing forms, de-selecting these options will allow you to see more of the form response on your screen at once.

Viewing Form
This settings controls how you want to see form responses. You can chose whether you wish to view form responses in full (including general content and instructions), or restrict your view to Responses Only.
Select the drop-down arrow next to the currently selected option to edit.

By default the Full form option is selected. This option means you will see the entire form response document, including any additional hint text/general explanation text provided alongside the applicant responses.
The Responses only option will hide all additional hint text/general explanation text from the form. This option will not impact what the applicant will see - it only affects your view of the form.
Form Section Dividers
This setting controls how data is broken up when viewing form responses. You might want to enhance viewing clarity by incorporating dividers to make it easier to distinguish between sections or individual questions in a form. These options will not impact what the applicant will see - it only affects your view of the form.
There are three options:
None (no dividers)
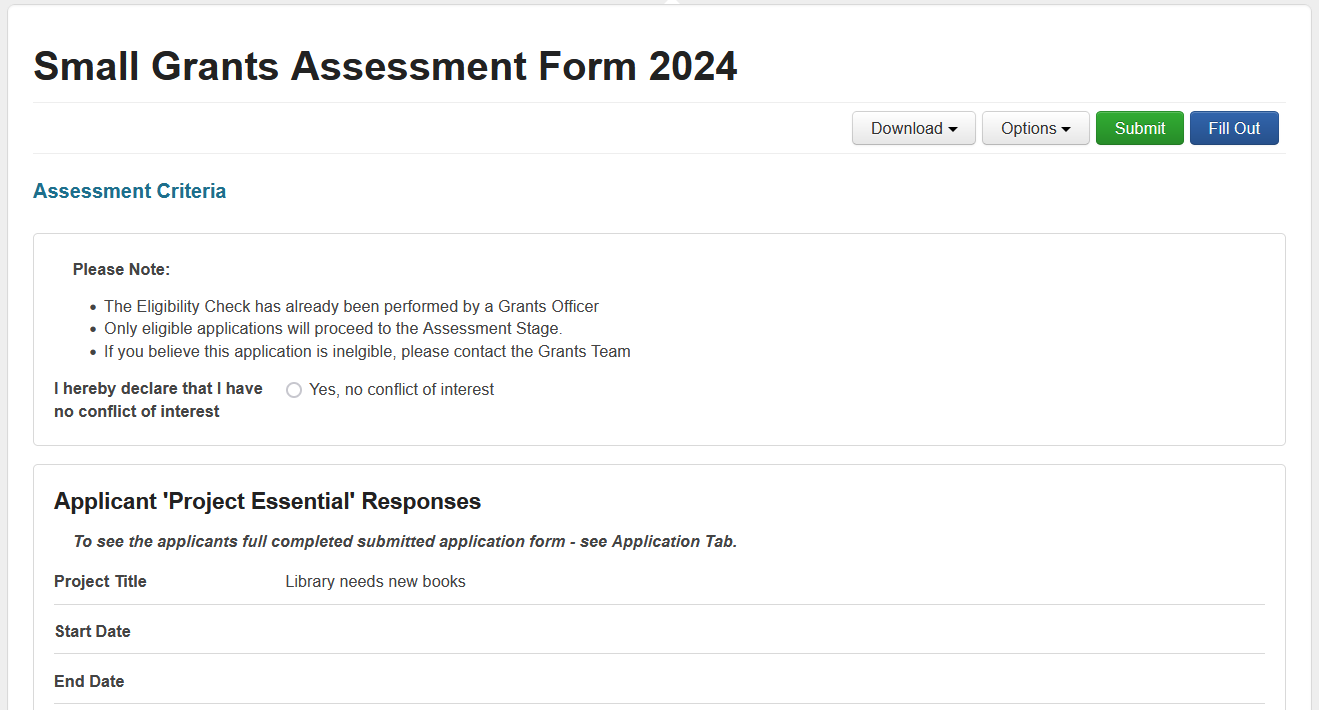
Horizontal Line (a single horizontal line separates each section of the form)
Borders (a rectangular box border around each section of the form)
To choose your preferred option, select the drop-down arrow in the box next to Form Section Dividers. An additional option is present to also include a horizontal line between individual questions - select the check box to toggle this option.

Please see examples below of these formatting choices within a form:
Example 1: Horizontal Line only:
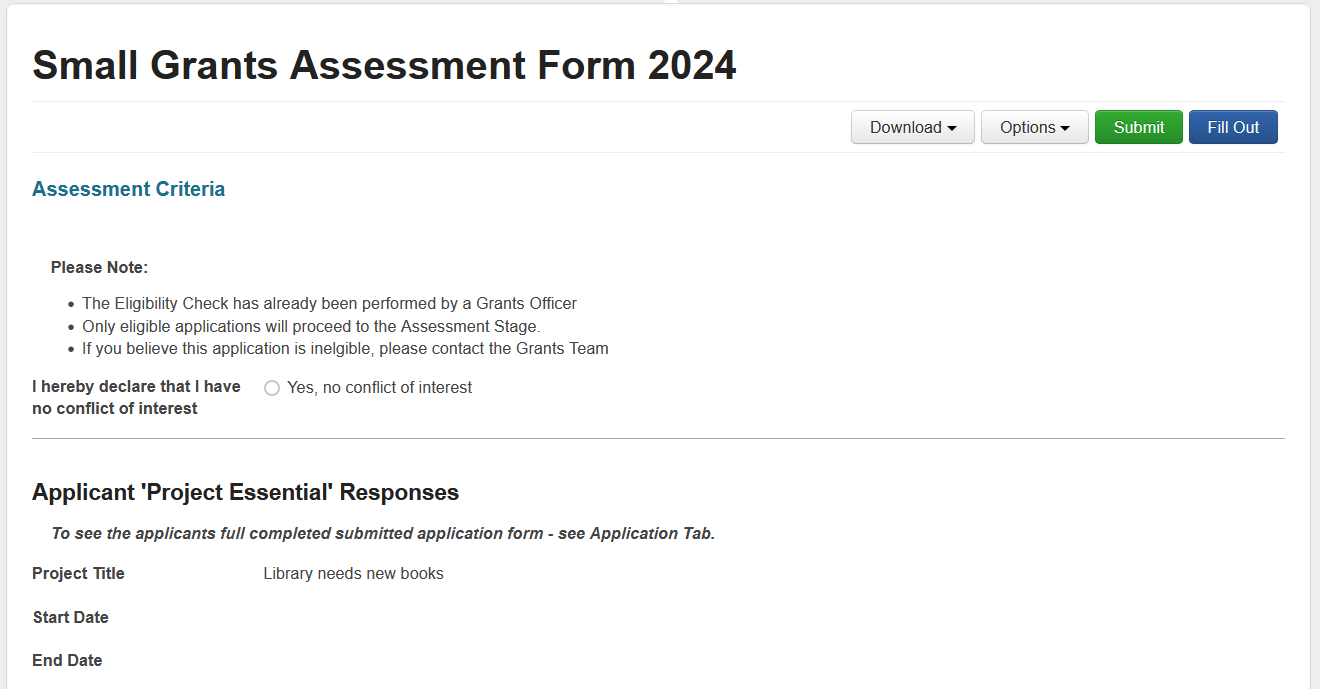
Example 2: Borders only:
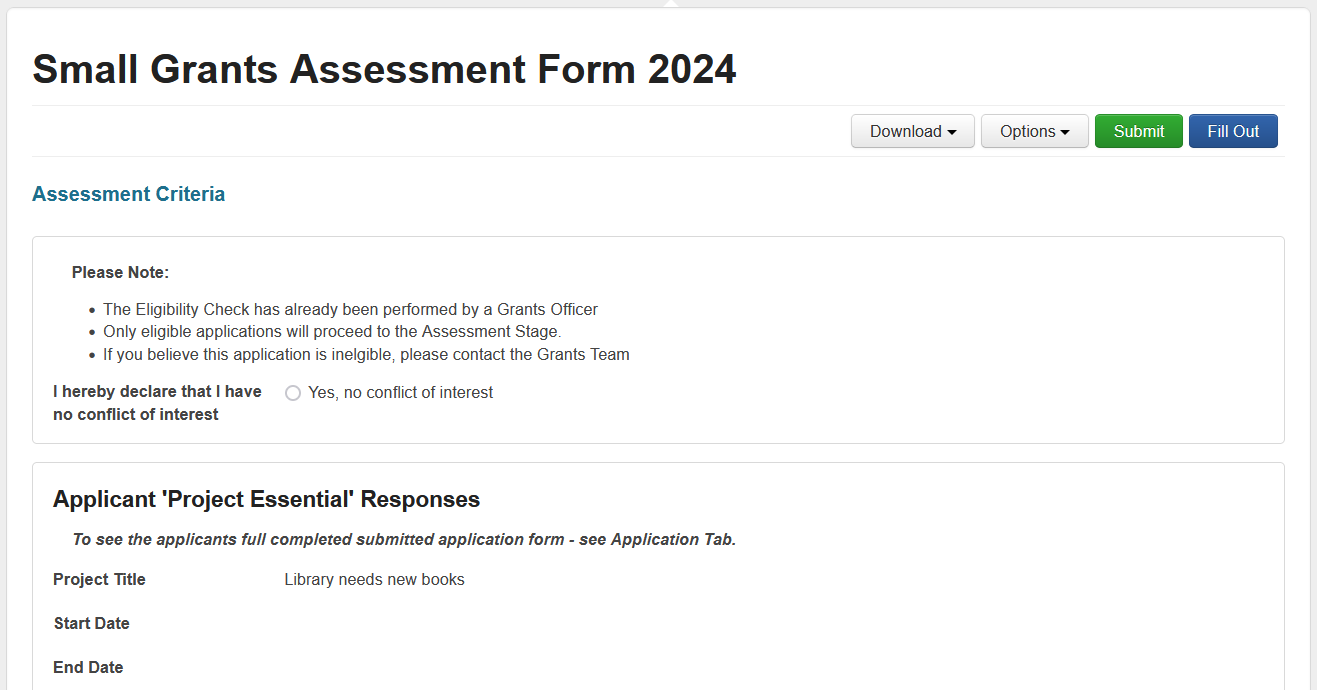
Example 3: Section Borders and Individual Questions:
Conditional Logic
This settings controls visibility over disabled sections/pages in a form response.
When a form includes Conditional Logic, all disabled pages or sections are shown by default.
To hide any disabled pages or sections when viewing a form, select the drop-down arrow in the box and then select Hide Disabled Sections.

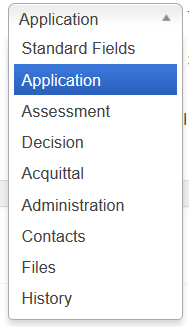
Default Application Tab View
This setting controls the ‘default’ first tab that displays when you view an application record.
By default, the system will display the Application tab when first opening an application record.
To change this view, select the drop-down arrow in the box, then select your preferred default tab:

SmartyTips
SmartyTips provide on-screen educational tips, news and updates about the system.
You can hide these tips by selecting Show/Hide from the drop-down box.

Multi-Factor Authentication (MFA)
As an extra layer of security, Multi-Factor Authentication (MFA) may be enabled on a SmartyGrants account. This can be enabled by an administrator for all users in an account, or by an individual user for their user account only.
When MFA is enabled, an authenticator mobile app (such as Google Authenticator or Authy) will be required each time they log in.
By default, MFA is set to Optional for everyone. With the default setting enabled, individual users will be able to configure MFA for their own accounts.
To enable multi-factor authentication:
Enable MFA for a single user
Navigate to the My Account page following the instructions at the top of this page.
Select Enable Multi-Factor Authentication.

Note: Users can only enable MFA on their individual user account if the Account level MFA Setup setting is set to Optional for everyone.
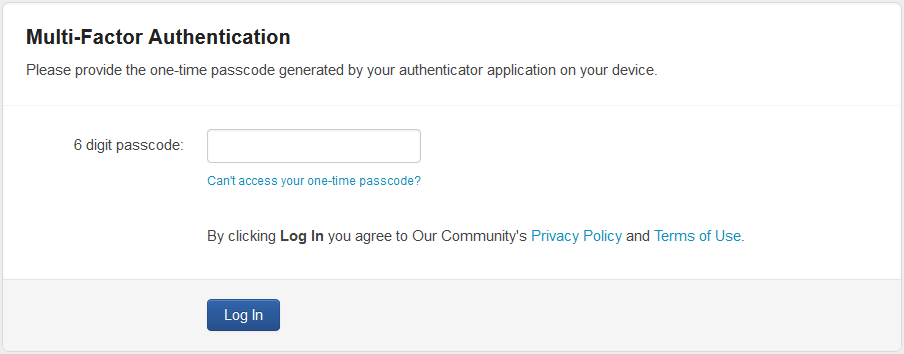
When MFA is enabled, either for an individual user or all users, when the user next attempts to login at manage.smartygrants.com.au or manage.smartygrants.co.uk, they will be presented with the following screen:

Once initial activation is complete, users will be presented with the following screen upon every login:
Note: For users who are a member of a SmartyFile Organisation with MFA enabled who are also required to use MFA when logging in to their ‘manage’ account, they will need to use the existing authenticator app as configured on their SmartyFile account.
Important: If you access SmartyGrants via your organisation’s Single Sign On protocols (for example, an SSO login URL similar to https://manage.smartygrants.com.au/login/sso?domain=ssoexample.com) then MFA is not applicable.
Change your username
You can change your account username from the My Account settings page. To do so:
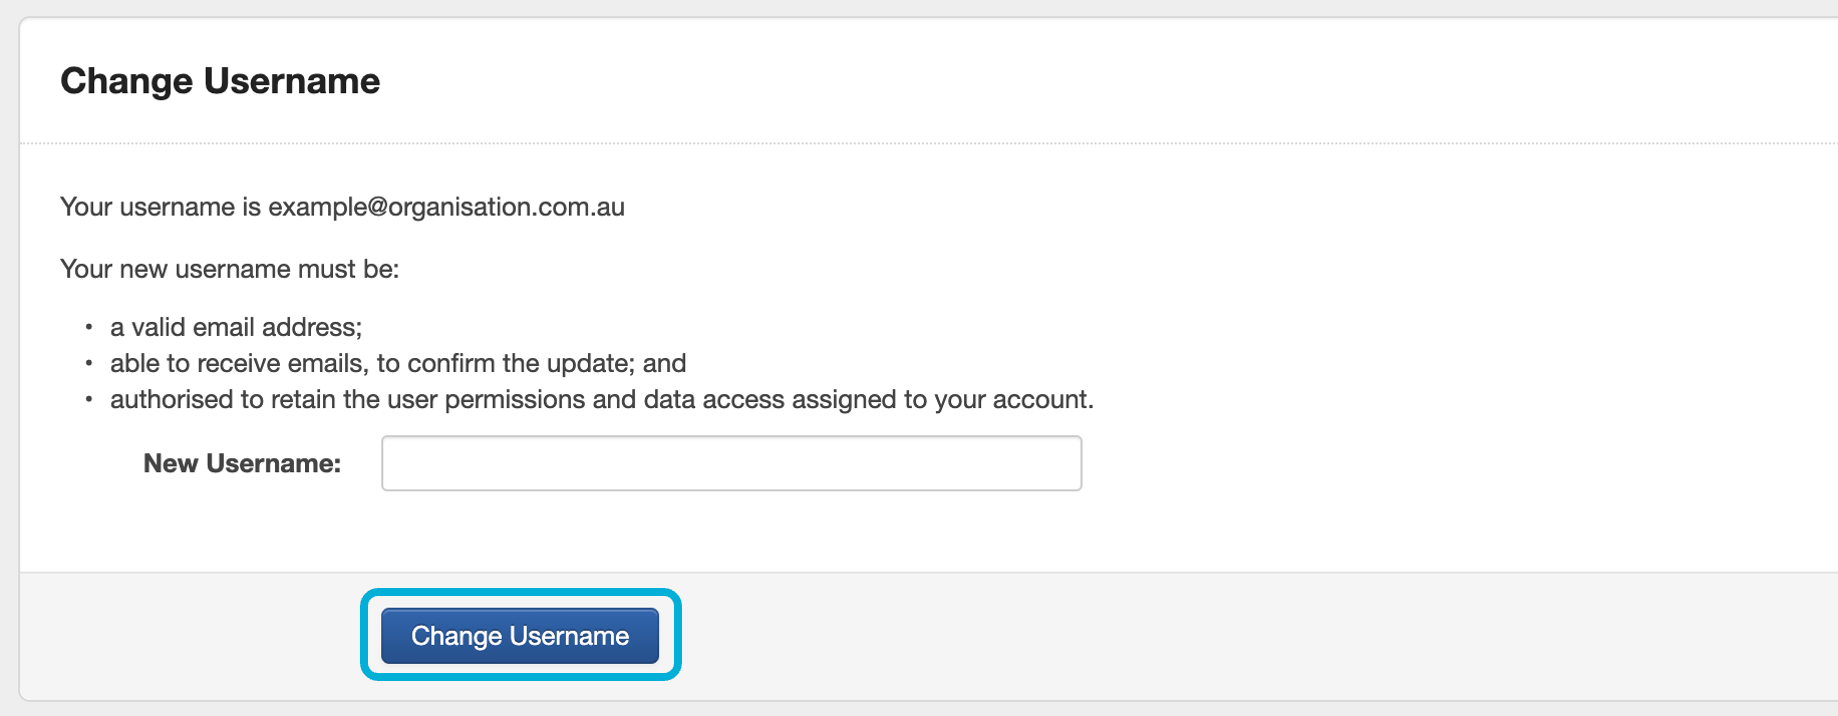
Scroll to the Change Username heading on the page.
Enter your New Username in the box presented. Ensure that it meets the requirements listed.
Then, select the Change Username button:
Next, log into the inbox of the new email you entered. An email notification will be delivered there that asks for confirmation prior to updating the email address. If you don’t see the email, wait a few minutes and refresh your inbox. You can also try checking your junk/spam folder.
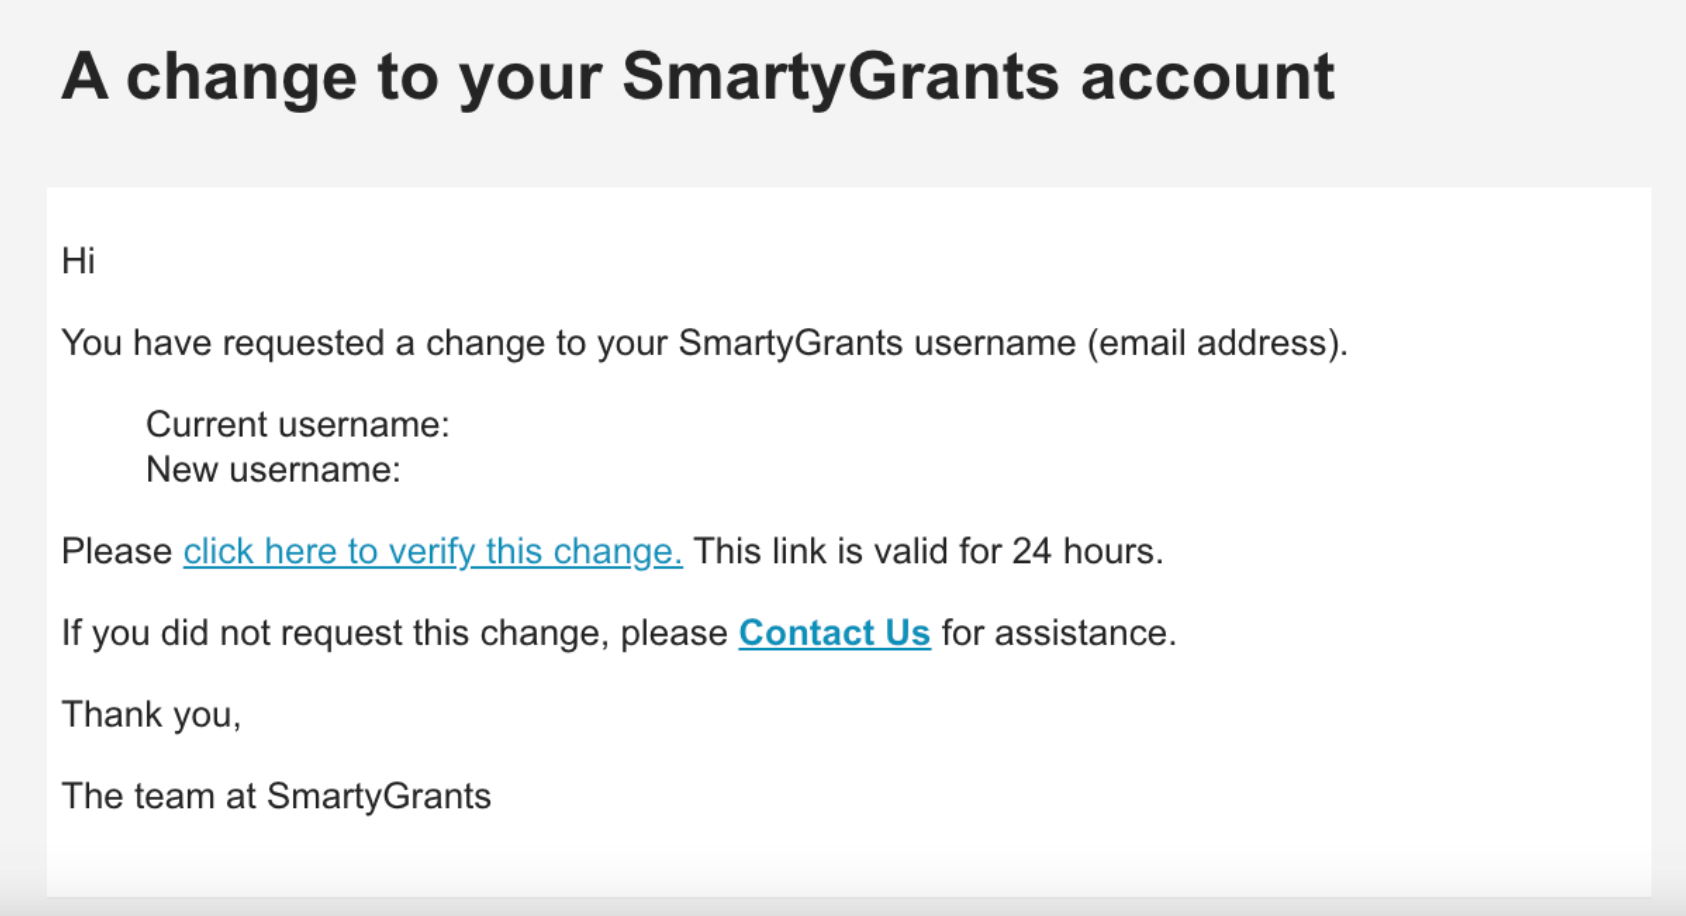
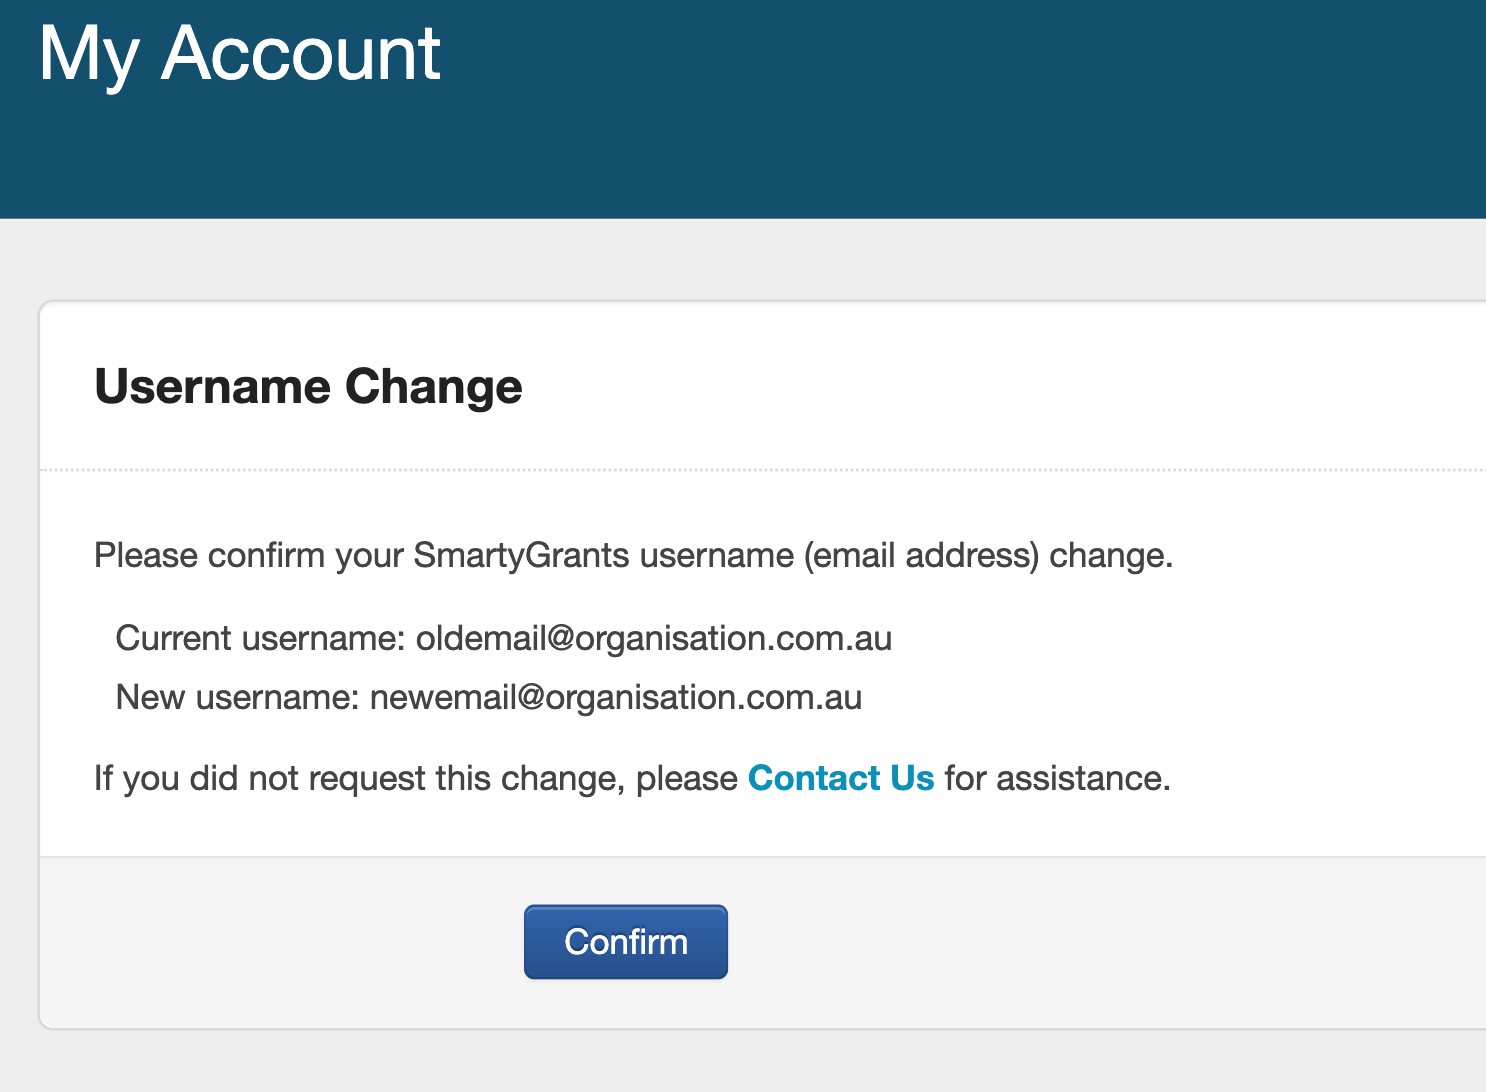
Select the link in the email and then select Confirm in SmartyGrants to proceed with the change. You may be prompted to log into the system once more before you can confirm.
Note: If you don't wish to proceed with the change, simply ignore the email. There is no change to your account details if the request is not accepted.
Once you have successfully updated your username, you will receive a confirmation email to both your old and new email address. If you receive unexpected username change notifications, please contact us.
Change username tips
You can only change your username once every 24 hours.
Confirmation links are valid for 24 hours. If your confirmation link has expired, return to the My Account settings page and request the change again to receive a new link.
Warning: If you access SmartyGrants via SSO, take caution when updating your username. You will need to ensure that the new username is correctly provisioned in your organisation’s identity provider, otherwise you will no longer be able to log in once you update it. For further information and guidance, contact your organisation’s IT team.
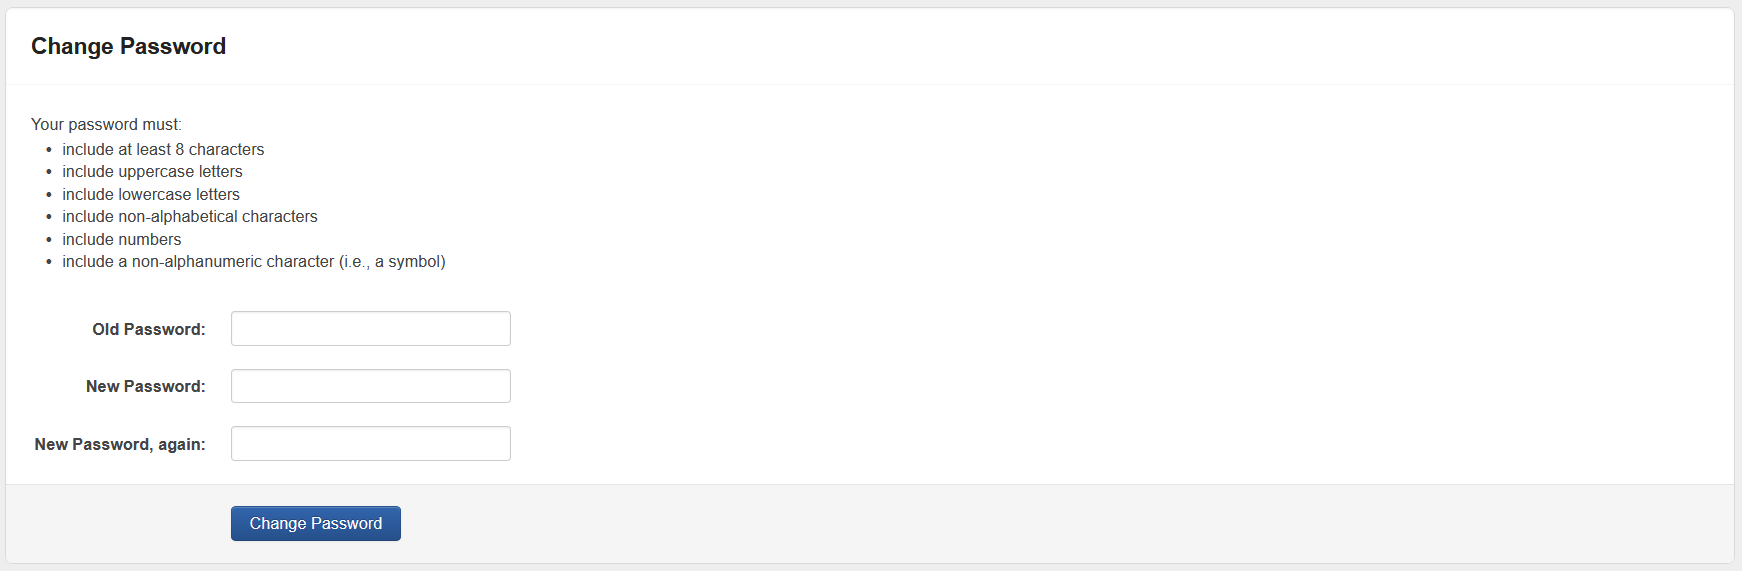
Change your password
From the My Account page, scroll down to the bottom of the page to find the Change Password box.
Enter in your old password, followed by your new password (twice). To save the changes, select Change Password.