Add Users
Info: Only Administrators, or Program Managers who have been granted user permissions, can add in new users. For more information, see User Access.
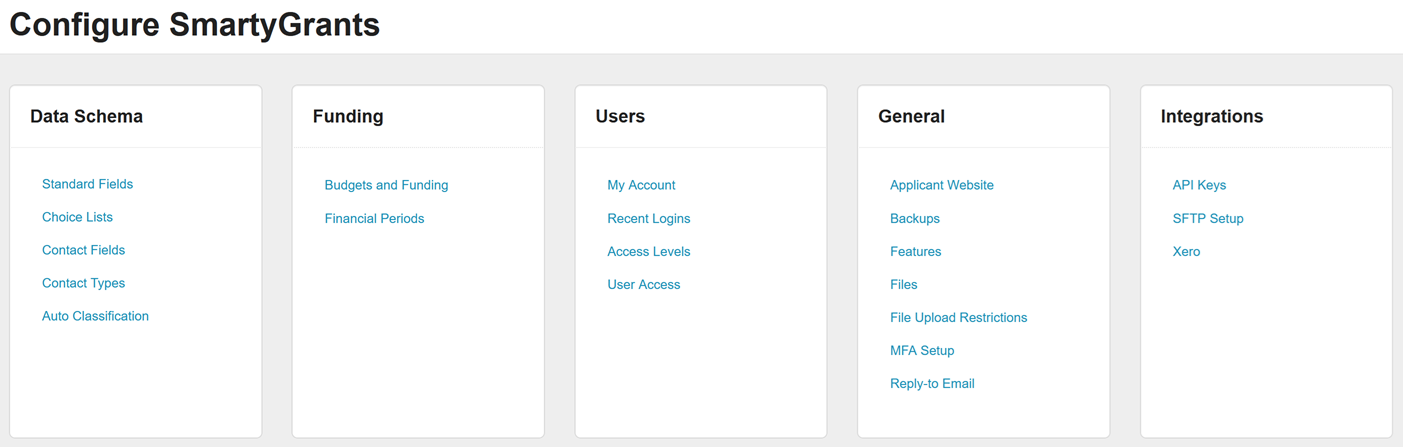
Go to Account Settings / Users
Click the Account Settings icon at the top of screen.
Click the blue User Access tab.
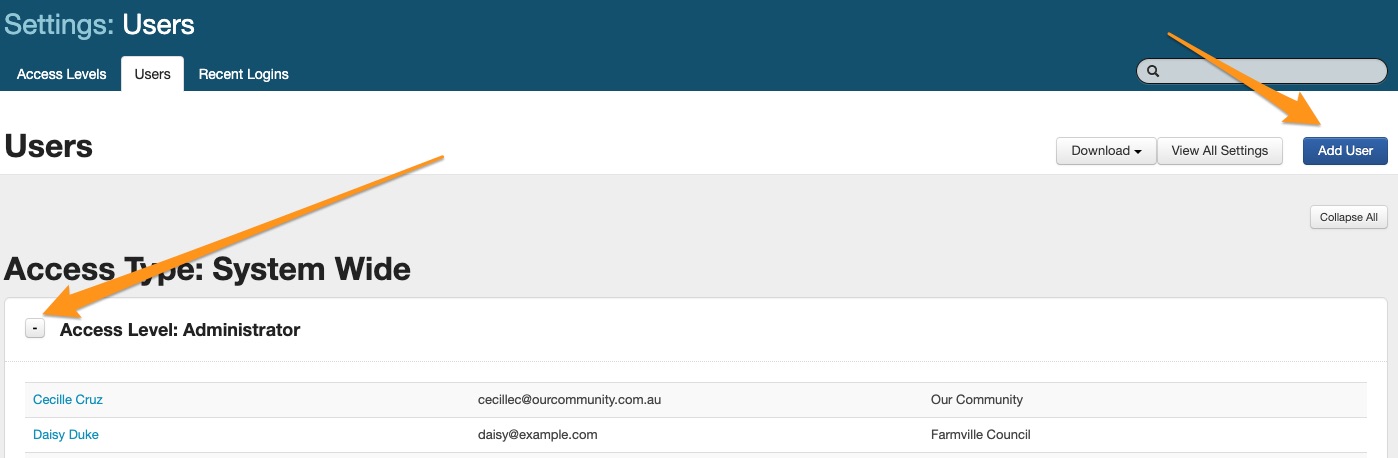
Select the blue Add User button.
Tip: In the User Access screen, you are able to show/hide sections by selecting either the +/- sign next to the category heading.
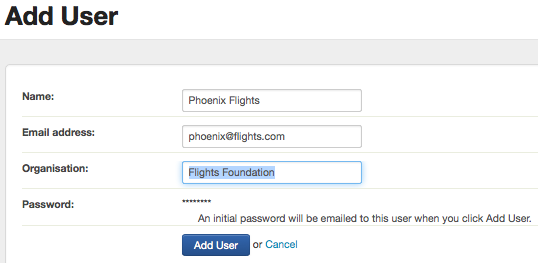
Enter the user's name, email address and organisation.
Warning: Each user should have their own unique e-mail address. User logins should not be shared. This ensures that a correct audit log is kept within the account and an Administrator can remove access for a particular person. For example: a general e-mail box account 'info@grants.com' should not be set-up for multiple users.
Click on Add User (The user receives an automatic e-mail with username and password details). Your user is now successfully Added, however, you now need to assign there user access levels.
You will then see some extra access options appear on screen, users are automatically assigned to 'No Access' until you assign a different access type.
Select the access type you wish to assign your user and click on Update Access Type (see User Types & Access Levels for more information).
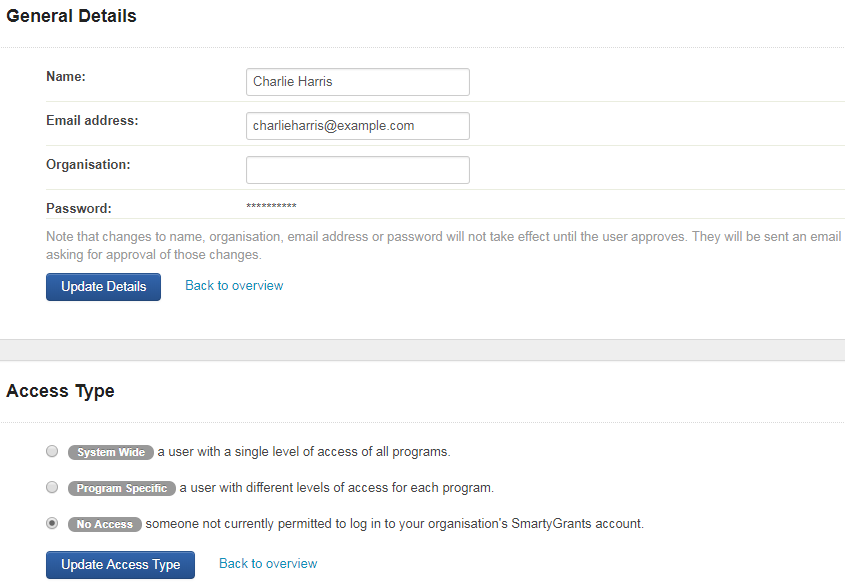
Dependent on what access type you choose another window will appear - window options are different for each access type. For example;
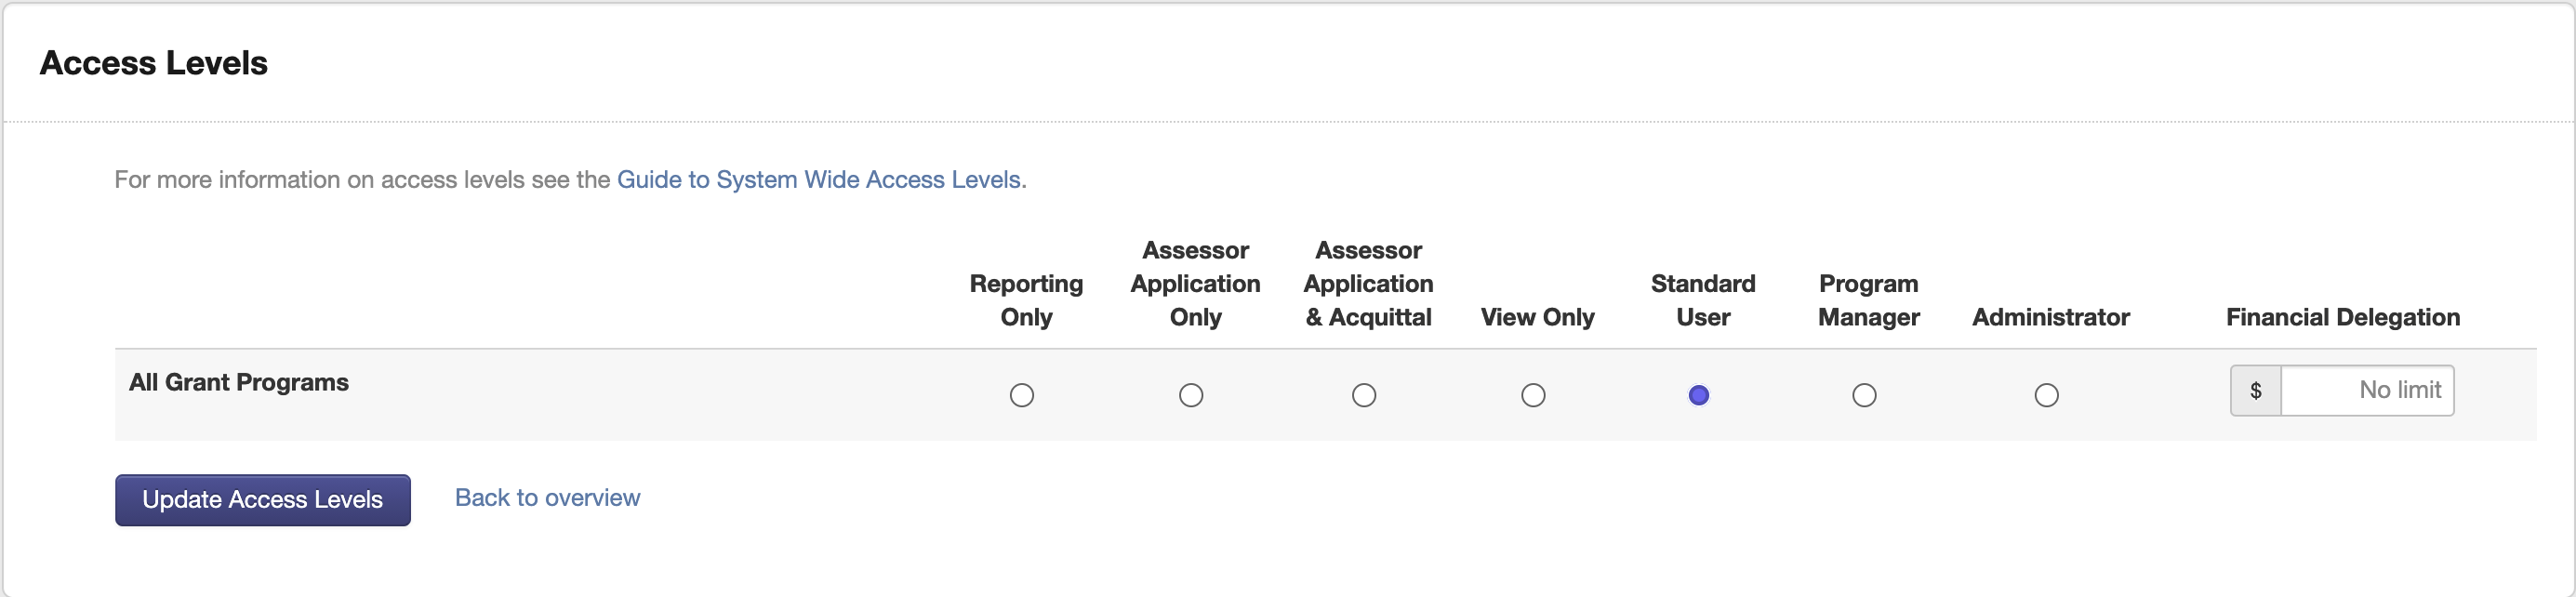
System Wide:
Program Specific:
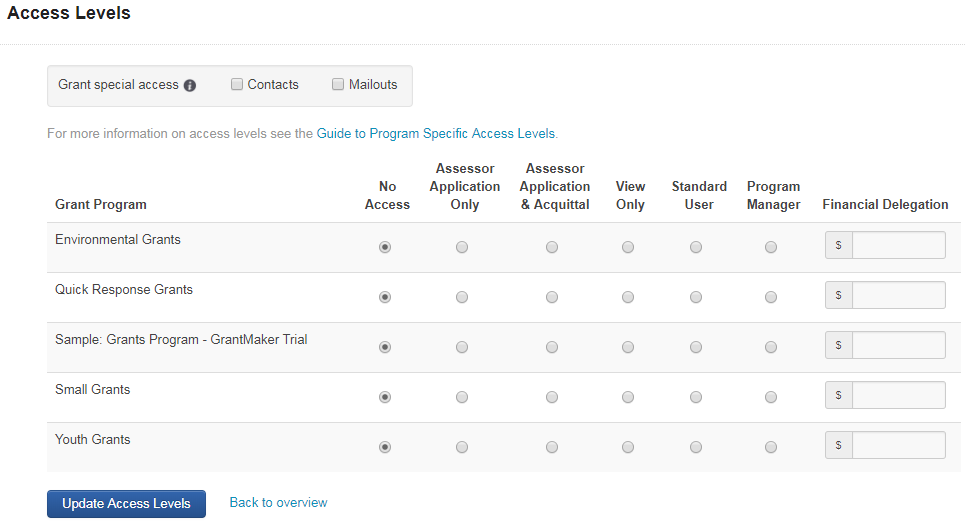
Select the relevant choices for your user and click on 'Update Access Levels' button, you user set-up is now complete (for further details on access levels see User Types & Access Levels).
You may go back in to the Users tab at any time and amend the access type and level.