Setting up Contact Types & Contact Fields
Contact Types
Default Contact Types
SmartyGrants provides default Contact Types that cover the key types of contacts that you are most likely to be dealing with in your funding or grantmaking process. These types are available to you when building a form and when viewing/editing contact records.
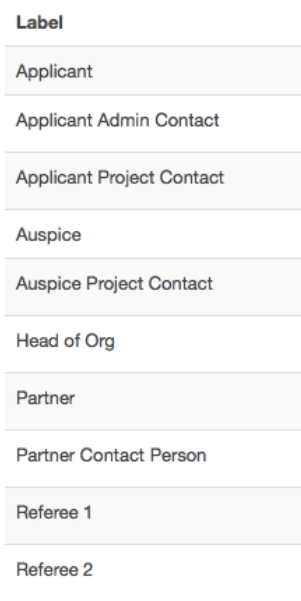
The list of the default Contact Types SmartyGrants provides are:
Contact Type Settings
Go to the Account Settings icon and click on the Contacts Types link. From here you will see a list of the current Contact Types.
Edit/Delete Contact Types
You may edit a Contact Type label or delete a Contact Type if it has NOT been used to collect data.
If you wish to edit or delete a Contact Type click on the edit or delete button next to the relevant type.

Warning: You cannot delete the ‘Applicant’ Contact Type. The Applicant type is critical for some features of the system, including application functionality, to work correctly.
Create new Contact Type
Custom Contact Fields can be created specifically for your account. They can be edited or archived, however, if data has been recorded on any contact you cannot delete them.
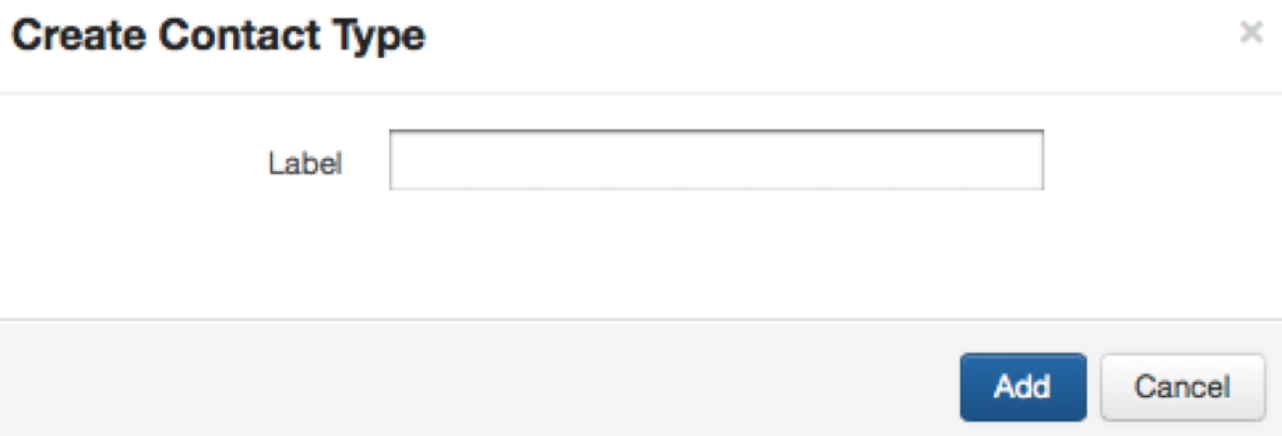
To create a new type, click on the create Contact Type button.
Enter the label you want to give your type and click on the 'Add' button. Your Contact Relationship will now be built and be available to link to a Contact Field in any form.
Contact Type Snapshot Report
Administrators can download a snapshot report that lists all of the Contact Type in use and archived. This will provide a status of whether Contact Types are in use, and if so what forms or rounds they are in.
This is a good way to track, review and evaluate what standard fields are used most and what could be archived. This report is generated in an excel spreadsheet.
Start in the Accounts settings icon at the top of your screen.
Select the Contact Types link from the Data Schema box.
Click on the download button in the top right of the settings page.
The report may take a few moments to generate. When the report is ready, select Download Spreadsheet to download your report.
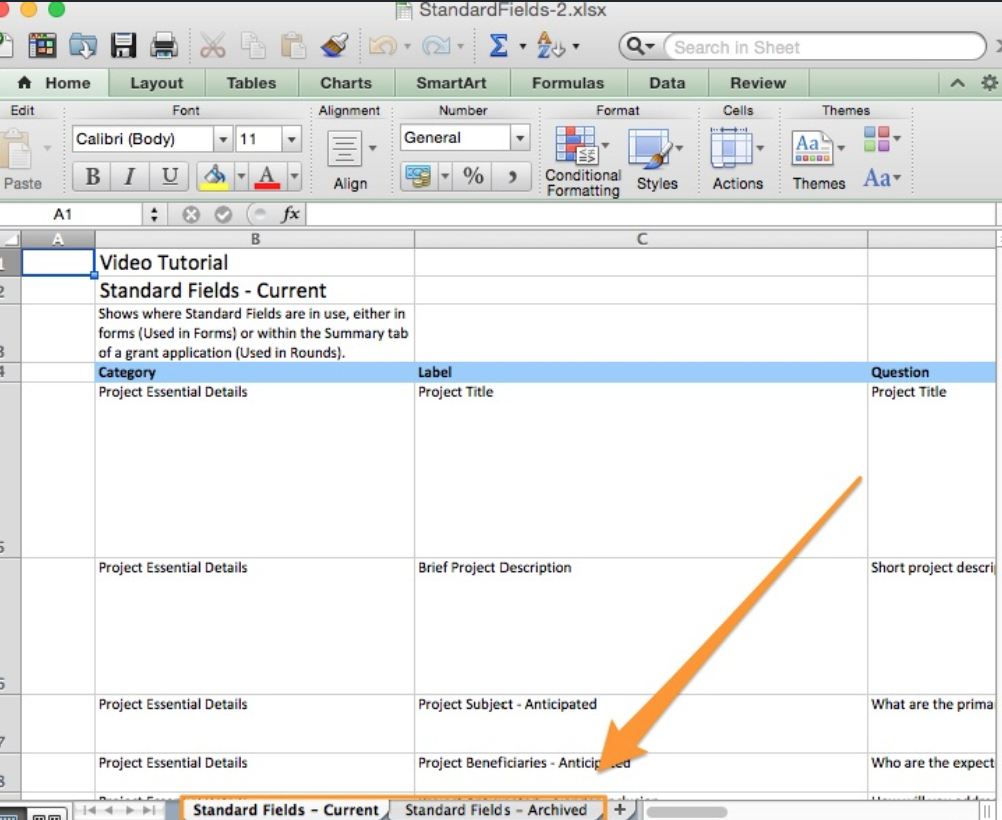
Please note that once the report is generated, it will contain 2 tabs - Current and Archived, as illustrated below:
Contact Fields
SmartyGrants provides default Contact Field that cover the key contact details that you are most likely to want. These types are available to you when building a form and when viewing/editing contact records.
Default Contact Fields & Categories
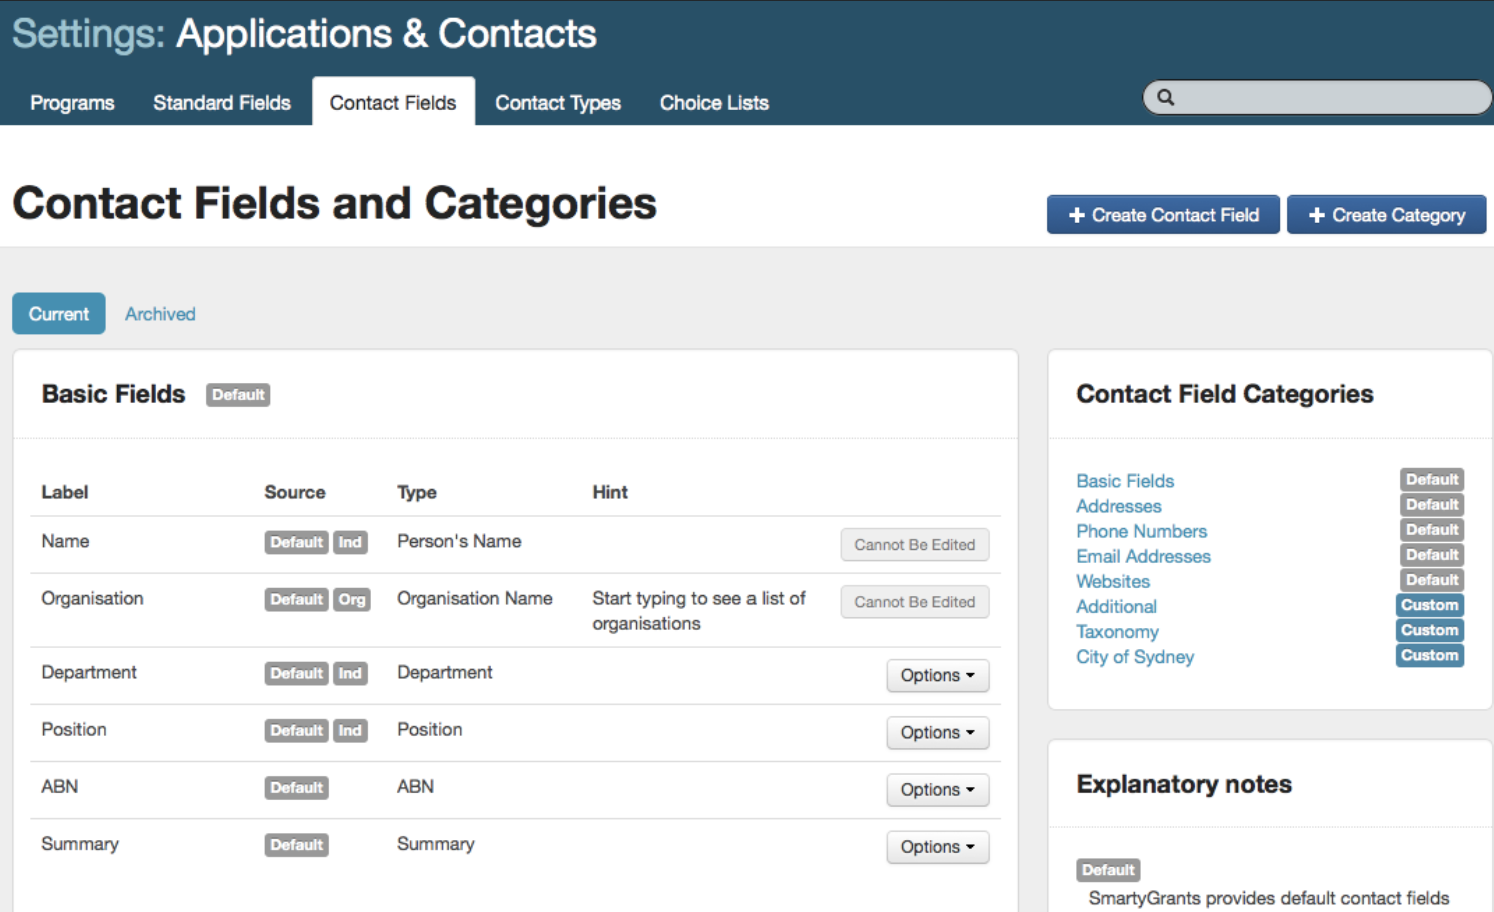
Contact Fields are broken into default categories. Default categories and fields cannot be edited or deleted, but an Administrator user can archive them if any are not needed in the account. The default categories and fields are:
Category | Field |
|---|---|
Basic Fields | Name (Person’s name) Organisation (Organisation’s name) Department Position ABN (AU only) Summary |
Addresses | Primary Address Office Address Home Address Postal Address Other Address |
Phone Numbers | Primary Phone Office Phone Home Phone Mobile Phone Other Phone |
E-mail Addresses | Primary E-mail Office E-mail Personal E-mail Other E-mail |
Websites | Primary Website Office Website Personal Website Other Website |
Bank Account | Primary Bank Account |
Where are the Contact Field Settings?
Contact Fields are controlled by Administrator users in the Account Settings area.
Go to the Account Settings area and click on the Contact Fields link.
Create a Custom Category
You can create your own custom categories:
Click on the blue +Create Category button. Type in the label you wish to give your category and save.
Create Custom Contact Fields
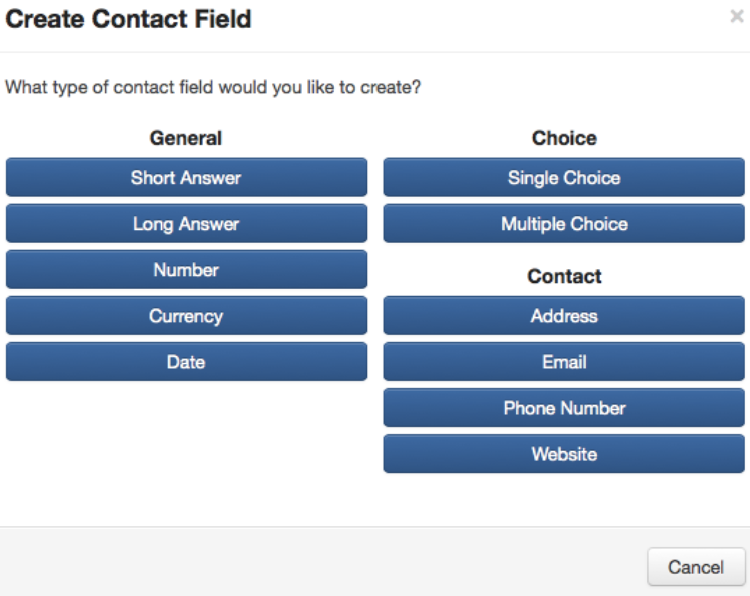
Click on the +Create Contact Field button.
Select what type of Contact Field you would like to create.
You will be given relevant options and validation settings for that question type, you will also need to select which category you would like the question to belong to and create a label for the question. The question text that appears to applicant can be edited when the field is built into the form. The label is what will appear in your reporting. Make the relevant selections and click on save. This field is now available in the form builder.
Contact Field Options
To archive, edit, delete or move the order in which your Contact Fields appear, click on the Options button next to the relevant field or category.
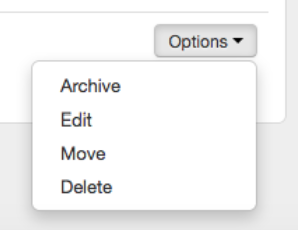
Note: If edit or delete are not available, this is because the Contact Field has been used and has data already recorded. Default fields cannot be edited or deleted, however, they may be archived.
Contact Fields Snapshot Report
Administrators can download a snapshot report that lists all of the Contact Fields in use and archived. This will provide a status of whether Contact Fields are in use, and if so what forms or rounds they are in.
This is a good way to track, review and evaluate what Contact Fields are used most and what could be archived. This report is generated in an excel spreadsheet.
Start in the Accounts settings icon at the top of your screen.
Select the Contact Fields link from the Data Schema box.
Click on the download button in the top right of the settings page.
The report may take a few moments to generate. When the report is ready, select Download Spreadsheet to download your report.
Please note that once the report is generated, it will contain 2 tabs - Current and Archived, as illustrated below:
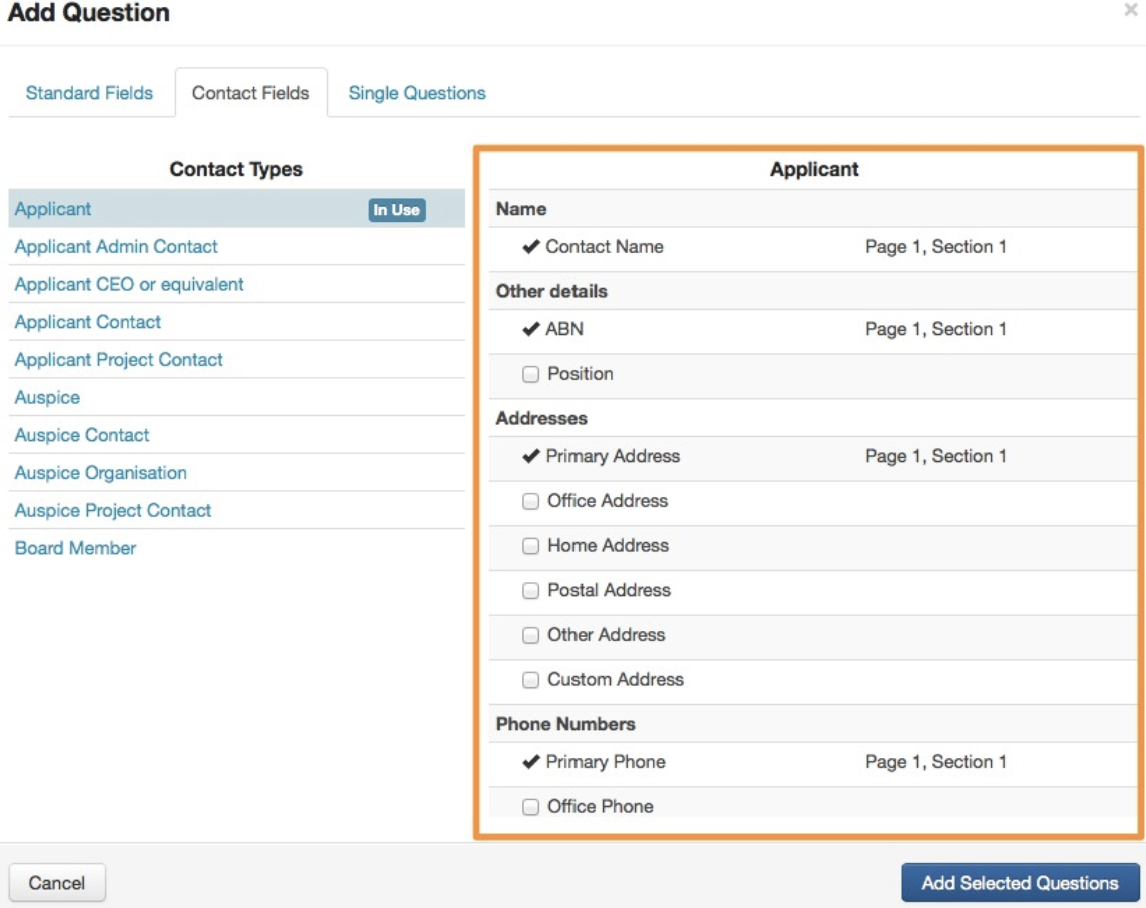
Add Contact Fields in a form
Click on the blue Add Question button in the left control panel.
Click on the Contact Fields tab.
Select the Contact Type you wish select fields for.
Select the fields for this contact you wish to add to the form (if you select multiple fields they will all be added at once, you can then move the order in which they appear if you wish), click on Add Selected Questions.
The fields are now added to your form. You can now edit the validation and options for each field in the left control panel.