Help Guide for Assessors

Welcome to SmartyGrants! SmartyGrants is a powerful online system used by grantmakers to manage the entire cycle of a program from application to evaluation. You can access SmartyGrants to view and assess applications a grantmaker has assigned to you.
This guide provides step-by-step instructions for logging on and completing an assessment using SmartyGrants.
If you’d prefer to watch a video tutorial, click here.
A PDF version of this guide can be found below.
Questions?
For any specific questions in regards to the grants program, assessment guidelines or criteria, please contact the grantmaker you are working with. For any technical questions, contact the SmartyGrants Support Team.
System requirements
To access SmartyGrants you need an Internet browser and an Internet connection.
Compatible browsers
SmartyGrants is compatible with current versions of the following browsers. We endeavour to ensure backward compatibility with previous versions of these browsers, although there may be limitations.
 | Google Chrome |
 | Safari |
 | Firefox |
 | Opera |
 | Microsoft Edge |
Getting started
Login | When the grantmaker sets up your account, you will receive an email containing your username and password. If you lose this information, the grantmaker can re-send it to you. To log in, visit https://manage.smartygrants.com.au (AU/NZ) or https://manage.smartygrants.co.uk (EU/UK) and enter in your login details. Once logged in, you will see a screen similar to the one below, where it lists the program(s) you have access to. 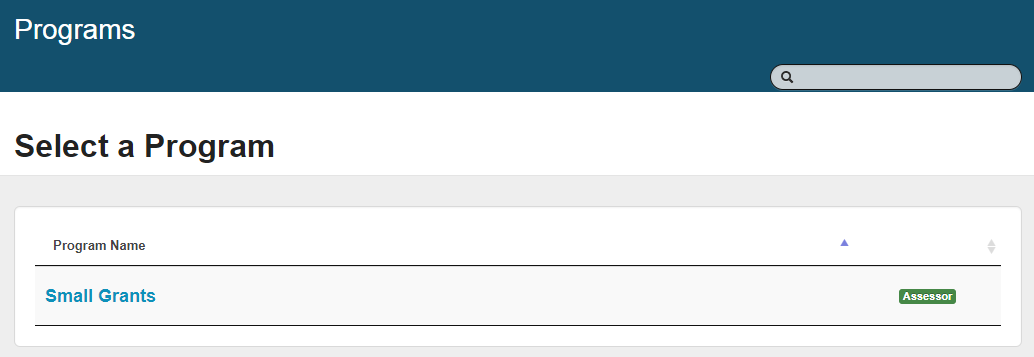 |
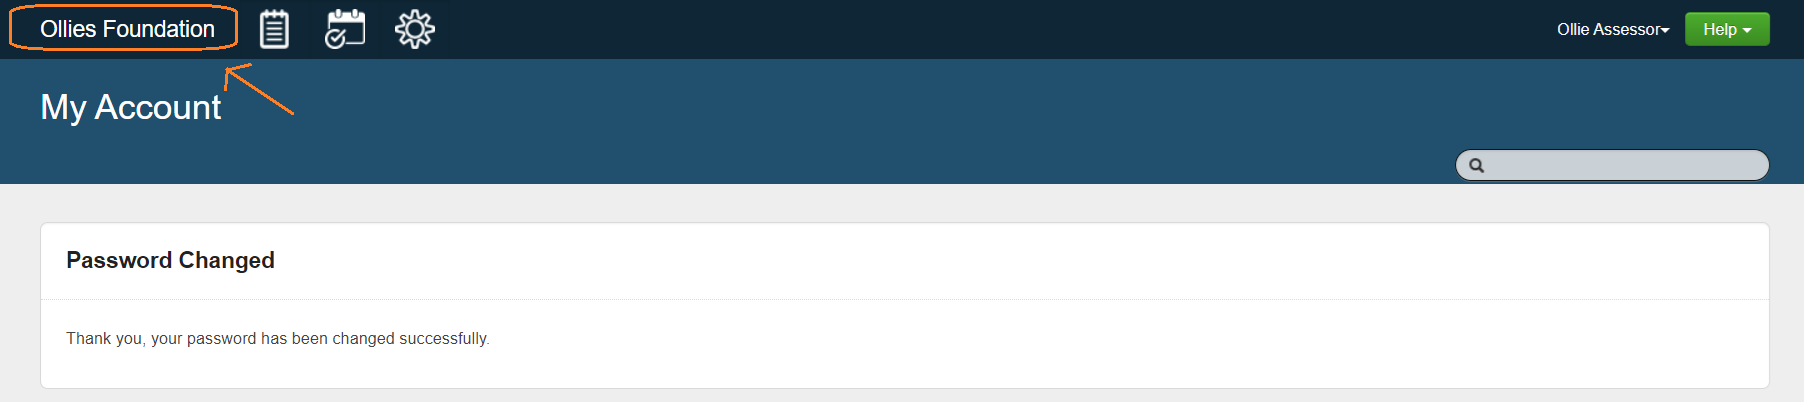
Change password | When you log in for the first time, you should change your password to something that you will easily remember: Select the drop down arrow next to your name in the top right of the screen, then select My Account. 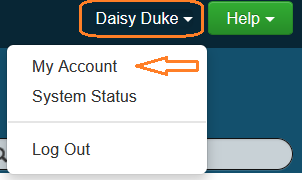 Enter your old password, followed by your preferred new password. Ensure you meet the listed password requirements. Repeat the preferred password, and select the Change Password button. 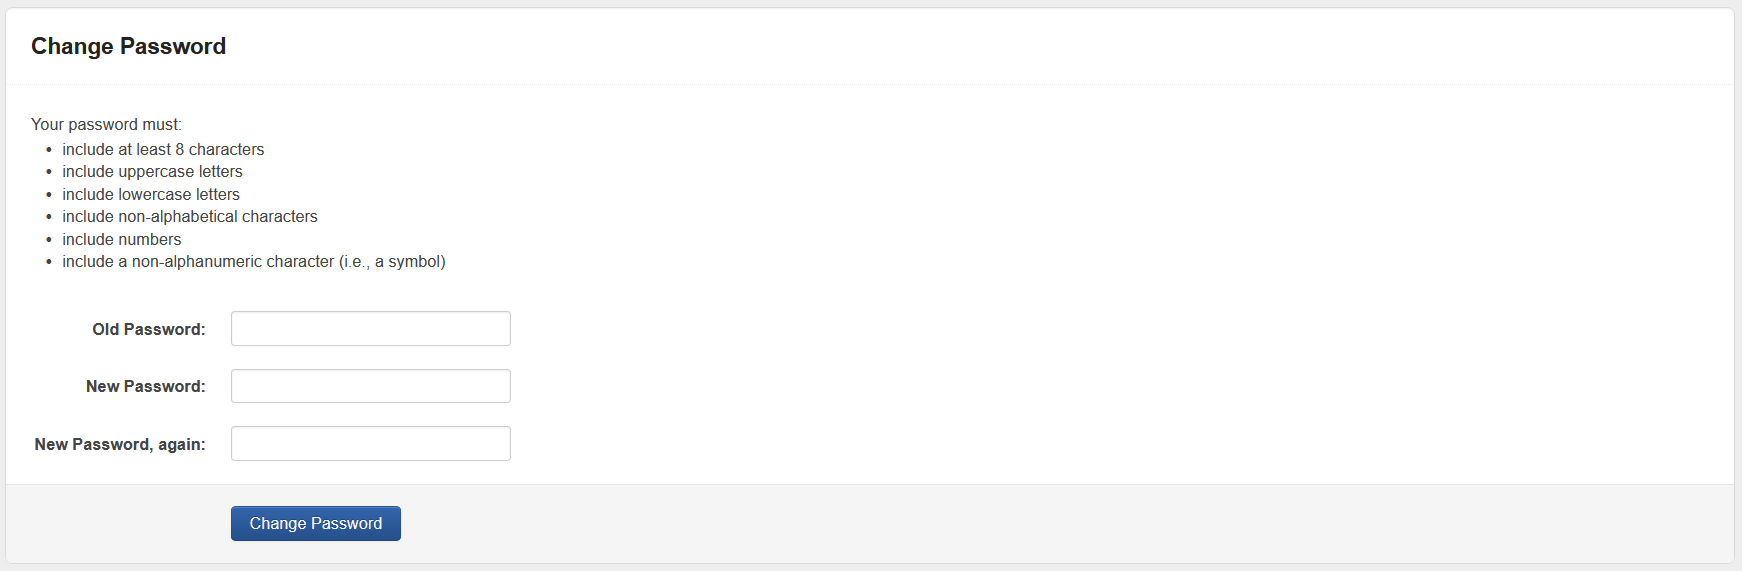
 |
Account Preferences | Users are able to edit the their account settings via the My Account option. To access the My Account Settings screen: Select the drop down arrow next to your name in the top right of the screen, then select My Account. The preferences that can be edited, the default settings applied to all accounts, and the options available to be edited are shown in the screen shot below. Continue down the page for explanations of the individual preferences and instructions on how they can be edited. 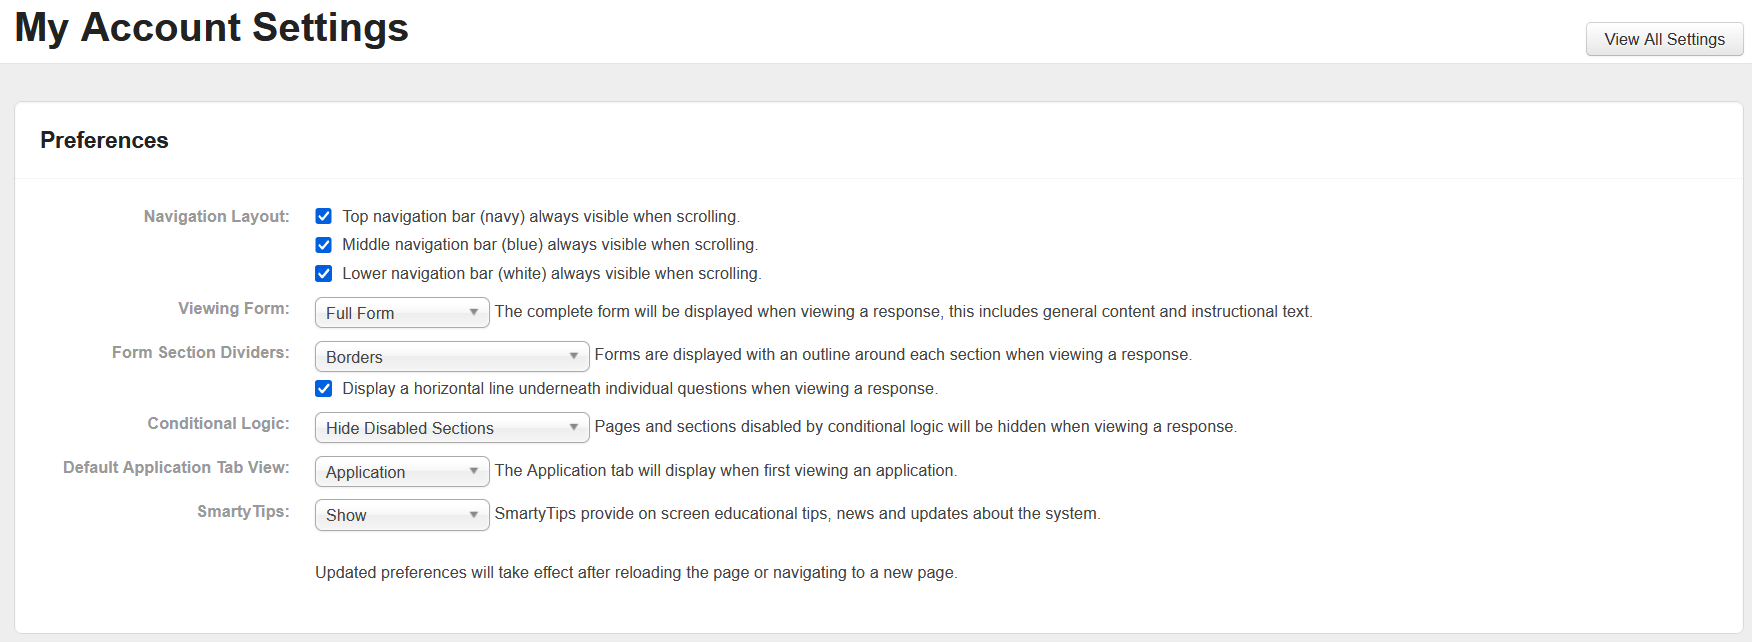 Navigation LayoutChange how you view the navigation bar on each screen. You can deselect either the Top, Middle or Lower Navigation options by unchecking the relevant tick boxes in My Account Settings. These preferences will only be visible once you reload or move to a new page. If you are frequently viewing forms, deselecting these options will result in form responses taking up more of the screen when you scroll down.  Viewing FormChose whether you wish to view form responses in full (including general content and instructions), or restrict your view to Responses Only. Select the drop down arrow next to the currently selected option to edit.  By default, Full form is selected, which means manage users will see the entire form document including any additional text provided as applicant instruction, plus applicant responses. The Responses only option will hide all additional text, instructional information and general content from the form for a manage user. This option will not impact what the applicant will see. Form Section DividersWhen viewing form responses, you might want to enhance clarity by incorporating dividers to make it easier to distinguish between sections or individual questions in a form. There are three options:
To choose your preferred option, select the drop down arrow in the box next to Form Section Dividers. An additional option is present to also include a horizontal line between individual questions. Select the check box to toggle this option.  Please see examples below of these formatting choices within a form: Example 1: Horizontal Line only: 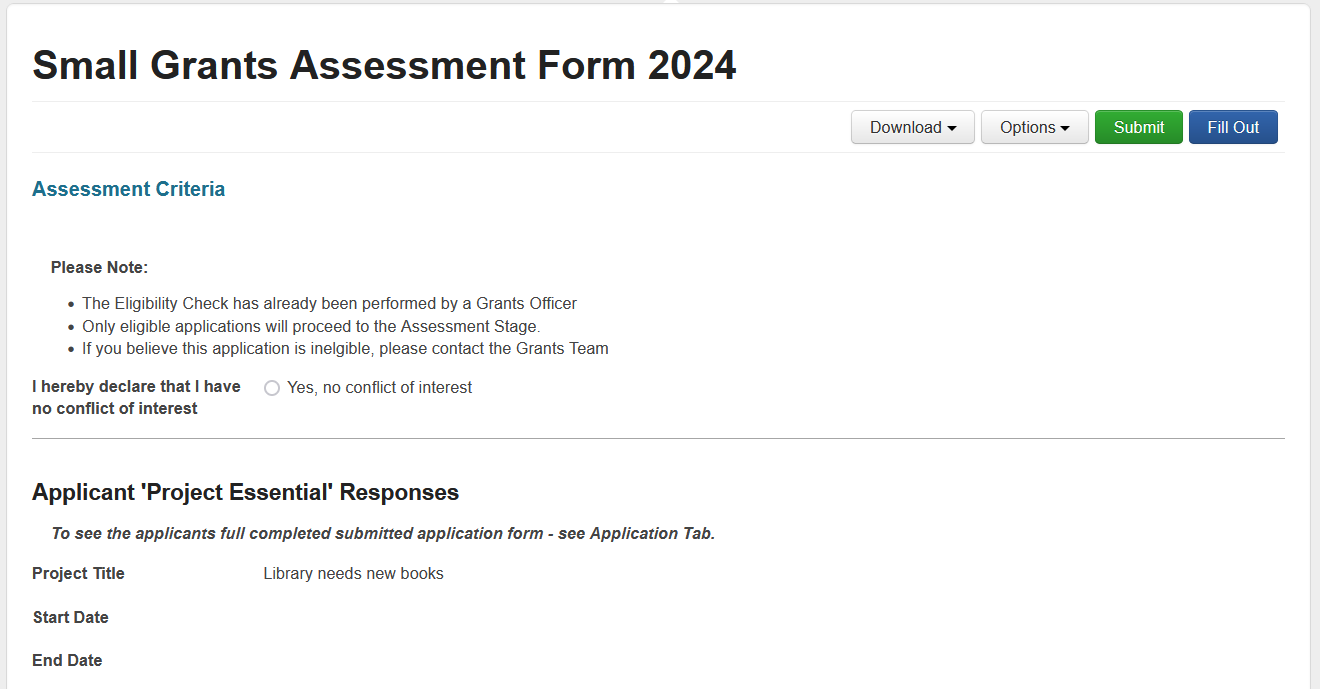 Example 2: Borders only: 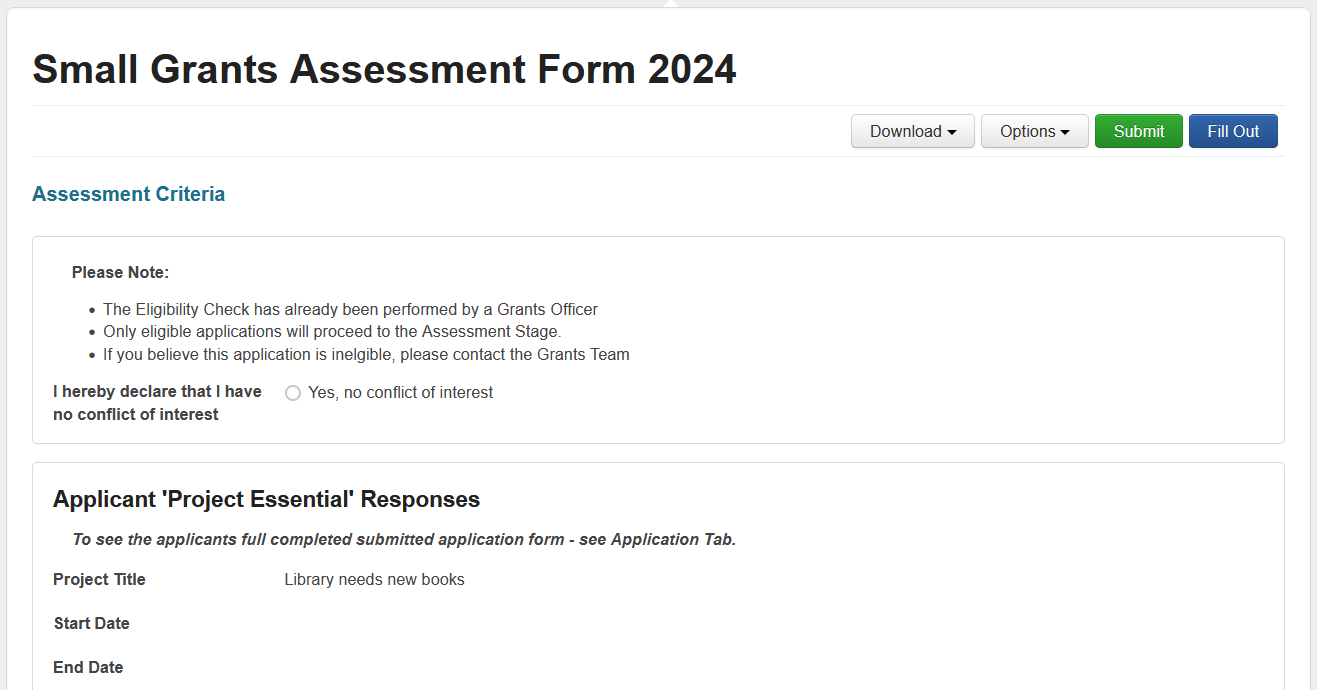 Example 3: Section Borders and Individual Questions: 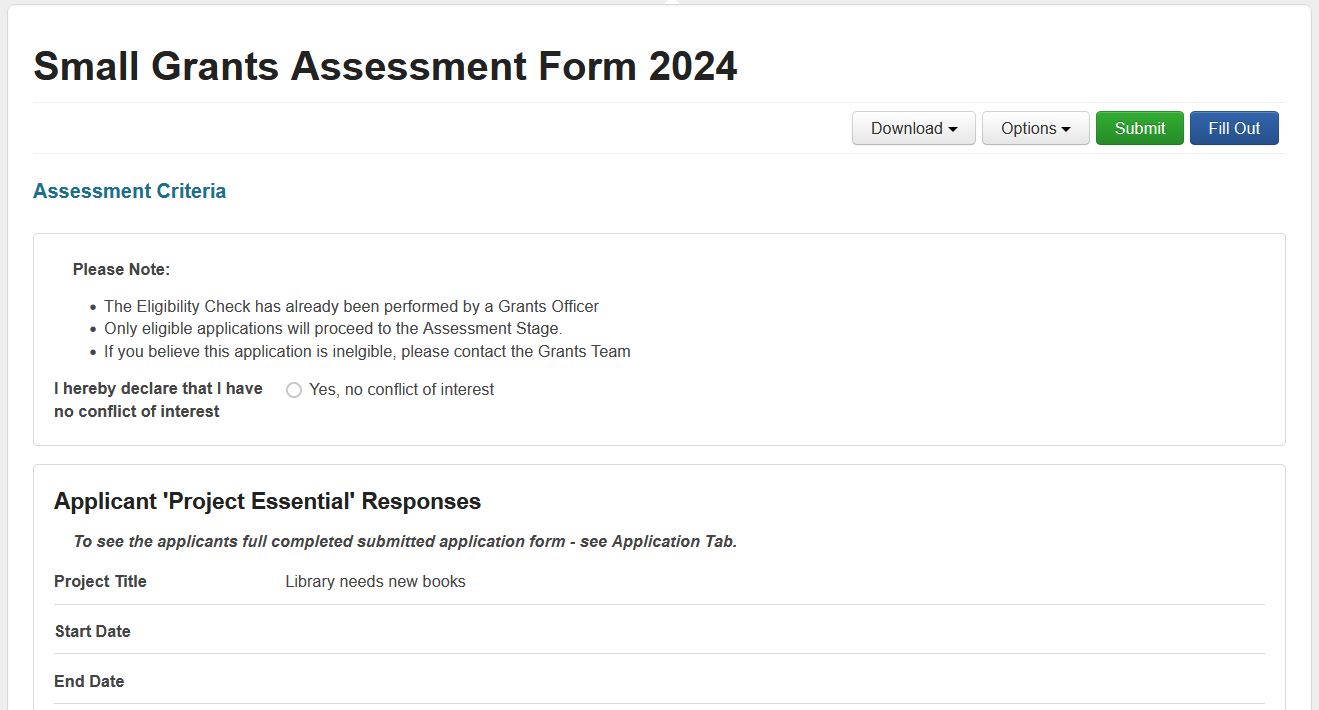 Conditional LogicWhen a form includes Conditional Logic, all disabled pages or sections are shown by default. This preference allows the user to hide any pages or sections that have been disabled where Conditional Logic was applied to the form. To hide any disabled pages or sections when viewing a form, select the drop down arrow in the box and select Hide Disabled Sections.  Default Application Tab ViewChoose the first tab that will display when viewing an application record. By default, the system will display the Application tab when first opening an application record. To change this view select the drop down arrow in the box and select your preferred tab.  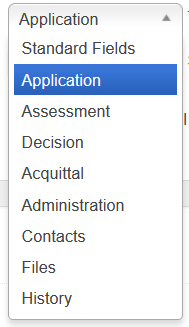 SmartyTipsSmartyTips provide on screen educational tips, news and updates about the system. You can hide these tips by selecting drop down arrow in the box and selecting Hide.  |
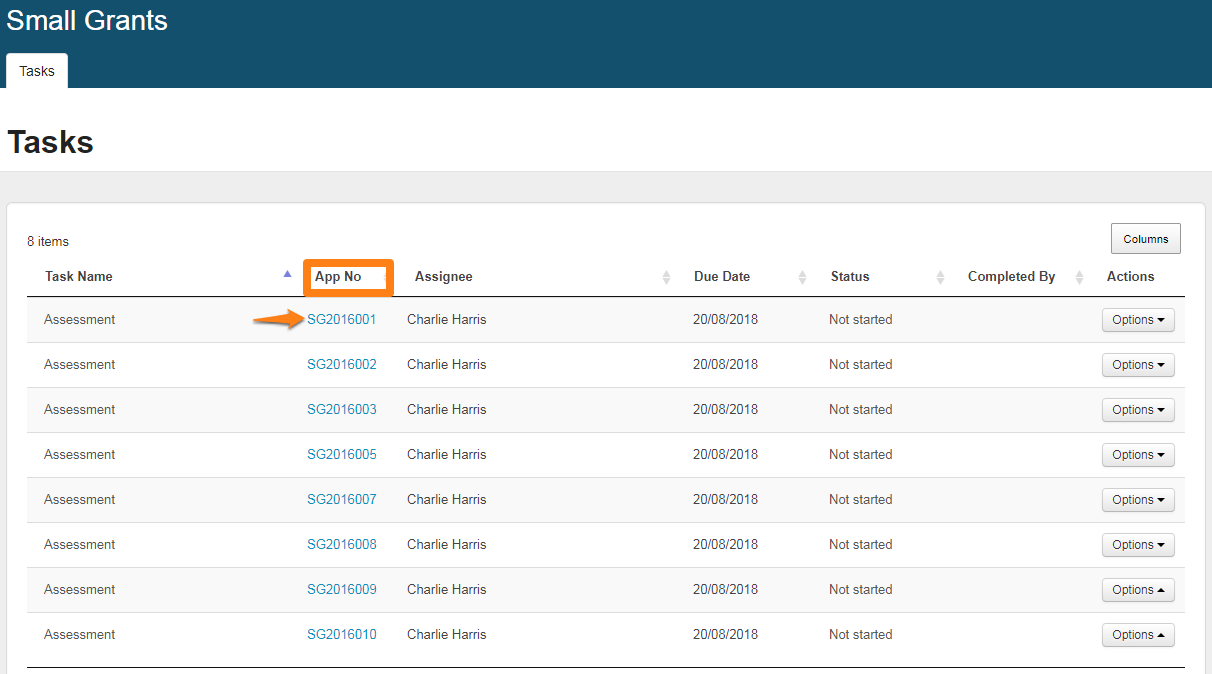
Locate your applications | 1. Log in to SmartyGrants and click into the program you have been given access to. 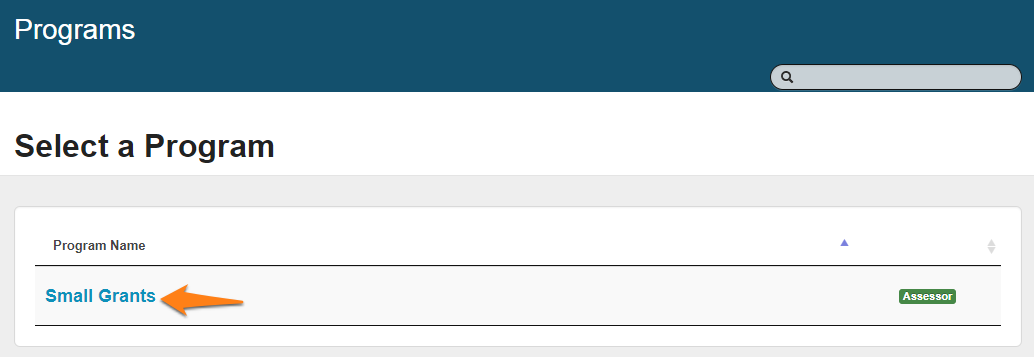 2. Once you click into the program you have access to, you will see you now have a list of tasks that you need to complete for that program. Grantmakers use tasks in order to track the progress of assessors throughout the assessment process. Tasks will also assist you in tracking your own progress. You will see when you first click into your program, that the status of your tasks is set to "Not Started". 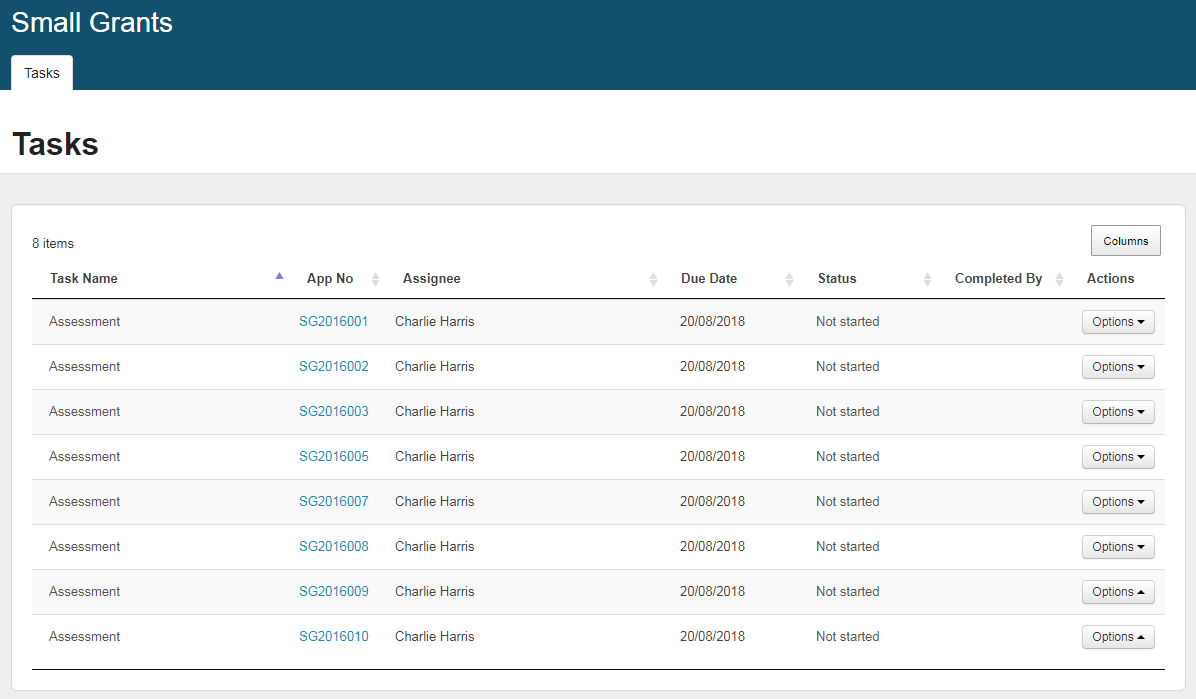 |
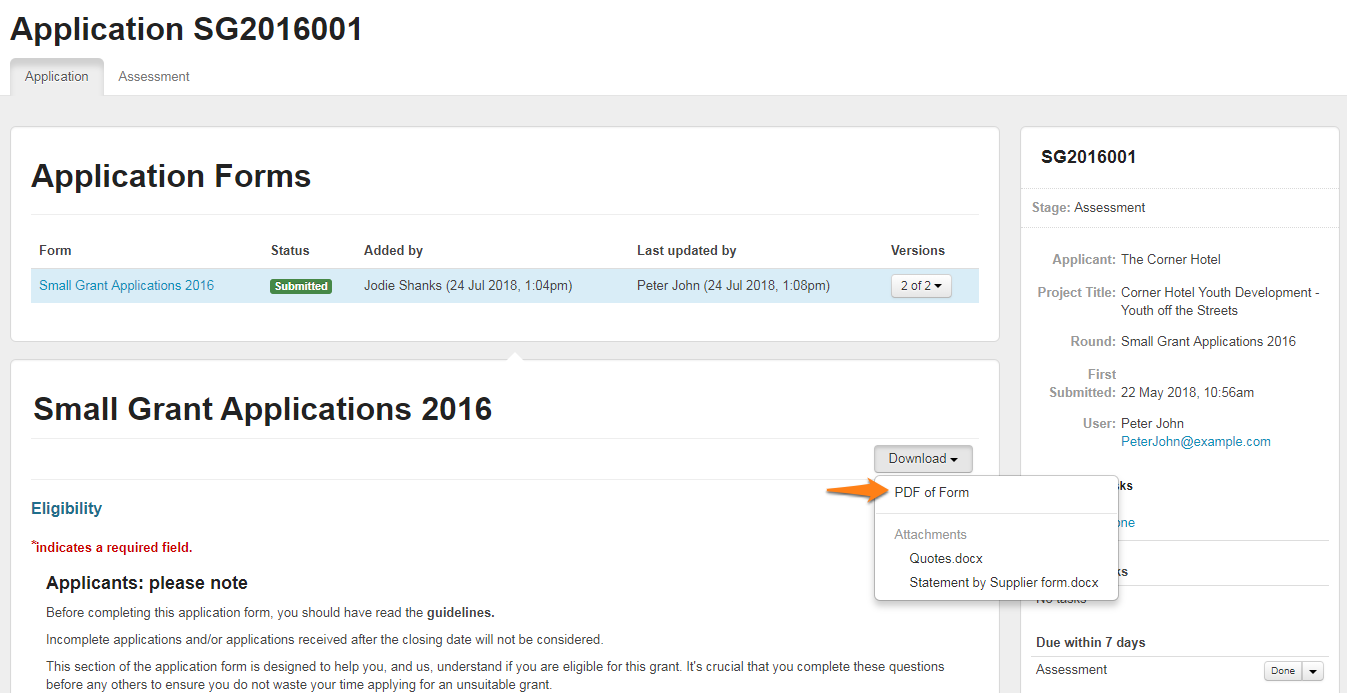
Review the Application |
Note: to view any attachments or download a copy of the application form, select the Download drop-down menu, then select the relevant action. |
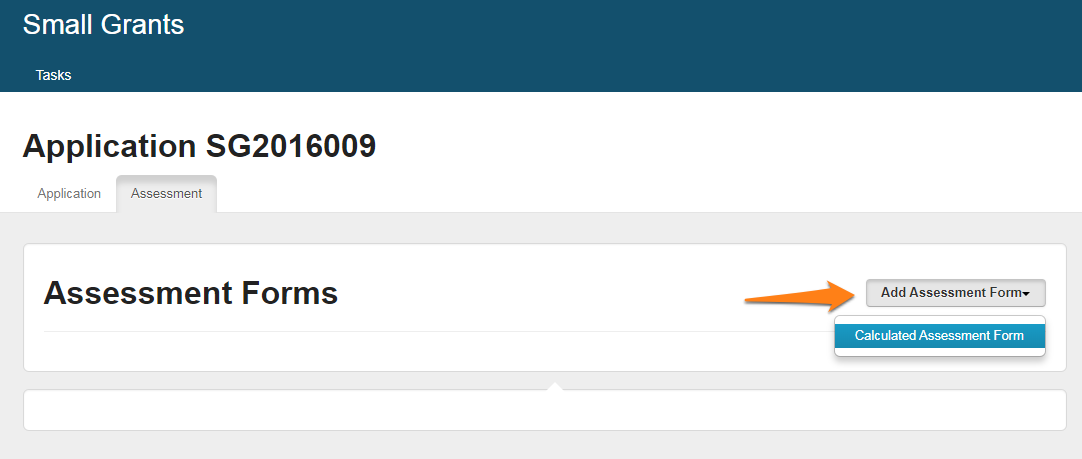
Assess the Application | Option 1: Navigating from the application form If you have just been reviewing the application form online and wish to begin assessment, select the assessment tab of the application. 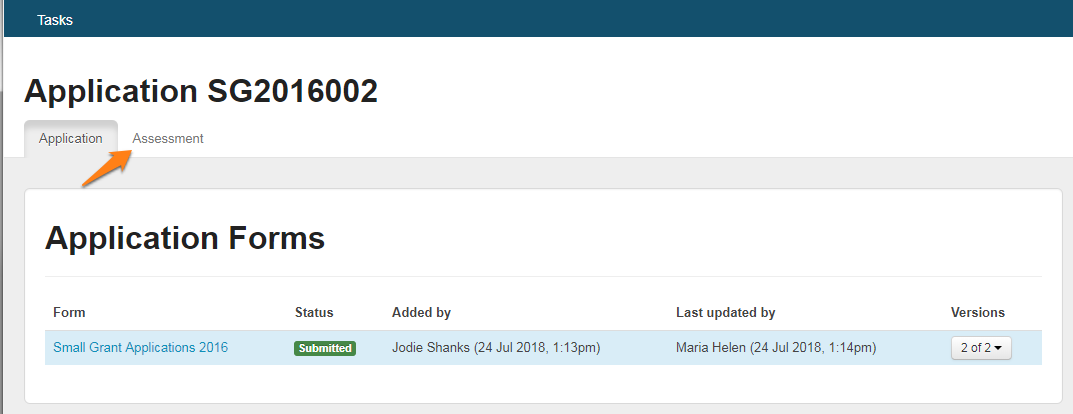
For security purposes, SmartyGrants has an auto-time out feature enabled. If SmartyGrants has not measured any user activity for 20 minutes then it will log the user out. If logged out, any unsaved work will be lost. SmartyGrants can only measure activity when data is sent to or requested from the server. This is best done by pressing the ‘Save Progress’ button. When moving between pages in a form, or navigating from one application to another, or navigating to another area of the system (e.g. back to your Task list) the system auto-saves and resets the timer. It is important to note that SmartyGrants can not measure activity in any other way. For example, typing a response to a question, or answering multiple questions on the same page of a form, can not be seen as activity. Option 2: Navigating from the tasks tab.
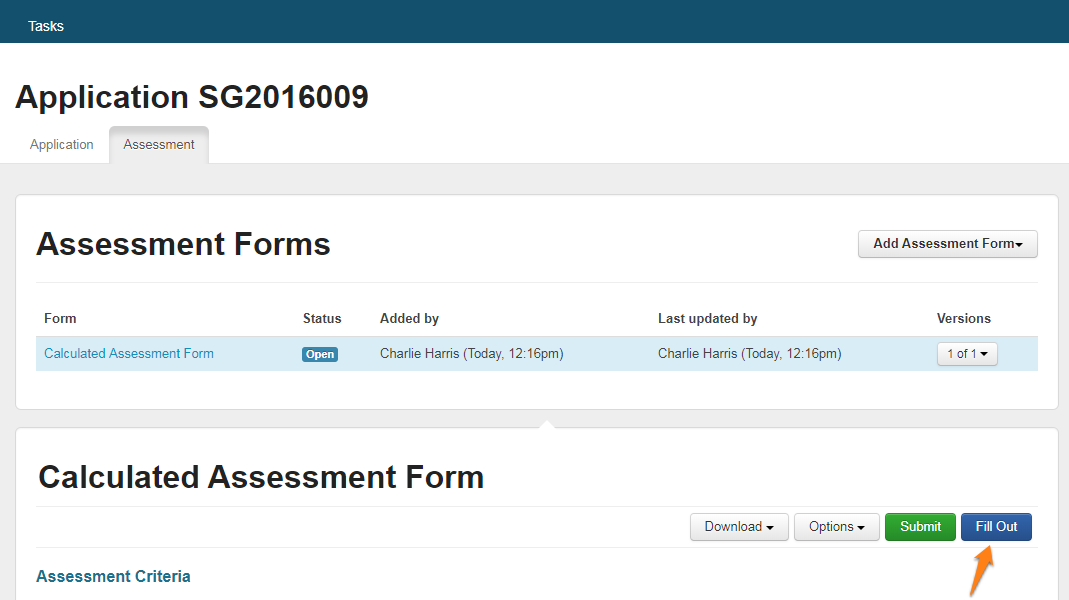
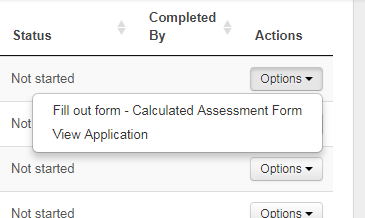 2. To begin filling out a form, select the Fill out form option.  |
Filling Out The Assessment Form | 1. After selecting Fill out form, you will be taken to the assessment form you are required to fill out. From here, you can also select the Show Application button, which will split your screen and allow you to view the application on one half of your screen and the assessment form on the other. 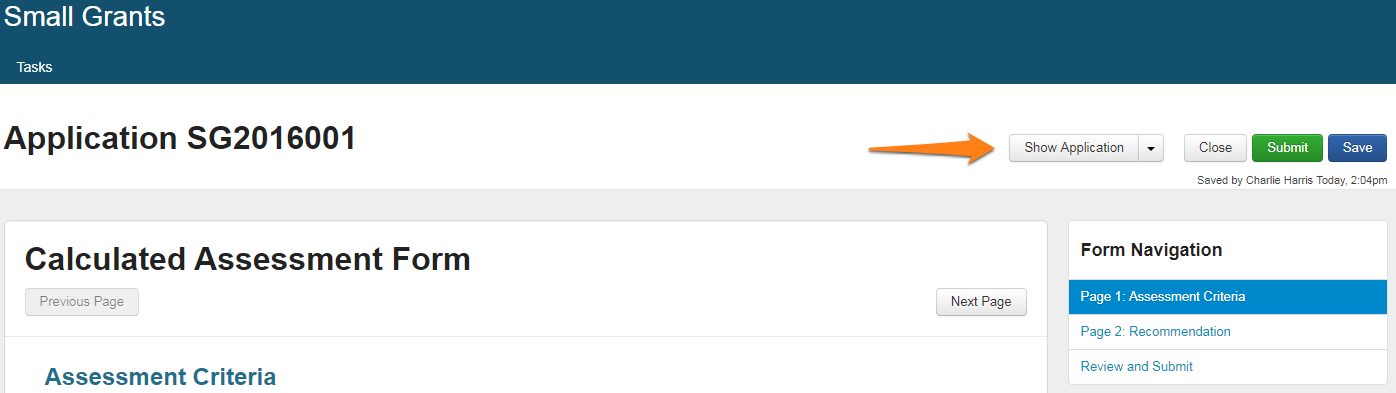 2. Once you have selected Show Application you will note there is a download button that will allow you to download a PDF of the application, and any attachments that were submitted as part of this application. To hide the application again, select Hide Application. 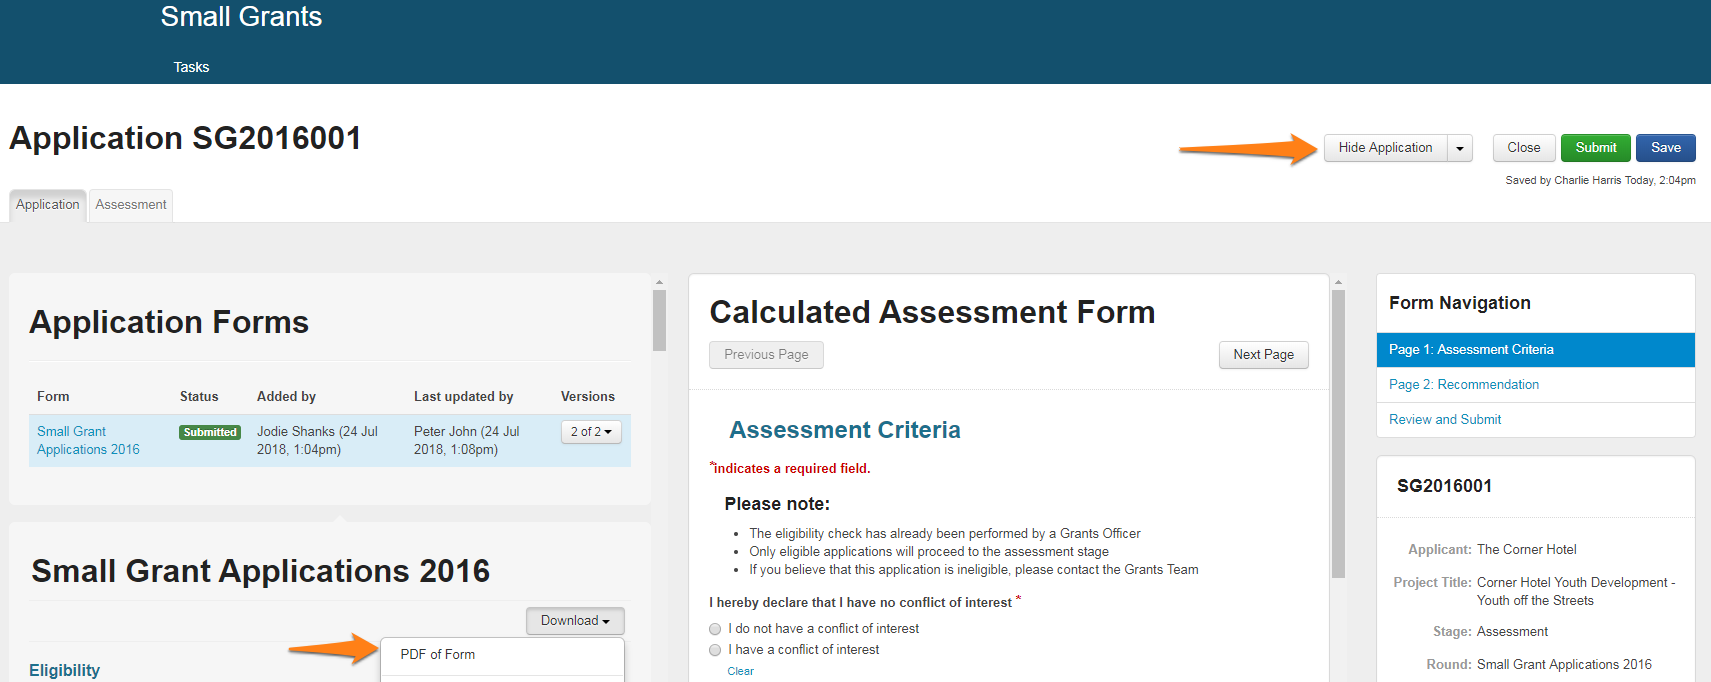 3. You can also elect to Hide Sidebar for easier visibility of the application and assessment form. You do this by selecting the Hide Sidebar button on the top right of the screen. 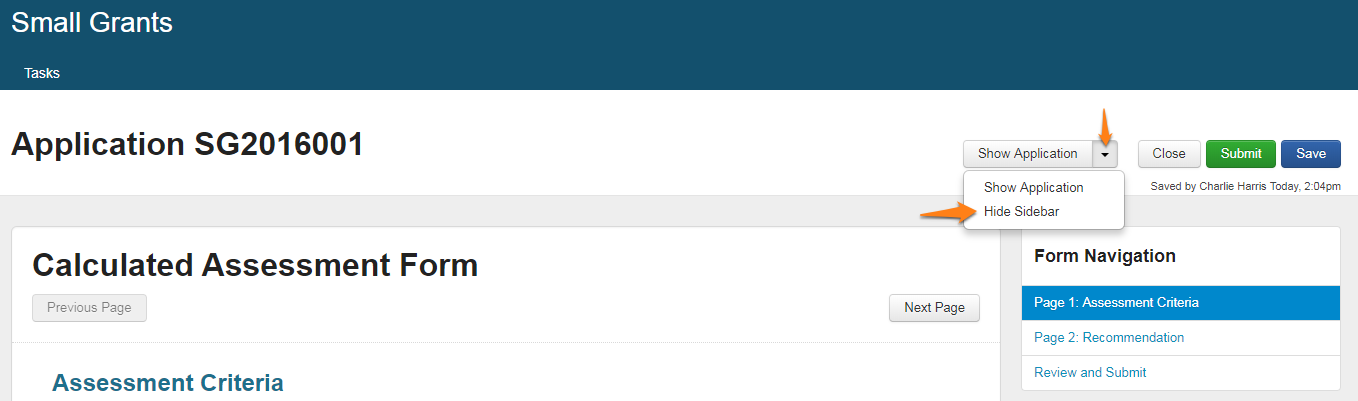 For security purposes, SmartyGrants has an auto-time out feature enabled. If SmartyGrants has not measured any user activity for 20 minutes then it will log the user out. If logged out, any unsaved work will be lost. SmartyGrants can only measure activity when data is sent to or requested from the server. This is best done by pressing the ‘Save Progress’ button. When moving between pages in a form, or navigating from one application to another, or navigating to another area of the system (e.g. back to your Task list) the system auto-saves and resets the timer. It is important to note that SmartyGrants can not measure activity in any other way. For example, typing a response to a question, or answering multiple questions on the same page of a form, can not be seen as activity. |
Submit your Assessment | Submitting your assessment means that a permanent copy of your assessment, as it stands at the time you select Submit, will always be retained with the application. Once an assessment is submitted you can Reopen it if you need to make any alterations; however, note reopening an assessment does not alter the original submitted assessment form, but rather creates a subsequent version of the assessment which you can change and submit in turn. There are two ways to Submit your assessment form: 1. When you are in 'Fill Out' mode, click the Submit button in the top right hand corner: 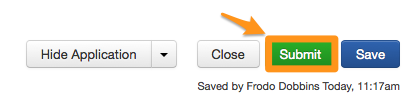 2. Or, from the Assessment overview tab click the submit button: 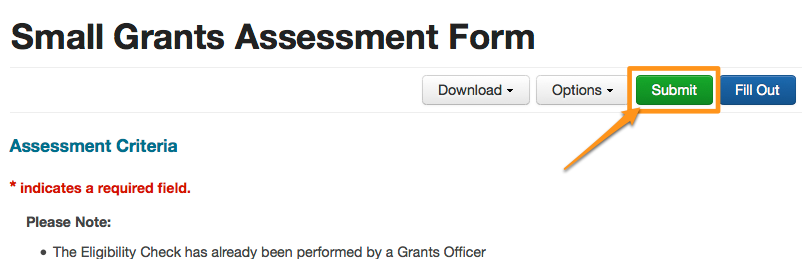 3. You will be then prompted to confirm the submission. Click Submit to confirm: 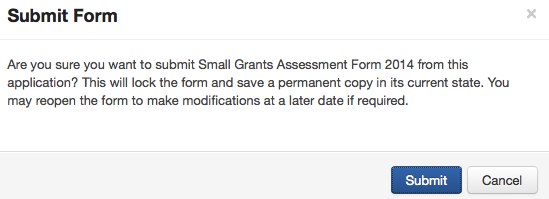 *Note: if required fields within the form have not been completed, you will be warned the form is incomplete, you may not submit until the form is fully completed:  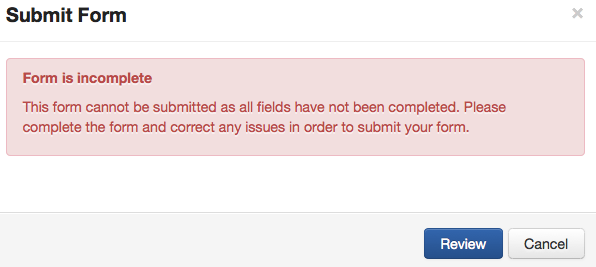 |
Tracking your progress | There are 2 different ways to track your progress.
 2. Alternatively, click your 'My Tasks' button in the top right hand corner of your screen.  This will take you to a list of tasks across all programs you have access to. You will be able to view all of your tasks and their status here. 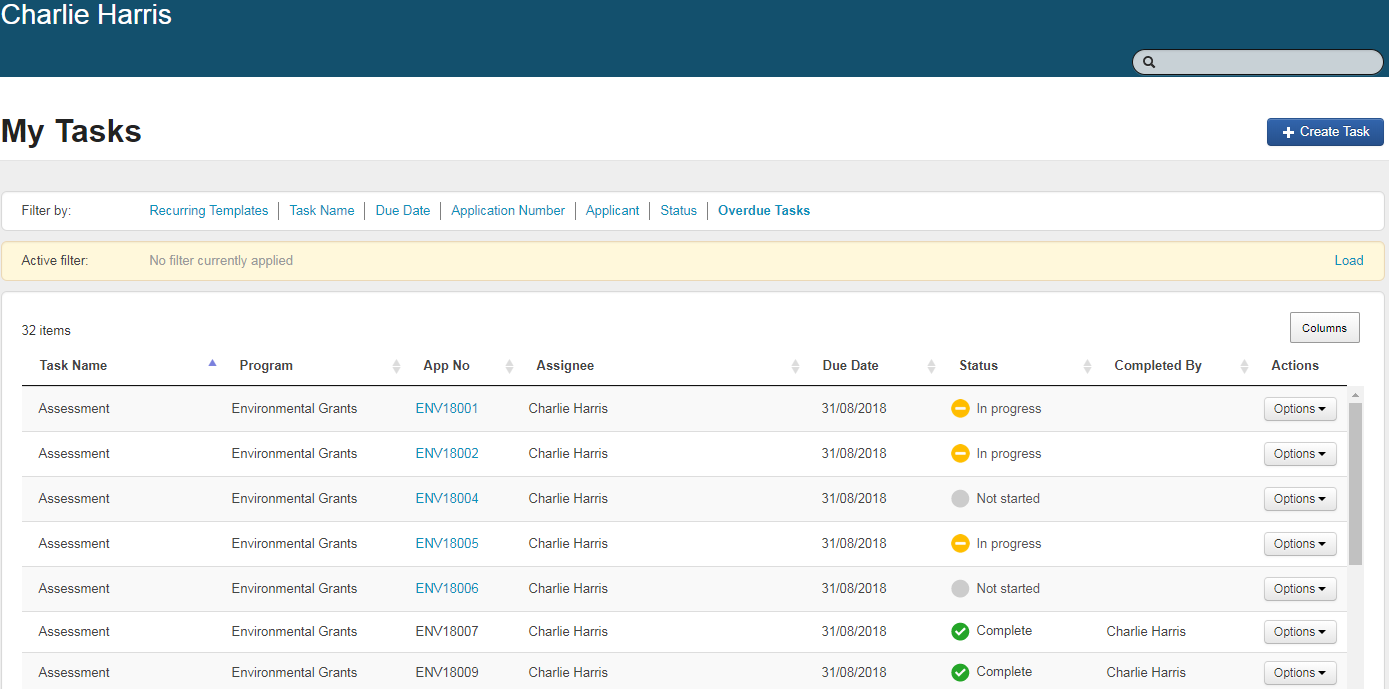 *Please note the status column on your tasks will only update if the grantmaker has added this setting to your tasks. If your status column does not update, it is because the grantmaker did not include this setting when setting up your assessment tasks. In this instance you can manually change the status of your task by clicking into the status column and selecting the correct status of your task. 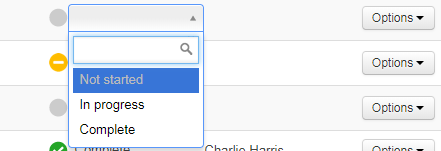 Tasks with Multiple Assignee's: If you see multiple names against a task, then the task is designed such that any one of you can complete the task. Once someone adds a form, or marks a task as 'in progress', their name will be highlighted in orange. This will allow you to see that another user has started the task, and therefore you do not need to complete this task, unless instructed otherwise. 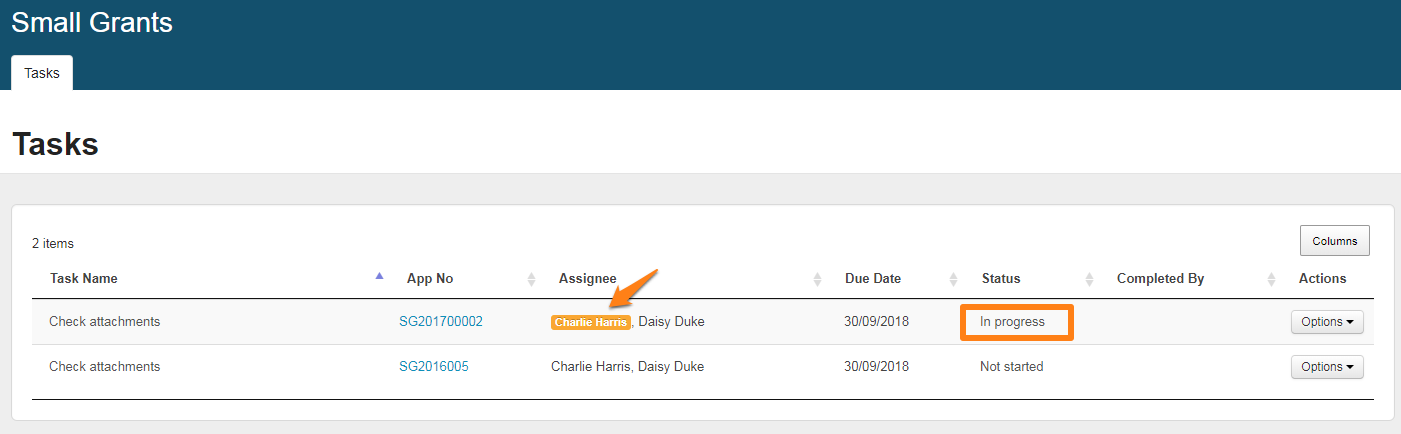 |
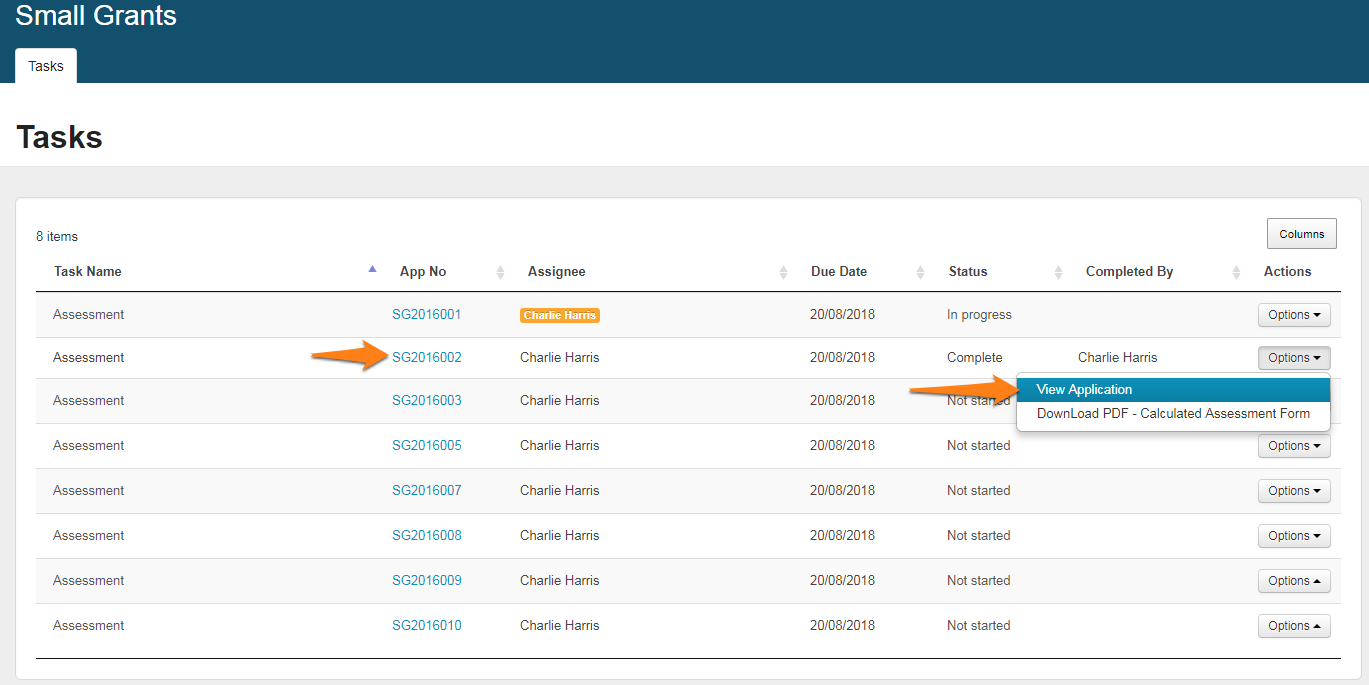
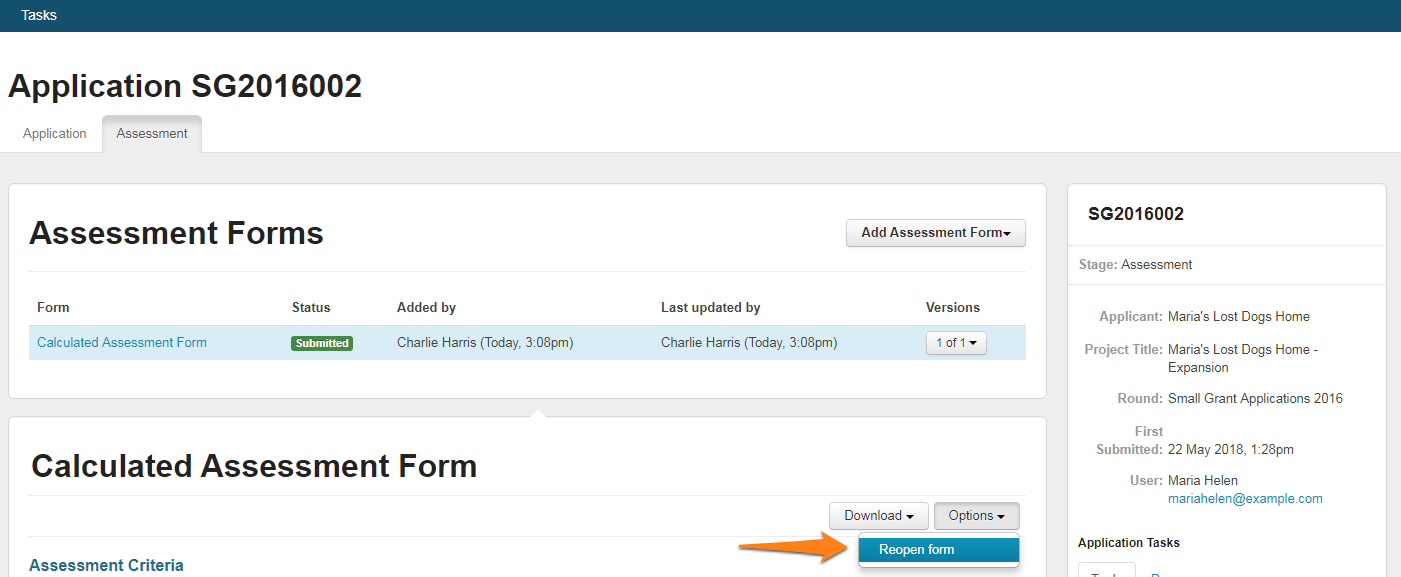
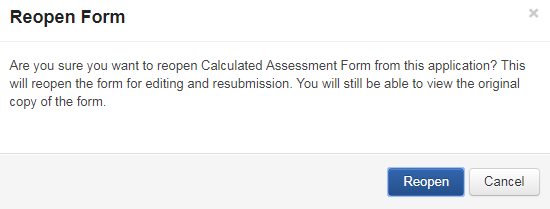
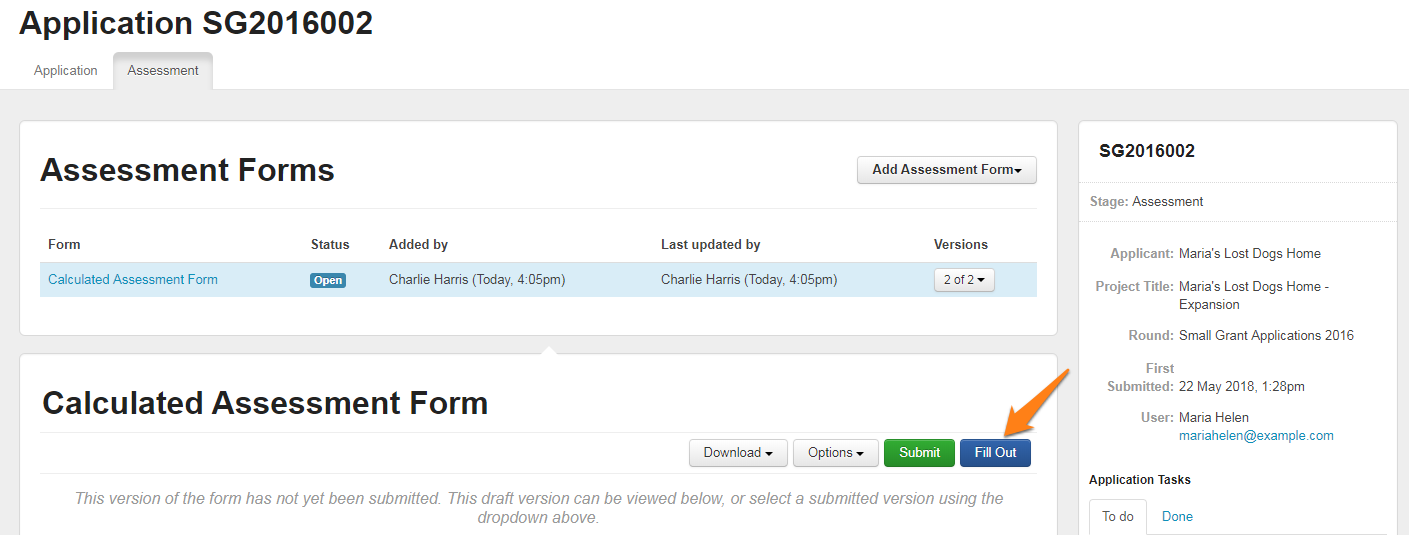
Altering your assessments (Reopening your form) | You might find that you need to make changes to a submitted assessment form. To do this, you will need to reopen your assessment form.
|
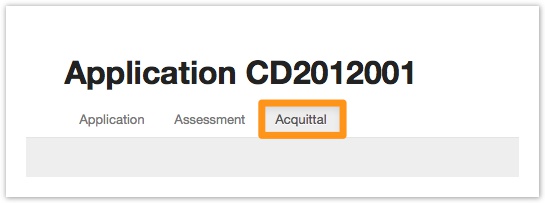
Assess or View the Acquittal Form/s | Access to the Acquittal form/s is dependent on the Grantmaker. The Grantmaker must allow permissions for an assessor to view the Acquittal form/s.
|
Return to your Applications for assessment | You can return to your list of applications for assessment at any time by selecting the Tasks tab at the top left of your screen. A list of all tasks within that program will appear. 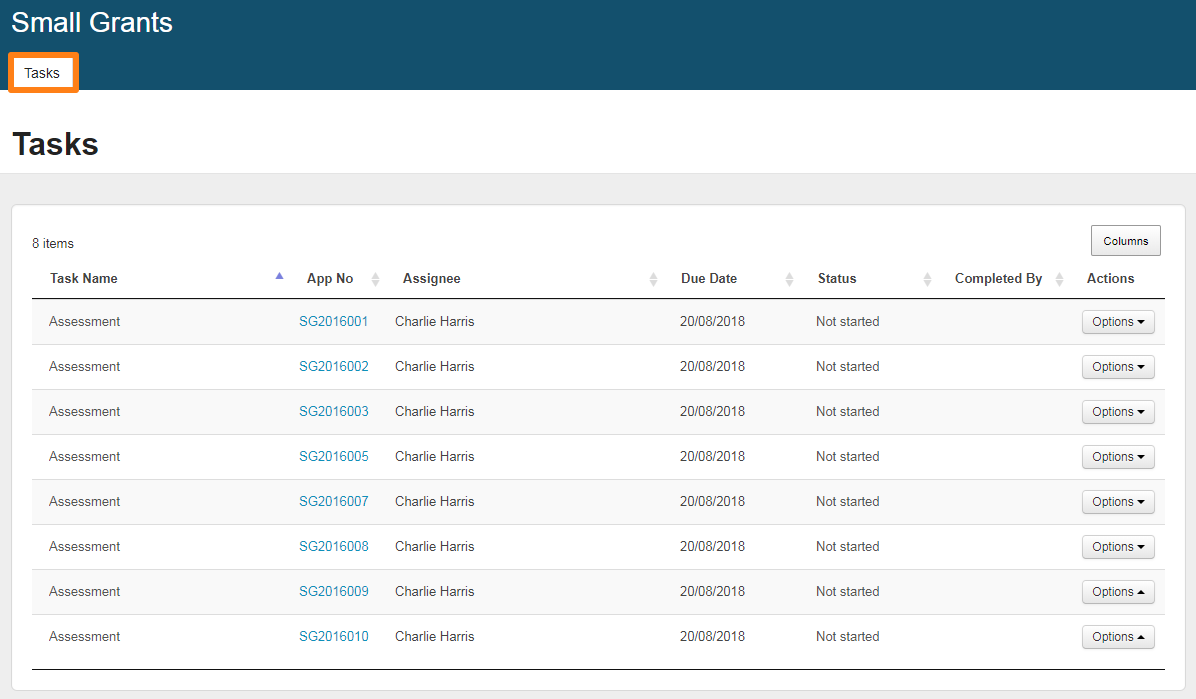 You can also select your My Tasks button in the top right-hand corner of your screen. This will bring you through to a whole list of your tasks across all programs in this account. If you are assessing across multiple programs, this is the easiest way to view all of your assessments in one place.  |
Auto-time out feature
For security purposes, SmartyGrants has an auto-time out feature enabled. If SmartyGrants has not measured any user activity for 20 minutes then it will log the user out. If logged out, any unsaved work will be lost.
SmartyGrants can only measure activity when data is sent to or requested from the server. This is best done by pressing the ‘Save Progress’ button. When moving between pages in a form, or navigating from one application to another, or navigating to another area of the system (e.g. back to your Task list) the system auto-saves and resets the timer.
It is important to note that SmartyGrants can not measure activity in any other way. For example, typing a response to a question, or answering multiple questions on the same page of a form, cannot be seen as activity.